Permits are also required for skylight installation in most regions across the country. This ensures that the skylight and the roof structure surrounding it meet wind resistance standards and are sturdy enough to handle the weight of the frame and glass pane of the skylight. You can speak with a licensed contractor to learn more about the permits and other requirements in your area.
You should also plan the size and shape of the skylight, which is usually directly based on the slope of the roof or how steep it is. A qualified professional will be more familiar with the nuances of roof slopes, sizes, shapes, and other skylight measurements needed for a successful installation.
It is highly recommended that you get a professional roofer, window installer, general contractor, or at the very least someone who is a handyperson and knows their way around tools and technical DIY projects. Skylight replacement or installation is by no means an easy project, but it does not utilize any specialized equipment or tools, making it slightly easier than more complex additions.
- Creating the Opening
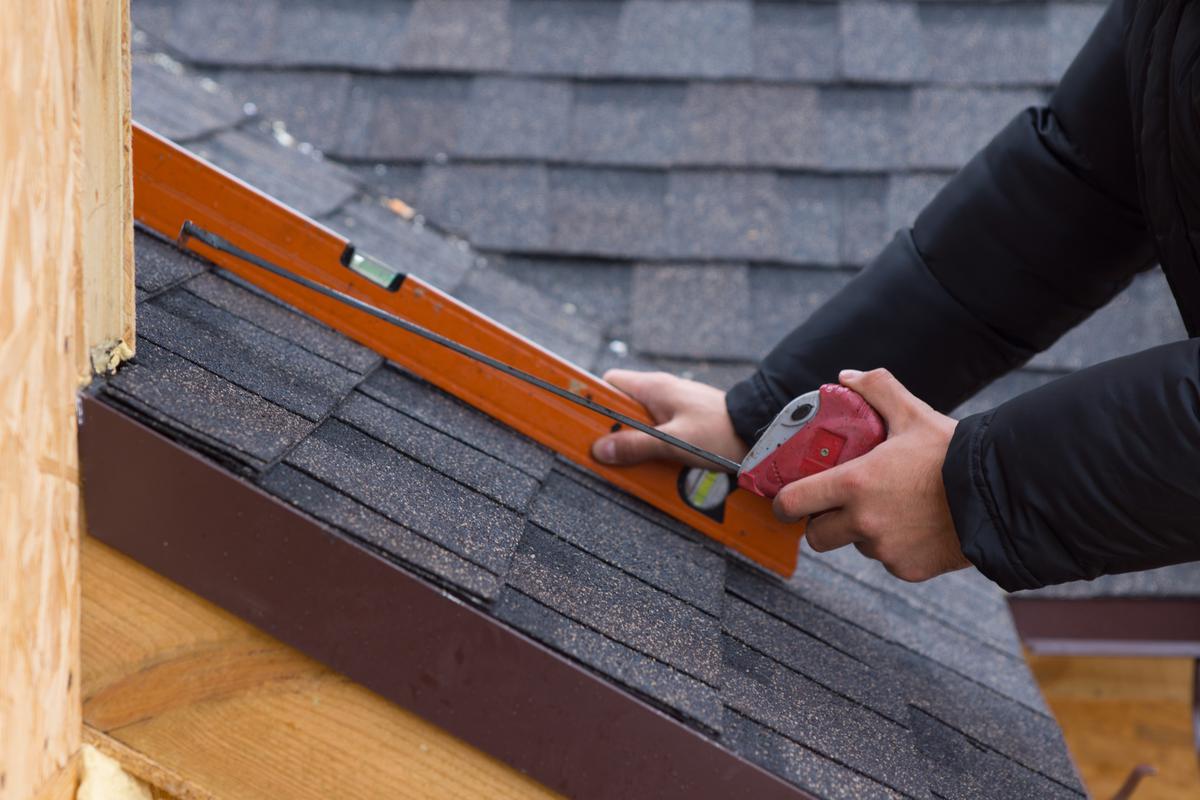
Contractors measure out the length and width of the skylight. They find the exact center of the area using a measuring tape and mark it with some chalk. This mark is used as a reference point for carving out the frame as it will give a general idea of how far you are from the center of the skylight frame. The same is done to the ceiling in the room directly below.
- Reinforcing the Opening
Once the opening has taken shape and matches the dimensions of the skylight's frame, using a knife or straight edge, the roof shingles are cut open depending on the dimensions of the skylight (usually about 3 inches of shingles need to be cut from the opening).
- Place the Skylight and Seal It
With the opening and its surroundings now ready, the skylight is placed into the exact center and aligned to make sure the frame fits perfectly into the sill. Once the frame is aligned, using a nail gun or drill, the skylight is fastened into place. Before replacing the roof shingles, roofing paper and flashing seal the sides of the skylight.
This sealing process is very important. While most contractors will ensure that there are no dangers of leakage after installation, one wrong nail or a missing piece of roofing paper after installation may cause a leaky roof. Skylights, unlike vertical windows, are more susceptible to leaking due to their horizontal position.
- Install the Waterproofing Layers
After this is done, the bottom flashing is installed, which is the biggest piece of the underlying flashing. The flashing needs to be fitted with the individual pieces of step flashing under the shingles and nailed into the skylight frame.
- Final Waterproofing and Flashing
The last step is to attach the skylight’s external flashing, to further ensure that not a single drop of water makes it through the roofing layers. External flashing is designed such that even in the heaviest rainstorms no moisture will seep through the skylight.
comments