A Thorough Guide for Drilling Holes in Joists Like a Pro

A Thorough Guide for Drilling Holes in Joists Like a Pro

Additions and Remodels
Roofing
By Mateos Glen Hayes February 09, 2024

Despite how simple it sounds, drilling a hole in a joist can be a surprisingly technical procedure with many steps. It’s necessary to take a lot of measurements and play it safe to ensure you don’t end up damaging the structure of the home you’re working on. 

To do this you’ll need to know a bit about joists, where to drill holes, how big or small those holes should be, and what to do if you run into difficulties. Taking these considerations into account is the best way to get a joist hole drilled precisely and to avoid unpleasant surprises.  

When Would You Need to Drill a Hole? 

Joist holes allow you to run wiring and piping through the home in an organized and concealed fashion.

Joist holes allow you to run wiring and piping through the home in an organized and concealed fashion.

There’s a long list of reasons why you might need to drill a hole into a joist, and this can be necessary both during home construction and home remodeling projects. Generally speaking, anytime you need to install some kind of cabling or piping into your home, you will likely have to drill into some joists. So, water pipes, gas pipes, ethernet cables, phone lines, and electrical wiring installation can all require you to drill hole joists. 

Joist Types 

Joists with a metal structural web shouldn’t be drilled through as this will weaken the wooden chord.

Joists with a metal structural web shouldn’t be drilled through as this will weaken the wooden chord.

How Far Apart Are Ceiling Joists? 

There are two main types of joists that you will be working on in most homes. Although these two types prevail in many homes, it’s important to note that these joist types will not always be made of the same materials, nor have the same structural qualities. Typically these joists are spaced between 16 and 24 inches apart from one another.  

I-Joists 

I-joists are typically made of solid timber and include a metal or timber structural web. These kinds of joists must be dealt with carefully as you will need to drill in a specific place to prevent structural damage to the joist. Fortunately, I-joists come with instructions from the manufacturer so that you know exactly where you can drill safely. As a general rule, you should avoid cutting through the wooden chords of the joist, drilling holes in the chords, and cutting notches into them as this can compromise the joist’s strength.  

Solid Timber Joists

Solid timber joists are an older type of joist and do not include any kind of wood or metal structural webbing. They can function either as floor joists or ceiling joists. For these kinds of joists, some guidelines should be adhered to. The standard for the construction industry is that joist holes should not be less than two inches apart, and should be positioned at least a quarter of the length of the joist span away from the wooden beam supporting it. 

Important Guidelines

A few important guidelines must be adhered to when drilling holes in joists to preserve structural integrity, but exploring alternatives to holes is always an option as well.

A few important guidelines must be adhered to when drilling holes in joists to preserve structural integrity, but exploring alternatives to holes is always an option as well.

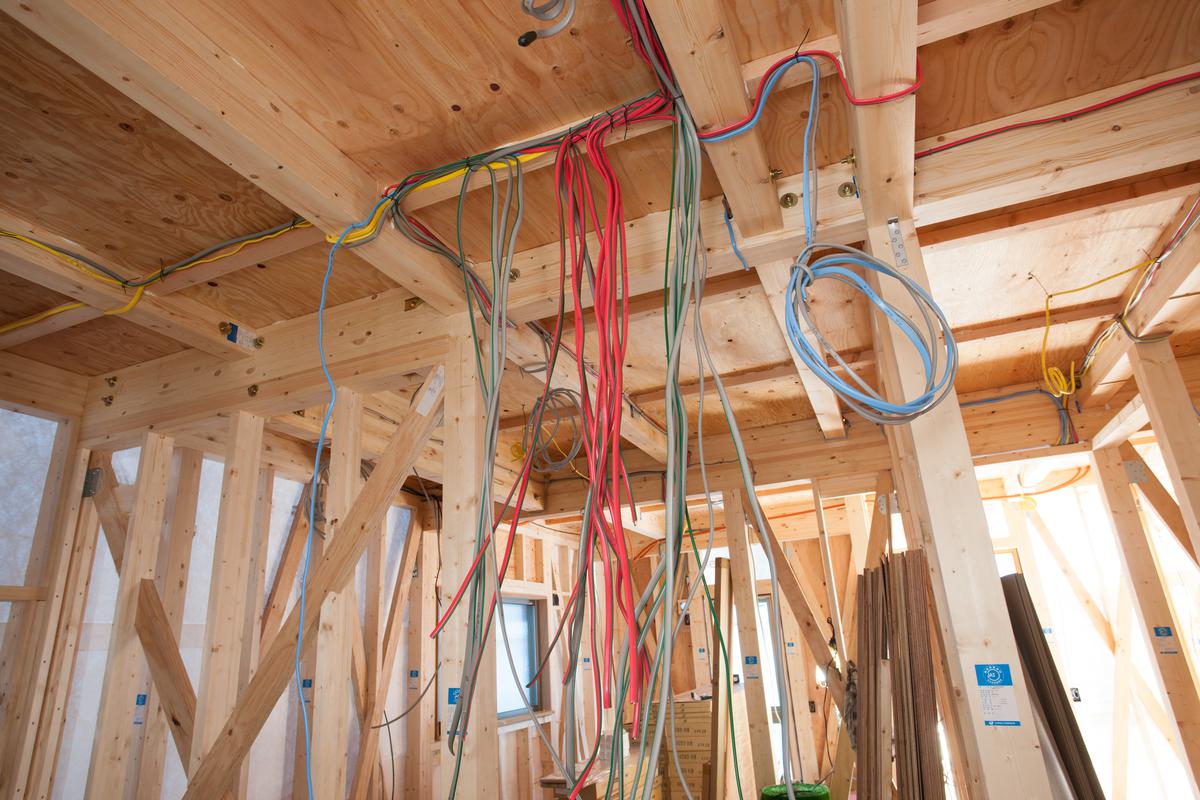
If you have experience in woodworking, you will probably know that every time you drill a hole into a joist you reduce the structural integrity of your home, albeit on a small scale. That doesn’t mean a poorly placed joist hole will bring your home down, but it does mean that you need to be selective and cautious with where you put holes in your joist. 

Improperly placed or spaced joist holes can cause a whole host of problems, including weak floor or ceiling joists, warping floors, and other issues that can make your house dangerous. 

Alternatives 

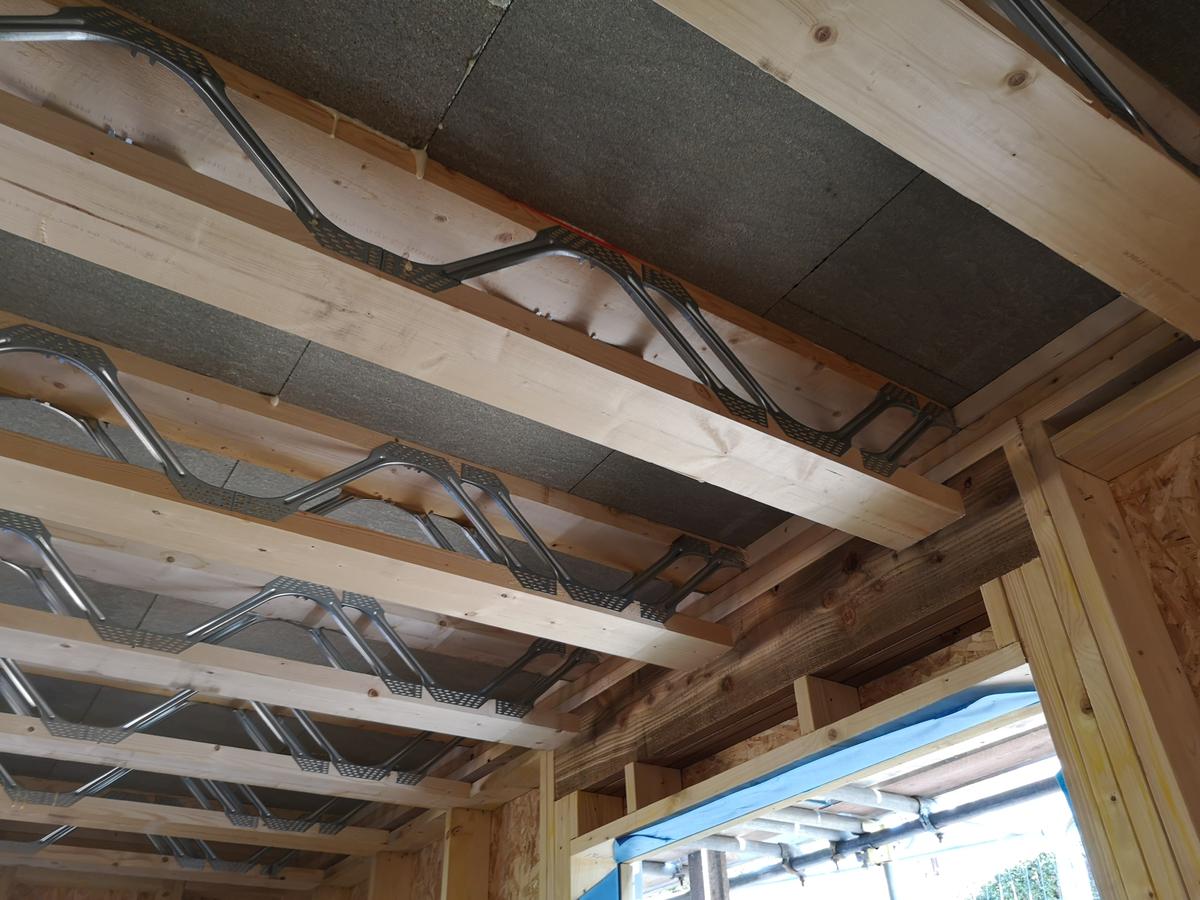
Because this can be a bit of a technical procedure, it is always worthwhile to explore any potential alternative you have to drilling holes into your joists. If you can go across your joists rather than through, use existing holes in the joists or simply staple underneath the joists; both alternatives are always preferable to adding new holes. 

This way you eliminate any potential risk of getting things wrong and also save yourself the work of figuring out where a new hole should go. We’ll go over some alternatives to drilling your joists at the end of the article. 

The Right Spot

There are additional general criteria for where joist holes should go. Vertically speaking, your joist hole should not be two inches or less from the top of the joist or the bottom of the joist. Ideally, you want the middle of your hole to be on the centerline of the joist, i.e. the middle of it vertically speaking. Finally, the joist hole should not be larger in diameter than one-third of the vertical length of the joist. 

Err on the Side of Small

Whether you want to hang ethernet from the joists or run plumbing through the floor joists, it is always a good policy to keep your holes as small as possible. The rule is to avoid cutting any more than you need. 

This reduces any potential loss of structural integrity and reduces the chance of splitting the joist timber. For instance, if you have a ¼ inch piece of wire, a ½ inch drill bit is all you need for the joist hole, especially if your joists aren’t very thick, to begin with.  

Precision is Key

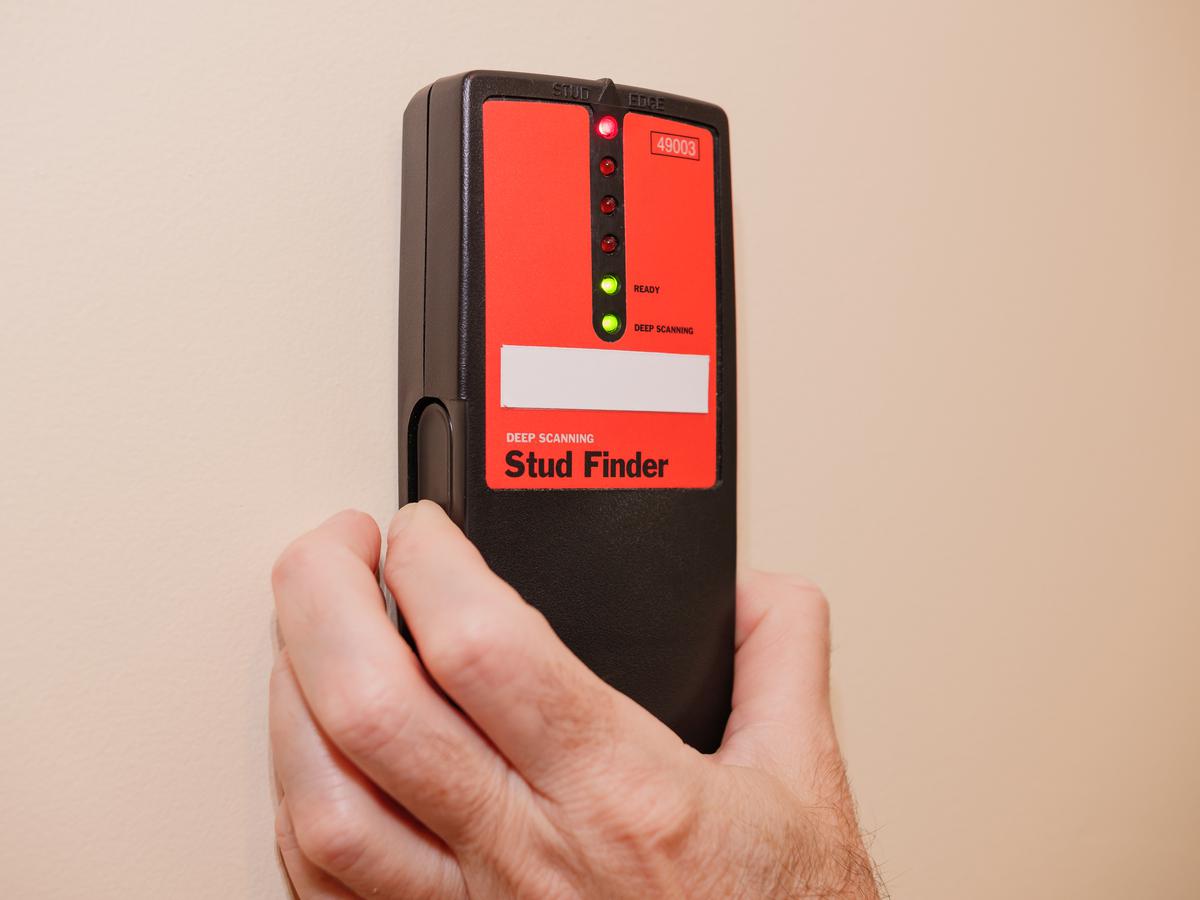
As with any other precision job, it is always better to be safe than sorry. When you take measurements for your joist hole, it is always better to measure twice and cut once. Taking the extra minute to ensure you got everything right is part of professional due diligence and doing a quality job. When you determine the best spot for your joist hole, make things easier by using an easy-to-see marker color like red or black to mark the area where the hole will go. 

The Other Side of the Joist 

It is important to verify that both sides of the joist you are putting a hole through are clear of obstructions.

It is important to verify that both sides of the joist you are putting a hole through are clear of obstructions.

Now that you’ve determined where your joist hole will go, we need to talk about the other side of the joist. In most cases, if you look at the other side of the joist, you’ll see nothing there but a gap, meaning you can start drilling away. 

However, if you find an obstruction or cannot see the other side of the joist, there are some extra steps before you can get the drill out. For one, there can be all manners of things on the other side of your joist drilling spot, including metal pipes, crossbeams, and even other cables. Accidentally drilling a hole through an obstruction on the other side of the joist can cause catastrophic problems, so it’s always better to double check.

This is especially true in an old home where there are probably already joist holes with stuff running through them. It is crucial to avoid these areas since drilling through into an obstacle can cause thousands of dollars of damage, at which point you’ll likely need a plumber or hire an electrician

Avoiding an Obstacle

Let’s say you’ve checked the other side of the joist and you can see something that could get in the way; there are a few things you can do to work around this. If space allows, drilling on the side of the joist where the obstacle is can allow you to work around said obstacle. 

However, if you do not have much room to work with, you’ll have to make some measurements to determine the size of the obstacle and where it is on the joist. This will give you an idea of how much leeway you have. Once you know the size of the obstacle, start drilling slowly through the joist so you can make it all the way through to the other side without hitting the obstruction.  

A stud finder can detect potential obstructions hidden on the other side of the joist.

A stud finder can detect potential obstructions hidden on the other side of the joist.

What if I Can’t See the Other Side?

Unfortunately, it is pretty common in some homes for ceiling joists or floor joists to be quite cluttered with stuff, making it impossible to see the other side of the joist you want to put a hole in. If this is the case, you have two methods to try and figure out what’s on the other side of the joist. 

A tool as simple as a flashlight might be enough to see what is hidden on the other side of the joist. Otherwise, you’ll have to use a stud finder. While this isn’t ideal, stud finders can find electric cables and metal so they can give you an idea of what’s on the other side of the joist you want to drill into. 

In some cases, running wiring under joists rather than through them is permissible and is far simpler than drilling a hole.

In some cases, running wiring under joists rather than through them is permissible and is far simpler than drilling a hole.

Stapling Instead 

Sometimes you can find yourself in the unenviable position of not being able to see what is on the side of the joist even with a stud finder. In this case, stapling instead of drilling a hole through the joist can be the answer. It is important to check that you can do this in your jurisdiction as some building codes may not allow stapling. But if all you are doing is hanging ethernet cables from the joists, stapling the cables under the joists is much easier than drilling a hole, and takes far less time.   

MG

Written by
Mateos Glen Hayes

Written by Mateos Glen Hayes

None

comments