

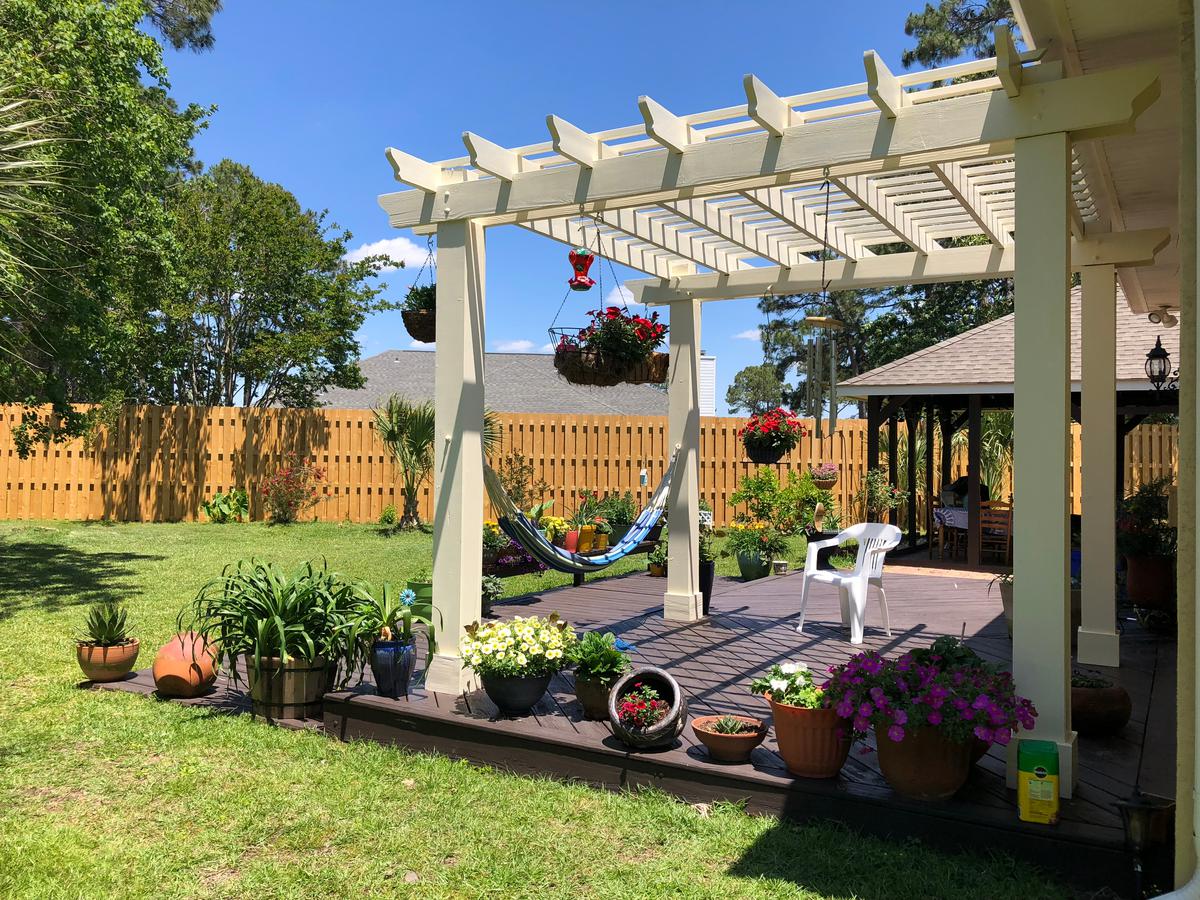
The ultimate summer project to improve your backyard in a big way is here. With a high-quality DIY pergola you can stay cool and comfortable even on the hottest summer days. The classy-looking columns of a beautiful wood pergola support an overhead wooden lattice that acts like a cool shade tree, keeping you out of the sun but still allowing a healthy dose of natural light through. Because of the way it is constructed, a pergola is quite a strong and simple structure to build and will give you many years of trouble-free use.
All you need to complete this job are a few basic materials and tools that you can find at any hardware store, and maybe a friend to help with the heavy lifting. Looking at this project you might feel a bit intimidated by all the measurements that have to be done correctly to get the DIY pergola right but worry not. We will give you all the tips and insights you need to know how to make a simple wood pergola. By following this advice you can avoid any unexpected complications.
Area Safety
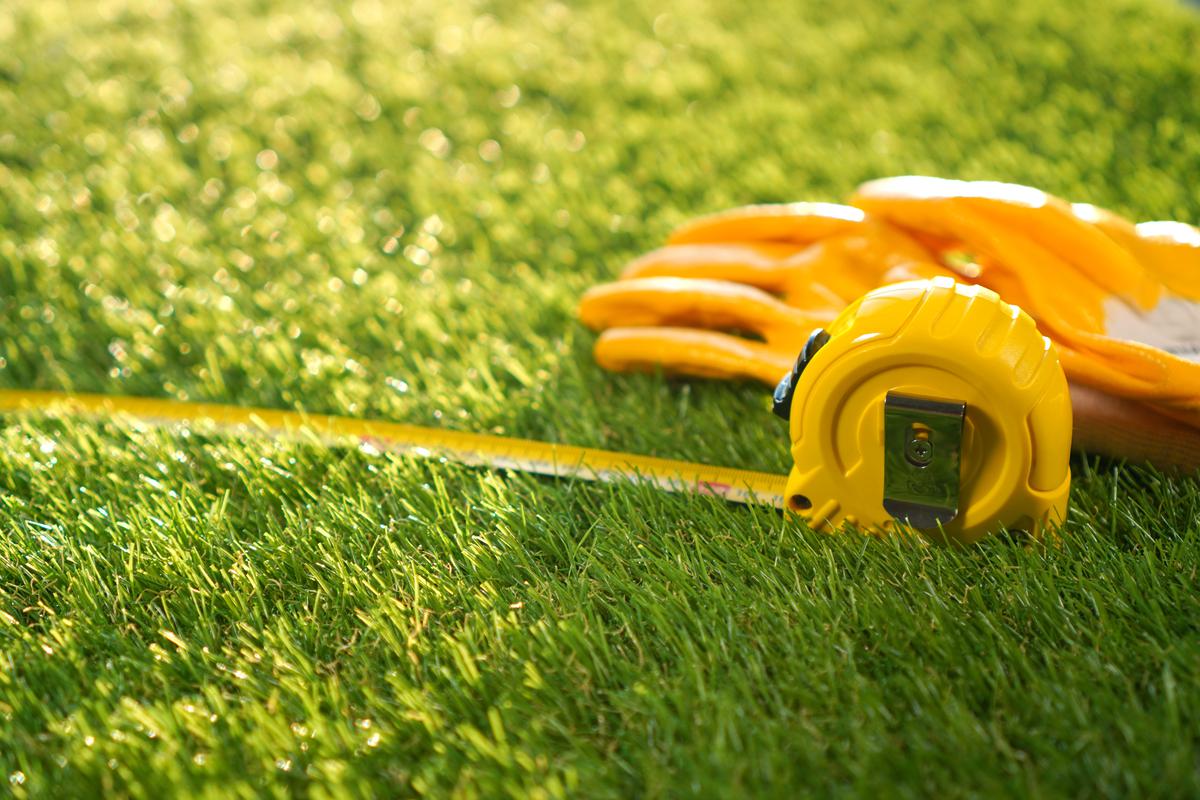
It’s best to make all the necessary measurements and check for gas lines before breaking ground on the pergola project.
Pergolas are a wonderfully versatile addition that provides shade to any backyard - and a correctly built one is also a good way to increase your home’s value. The first step of building a pergola right is arguably the most important; preparing the area and double-checking some important details. Namely, you want to make sure that the place where you are going to build your DIY pergola is not where water or gas lines are located.
These are potential hazards and will need to be well marked since you will be digging into the ground for this DIY project and don’t want to accidentally damage any pipes. It’s a good idea to look at your neighborhood's building codes as well to ensure that you are in compliance with all of your local rules and regulations. A DIY pergola project typically doesn’t require a building permit, but there are some exceptions.
For instance, if you plan to build a pergola attached to the house, or your pergola design calls for a structure that is significantly bigger than 100 square feet you will likely need to get a building permit.
Planning and Pergola Design
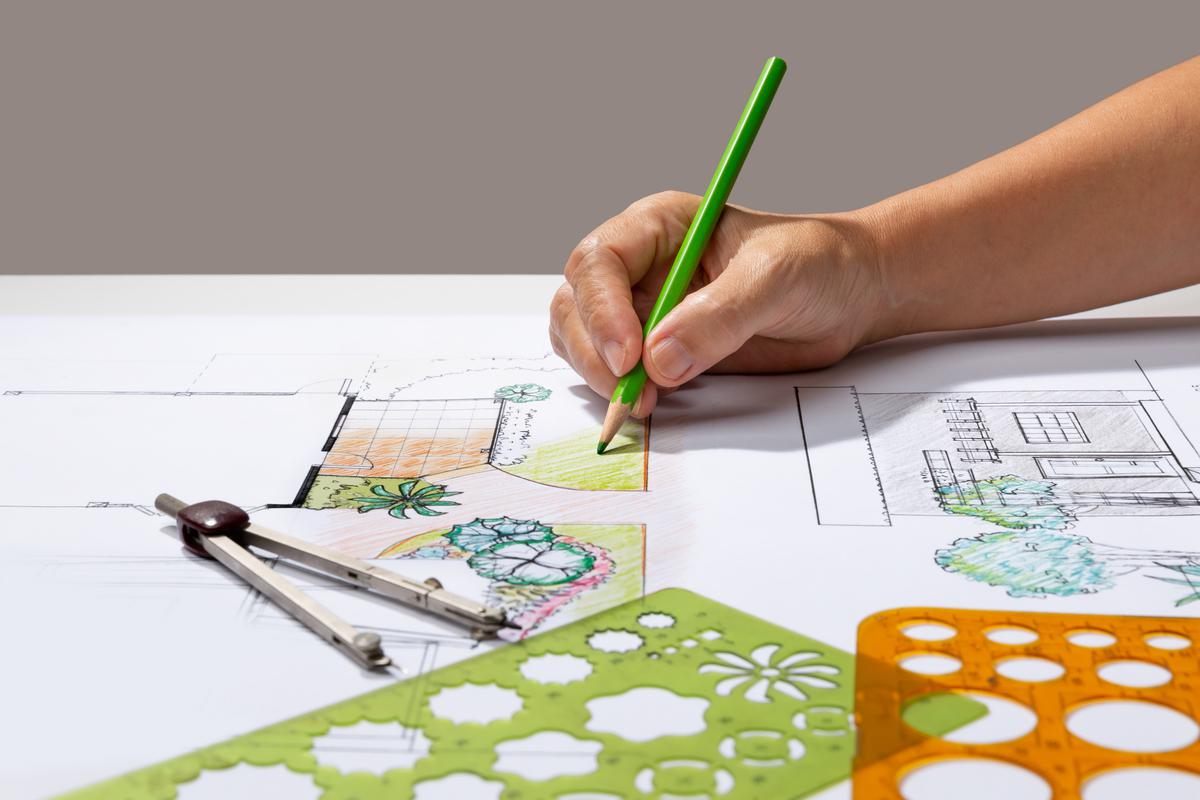
A basic schematic will give you a good idea of how the pergola will come together in real life.
Fortunately, building a pergola is a pretty simple DIY affair that you can do without the help of a licensed contractor. The planning stage isn’t as demanding as some other DIY projects. Once you have mapped out any potential hazards it's all down to drawing up a basic pergola plan that gives you an idea of the dimensions involved as well as the costs. This can be a basic hand-drawn scheme that shows the structure of the wood pergola and how everything will come together.
How Much Does It Cost to Build a Pergola Myself?
The cost of your DIY pergola project is another crucial detail that should be kept track of. You’ll be happy to know that the average cost of a DIY pergola is not prohibitive, especially when you consider how much practicality and value it can add to your property. You can expect to pay between $500 and $1,000 for building a pergola.
This cost will vary depending on what kind of wood you choose and how big or small your pergola design is. Higher-grade wood and a bigger pergola design will of course run up costs. This is generally cheaper than building shade for a full-sized patio or other outdoor living spaces.
Step-By-Step
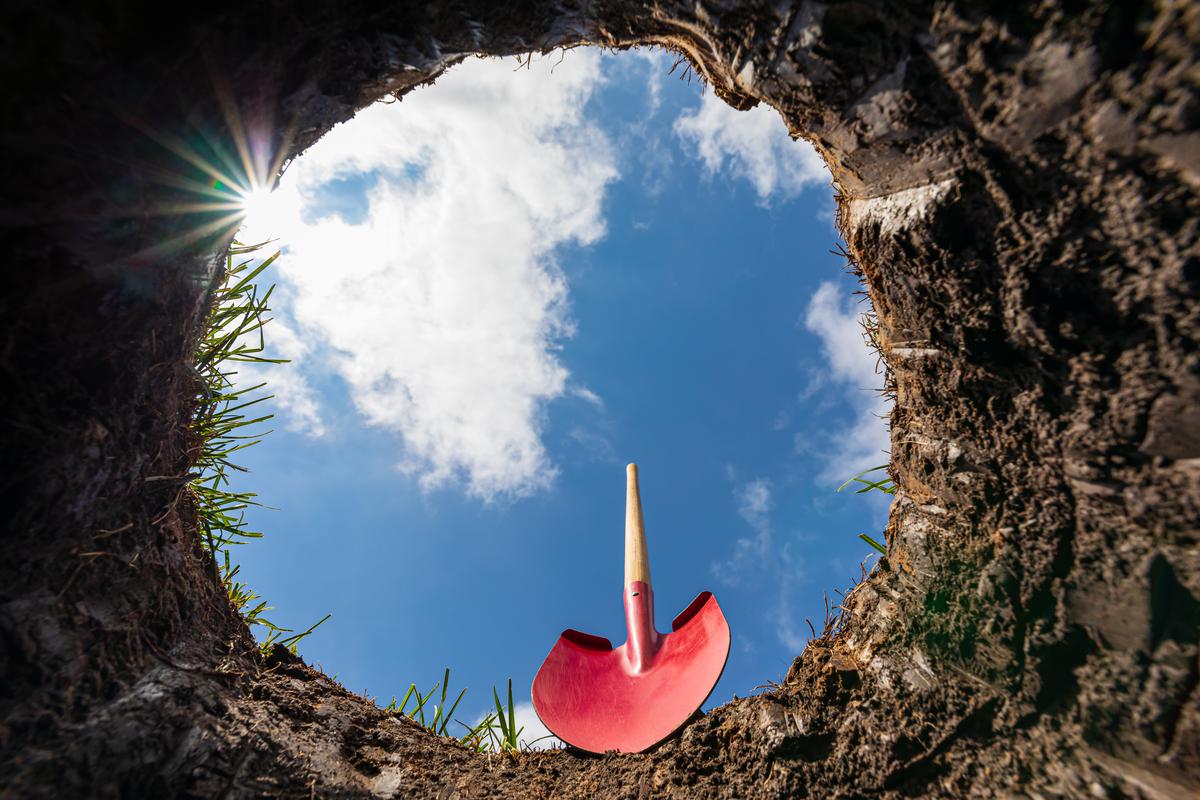
Your pergola post holes will need to be at least three feet deep so that the foundation is strong.
Once you've laid the groundwork with your wood pergola design and a few safety considerations, it’s time to get started laying the foundation of your new DIY pergola. Your DIY pergola project will bring you that much closer to a good time in the backyard with family and friends, free from the sun’s harsh rays.
Dig Holes For Posts
A freestanding backyard wood pergola will need strong foundations to stand the test of time. That means digging some deep holes that the pergola posts can be sunk into. This is probably the most labor-intensive part of the entire DIY pergola project, so be prepared to dig holes that are at least 3 feet deep. This can be done with a shovel, but we recommend using a posthole digger or auger as this will reduce digging time.
Concrete and gravel help keep the pergola posts sturdy and in alignment.
You might have to dig deeper holes depending on the consistency of your local soil. Rockier dirt is generally better because it provides a stronger foundation. The other detail to account for here is how tall your pergola posts are. The typical pergola design calls for an eight-foot high structure, meaning your pergola posts will need to be at least 11 feet high to allow for this. Once the holes have been dug, sink your posts into the holes and fill the first few inches of the hole with gravel.
Set The Pergola Posts
Setting the pergola posts with concrete will ensure that they are strongly rooted in the ground for the years to come. Before pouring in the concrete, the best thing to do is use braces to hold the pergola posts in place until the concrete dries. The posts have to be braced so that they are plumb and remain at the correct depth. An inch or so of error is not a big deal as it will not be noticeable. Once the posts are braced you can pour in the concrete-water mixture and mix with a stout stick to get rid of air pockets.

A circular saw will help you quickly cut all your beams down to size.
Cut The Beams to Size
As you wait for the DIY pergola posts to set you can use the time to cut your roof beams down to size. These are the beams that will connect the vertical posts horizontally. The basic DIY pergola uses four doubled 2x10 beams that will connect the posts in a square design. Mark the cutoff lines with a marker and cut them with a circular saw. As with the posts, an inch or two of error is not a big deal.
Install The Cross Beams
Once your cross beams are cut to size and the pergola posts are set in the concrete, attach the cross beams using construction screws. Be sure to level the cross beams with a carpenter’s level to prevent warping. Once the cross beams are installed you can use them as a guide for installing the rafters, as they will measure the same length.
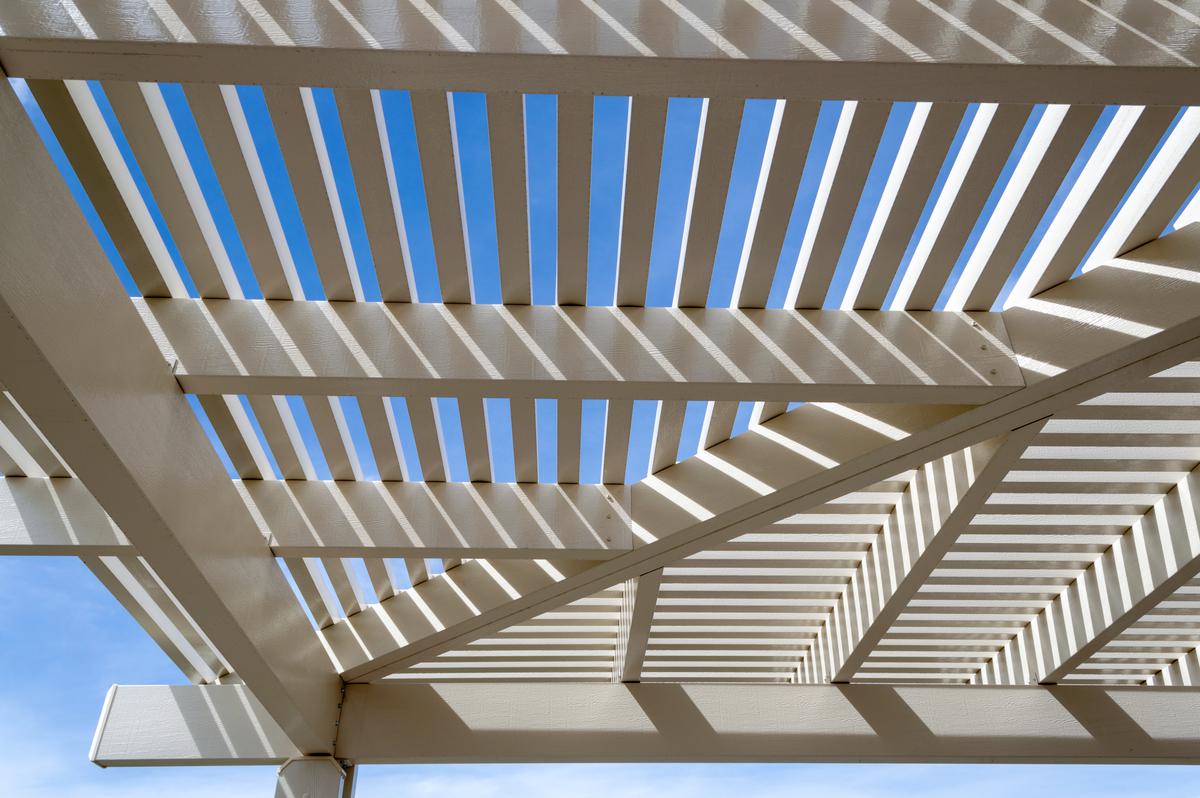
Your upper and lower rafters will interlace in a lattice structure like so.
Rafter Design
A typical DIY pergola will form a lattice pattern where the upper rafters notch over a set of lower rafters. While the lower rafters will be the same length as the crossbeams, the upper rafters are two to three inches shorter. You can also incorporate some eave patterns for the rafter ends for some added flair, although this is to be avoided if you want to keep things simple.
Securing The Top
To create notches for the upper rafter it is best to use a saber saw or a circular saw and a marker to mark where the cuts must be made. Use a hand saw or a chisel to clean out the corners of the notches. Installing the rafters should be done slowly to make sure that everything sits correctly and snugly.

Finishing gives your pergola a professional sheen and protects it from the elements.
Finishing
This is the most time-consuming step, but one of the most important. As with any wood structure, a DIY pergola will be susceptible to moisture and temperature changes, so you’ll need to give it protection in the form of staining and paint. This will also give your wood pergola a more professional appearance. Be sure to use finishing meant for waterproofing the exterior for the best results.
Pergola Planter And Other Accessories
The enterprising DIYer will always try to improve things. If that sounds like you, this DIY pergola accessory is a perfect place to start. These planter boxes can help to anchor the pergola and add even more beauty to the design. Other simple additions you can make to your pergola plan include garland lights, comfy garden seating, and even an outdoor kitchen for summer cookouts. This could be especially useful as a deck pergola idea since a large deck will give you plenty of room for furniture and cooking equipment.

comments