A Guide to DIY Ceiling Painting Without the Help of a Pro

A Guide to DIY Ceiling Painting Without the Help of a Pro

DIY
Painting
Ceiling
By Alex Mikayelyan December 15, 2021

Materials

Equipment

  • Warm water
  • Dish soap 
  • Primer
  • Paint
  • Paint Liner
  • Painter’s tape
  • Sponge
  • Vacuum
  • Cloth
  • Plastic or fabric covers
  • Sandpaper or Sanding Machine
  • Paint tray
  • Paint Roller
  • Roller Pole
  • Paint Roller Covers
  • Putty Knife

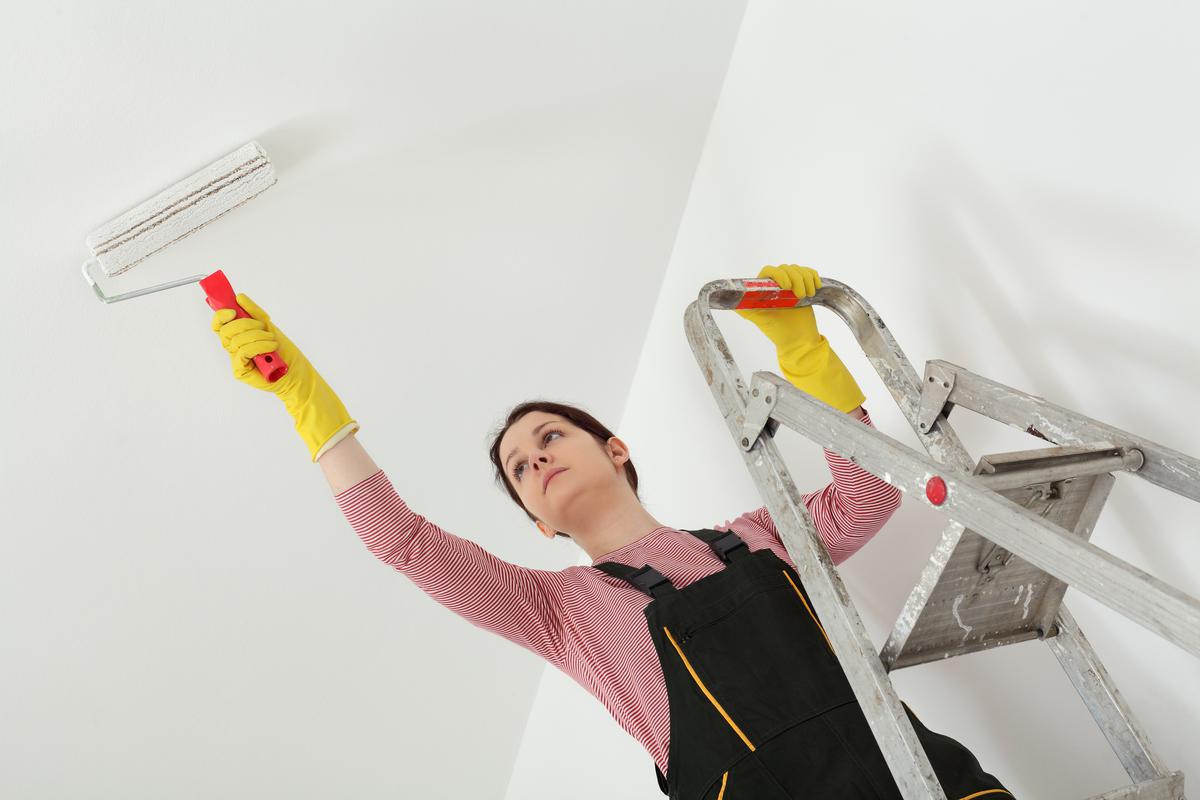
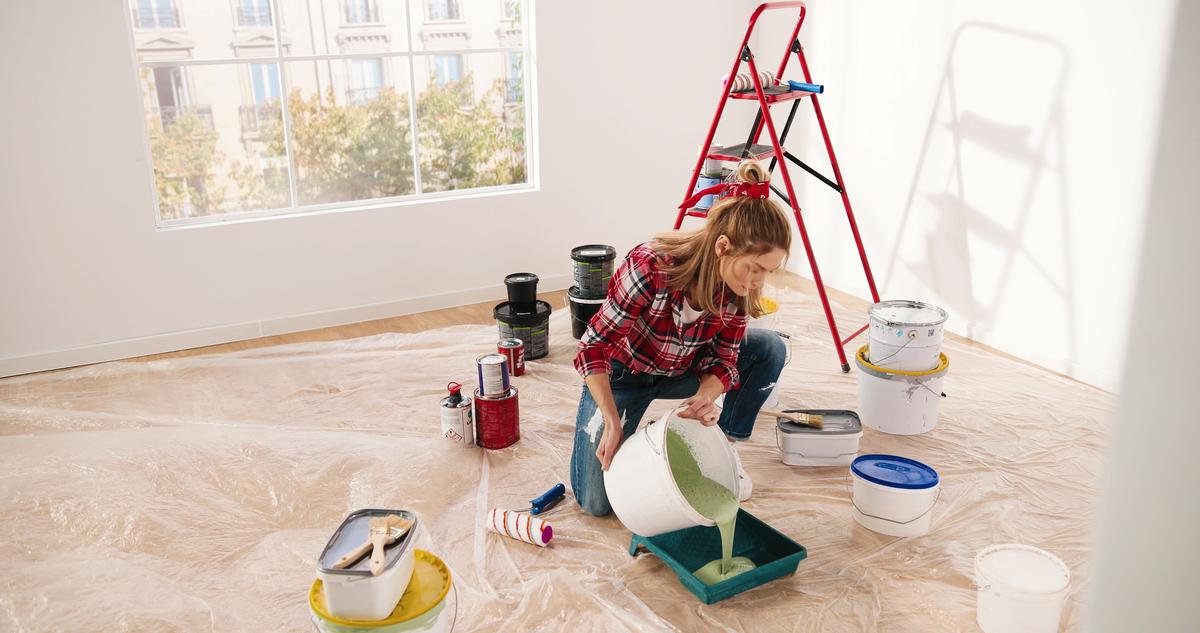
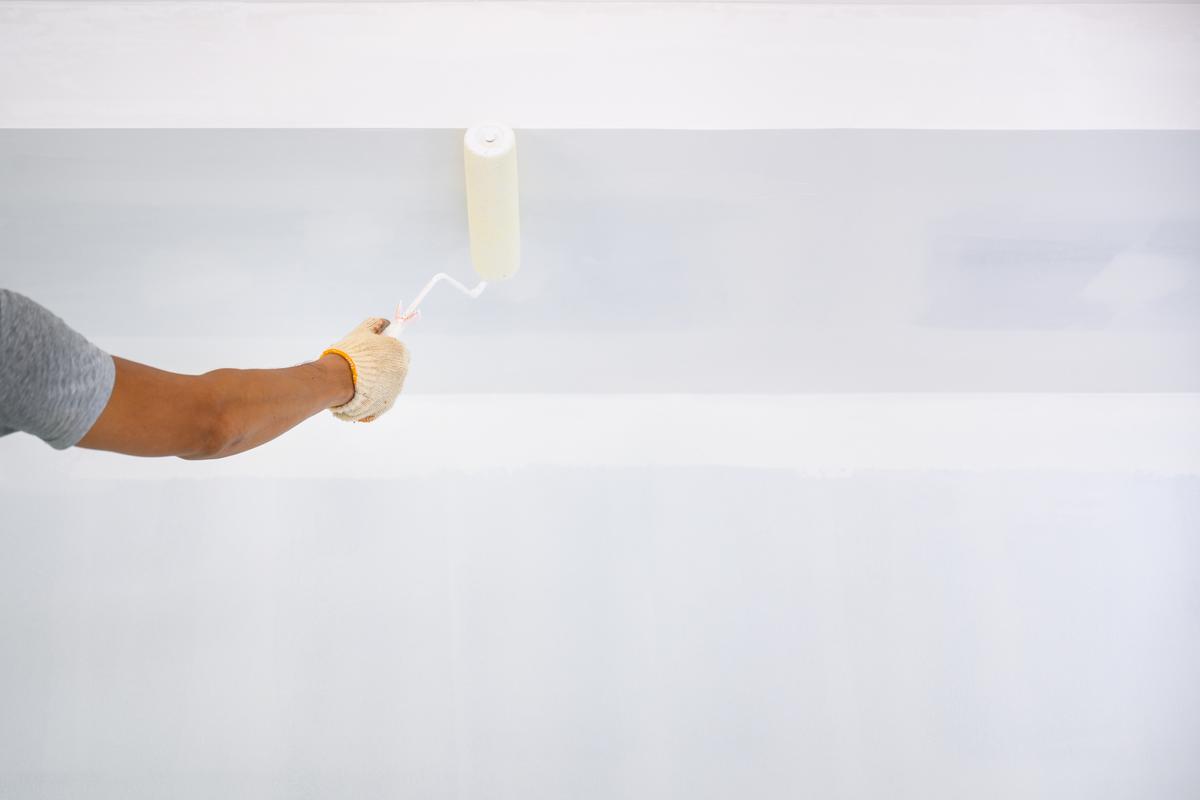
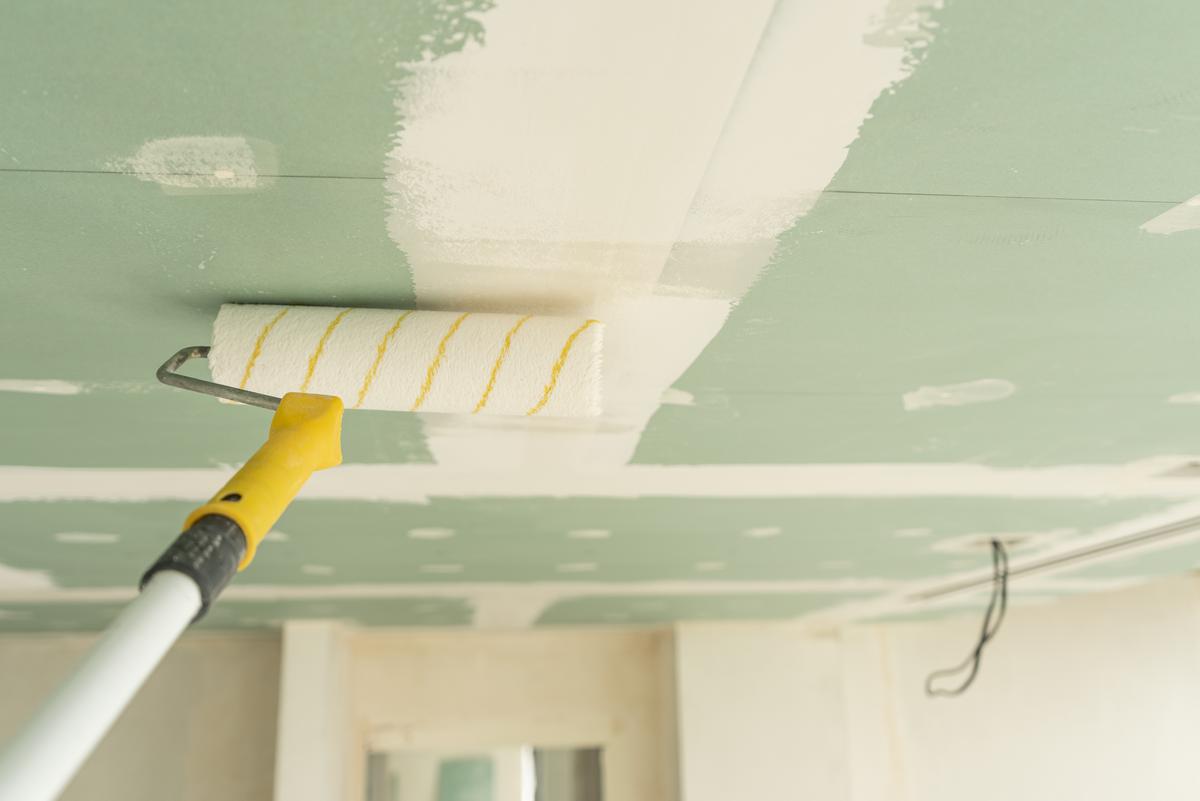
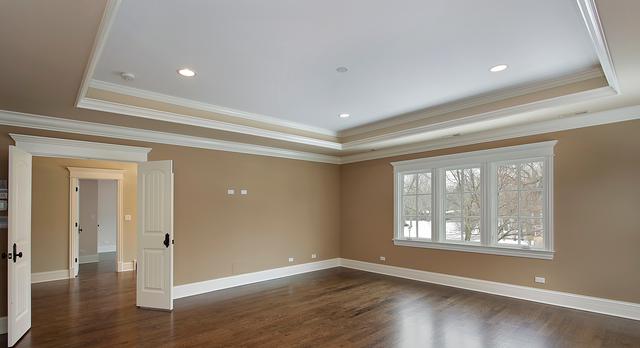
Is your ceiling in need of a little fresher-upper? Then it’s time to get painting. A fresh coat of paint on the ceiling will go a long way in restoring the vibrant atmosphere of your interior and gives you the opportunity to change the vibe of your room. Ceilings are the most open and visible surface in most rooms and this makes them a crucial design element. A drab and worn out ceiling will make the entire room look.

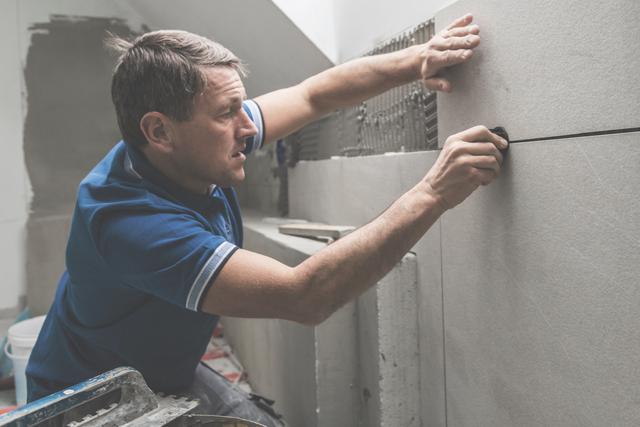
While hiring a professional painter these days is a breeze, painting the ceiling is a fun and rewarding project to do yourself. But painting is by no means easy and there are a lot of nuances to getting it just right. With the following steps and pro tips in mind, you can successfully repaint your ceiling without any help from a pro. By learning the ropes of painting, you have the freedom to redesign your interior in the future any time you please, not having to rely on anyone else. 

Getting the Room Ready

How to Set Up Room for Painting

How to Set Up Room for Painting

First order of business is opening up the floorspace. Sure you could drape plastic tarps over every surface that does not need any paint dripping on it, but the furniture will get in your way as you’re painting. So, the easiest workaround is to simply vacate any and all pieces of furniture from the room and open up as much of the floorspace as possible.

Pro Tip: The ceiling color you choose will have different effects. For example, bright colors, like white ceiling paint, will reflect more light and make the room seem bigger than it actually is. If you’re looking to create a more contemporary and minimalist interior, the ceiling paint color you choose should be somewhat muted. So, a complementary ceiling color for gray walls would be a different shade of gray or a dark blue. 

Clearing the Surfaces

The Importance of Removing Light Fixtures from Ceiling Before Painting

The Importance of Removing Light Fixtures from Ceiling Before Painting

The floor is not the only surface that should be clear of any obstructions. There are also the walls and the ceiling itself that need to be completely devoid of any lighting fixtures, shelves, or decor. Take all of them off the walls and ceilings, leaving all the surfaces completely empty. Once all the surfaces have been completely emptied, cover the floor with some sort of fabric or plastic by taping it against the baseboards of your walls. It’s better to use fabric as it is less likely to tear, but if you have plastic, that can work just as well as long as you’re careful not to tear it as you walk around. Bring in all your paints and equipment into the room, organize them into a corner where you won’t trip into them and now your workspace is ready. 

Cleaning the Ceiling

Why and How to Clean the Ceiling Before Painting

Why and How to Clean the Ceiling Before Painting

Before you apply the paint it is very important to clean the ceiling. Dust, caked-up dirt, and other particles may be resting on the surface of the ceiling. By painting over them you’re pretty much elongating their stay. Additionally, if you paint your ceiling a matte color, all these little deformities are going to be very noticeable and mar the otherwise perfectly smooth surface. Wash your ceiling with warm water that’s mixed with detergent. Use a soft cellulose sponge and wash the ceiling of any stains and caked dirt. This will also get majority of the dust out of the way too. Once you’re done, let the damp ceiling dry, then use a dry cloth to get any remaining dust off the surface.

Pro Tip: If you wish for the ceiling imperfections to not be as visible, avoid glossy or sheen paints. The brighter and more glowing they are, the more visible all the tiniest imperfections will be. The best ceiling paint to use that covers up these imperfections are matte or flat paint.

Protecting the Molding 

Why You Should Cover Your Molding Before You Paint

Why You Should Cover Your Molding Before You Paint

If your ceiling has molding that you’re not looking to replace, use painter’s tape to cover them up to keep them from being painted over or damaged. This should also be done with the baseboards, as well as window and door frames. Do this after you’ve cleaned the dust off these surfaces so the tape has an easier time sticking to them. 

Preparing the Ceiling Surface

What You Should Do to Prepare the Ceiling for Painting

What You Should Do to Prepare the Ceiling for Painting

After the ceiling has been dusted with a dry cloth you can optionally vacuum it as well. This will get dust and loose pieces of primer and paint off the surface, making it easier to paint over in the long run. Then use a sanding machine to clean the ceiling paint finish off the surface. 80 grit sandpaper is recommended to get a smooth finish. Any less and you’ll end up with big and very visible scratches on the ceiling. For the big flakes of paint, you can also use a wide putty knife as you would when removing wallpaper. Once done with the sanding, vacuum the ceiling once more to get rid of the dust and residual finish particles. 

Get Your Primer Ready

How to Prepare Your Primer and Paints

How to Prepare Your Primer and Paints

Throughout this entire time, your paint and primer cans must remain closed. This is done to prevent any of the dust from going into them, possibly diluting the color. Also, leaving paint out for too long before painting with it can result in inconsistent color. So, keep the lids on the paint cans closed until you’re ready to start painting. Pour the primer into one of the paint liners and start dipping the roller into it. Then attach the dipped roller onto the pole, the contraption that is used when painting high ceilings. Once the painting equipment is ready, it’s time to get your hands dirty.

Pro tip: Ceiling paint needs to have as little drippage as possible since the force of gravity is even greater than if you were painting the walls. It’s a good idea to choose paint that is more viscous as this will greatly reduce the drippage. 

Applying the Primer

How to Apply Primer Onto the Ceiling

How to Apply Primer Onto the Ceiling

Once you’ve made sure the roller is not dripping, start covering the entire surface of the ceiling with primer. It’s best to start from one side of the room and make your way to the other. This way the entire surface gets relatively the same amount of primer. If you were to do it from random areas, the primer would come out uneven. Once the surface is completely covered with primer, use a standard brush to go over the edges near the painter’s tape. This ensures that you get all those little spots that the roller missed and the edges of your ceiling are not devoid of any primer. Let the primer dry for anywhere from an hour to four hours. If the room is bright enough you should see if there are any wet spots where the primer hasn’t dried yet. If you can’t get the idea of the primer’s dryness visually, then lightly touch various parts with your finger and see if any of it sticks. But typically, you won’t have to wait for more than four hours.

Pro Tips: If the room you’re painting is too dark, bring in some floor lamps to brighten up the room as much as possible. Make sure there is enough light in every corner and the illumination is even all throughout the room. Keep in mind that interior paint complements lighting. So because of uneven lighting, you may also end up painting unevenly. 

Let the Painting Commence

How to Evenly Paint the Ceiling

How to Evenly Paint the Ceiling

If you didn’t have fun applying primer, then you’ll definitely enjoy actually painting the ceiling itself. We assume that you already poured your paint into a different paint liner and have a new roller cover on the brush ready to go. Same procedure as with the primer — lightly roll the brush through the paint and make sure it’s not dripping. The best way to paint a ceiling is to divide it into grids. Depending on the dimensions of your ceiling you can do 2x2 or 3x3 foot squares. This way you can keep your painting more consistent and even as you go along, which prevents all kinds of imperfections in the long run, such as ceiling peeling and even entire chunks of paint falling off the ceiling. Painting from different sides, random spots, and varied angles can result in uneven paint distribution. This way you can divide the surface accordingly and cover the ceiling as evenly as you can. If you feel as though the paint is still transparent in some areas as you didn’t use enough of it, then apply a second coat to cover that up too.

AM

Written by
Alex Mikayelyan

Written by Alex Mikayelyan

None

comments