A DIY Guide On How to Remove Wallpaper

A DIY Guide On How to Remove Wallpaper

Walls
Small Projects and Repairs
By Alex Mikayelyan October 06, 2021

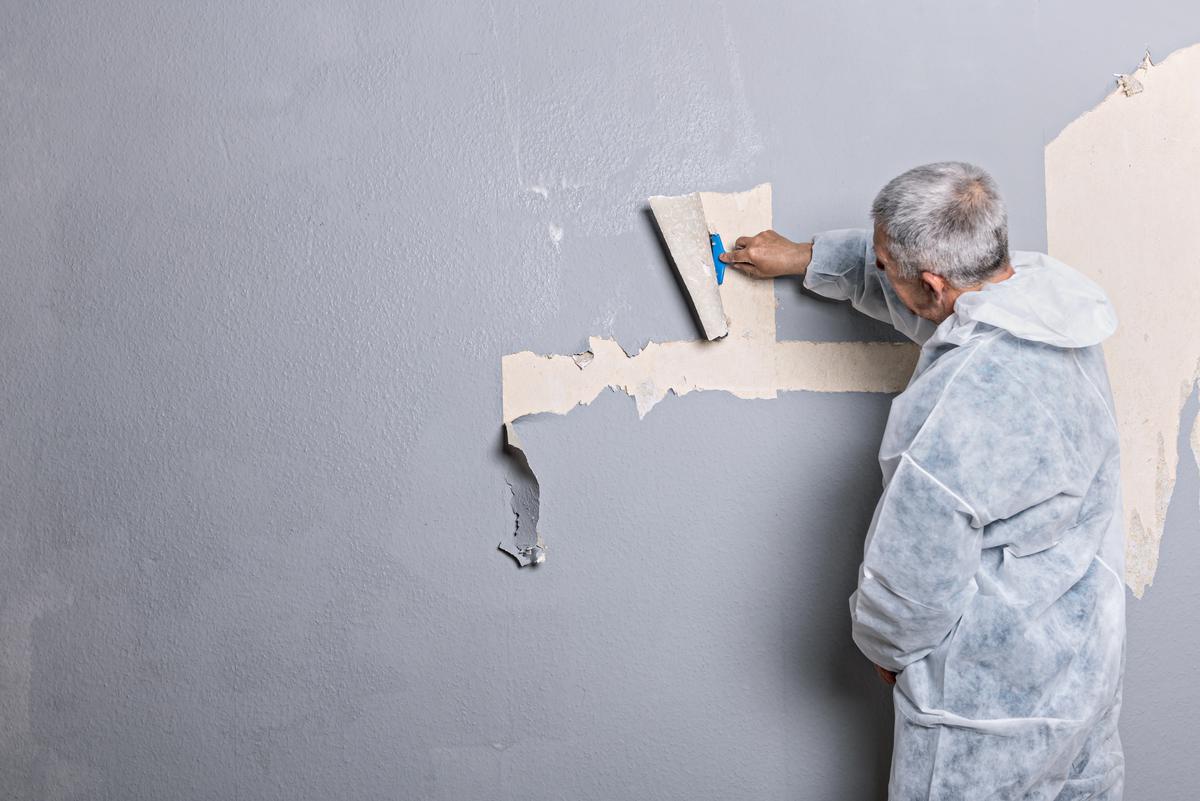
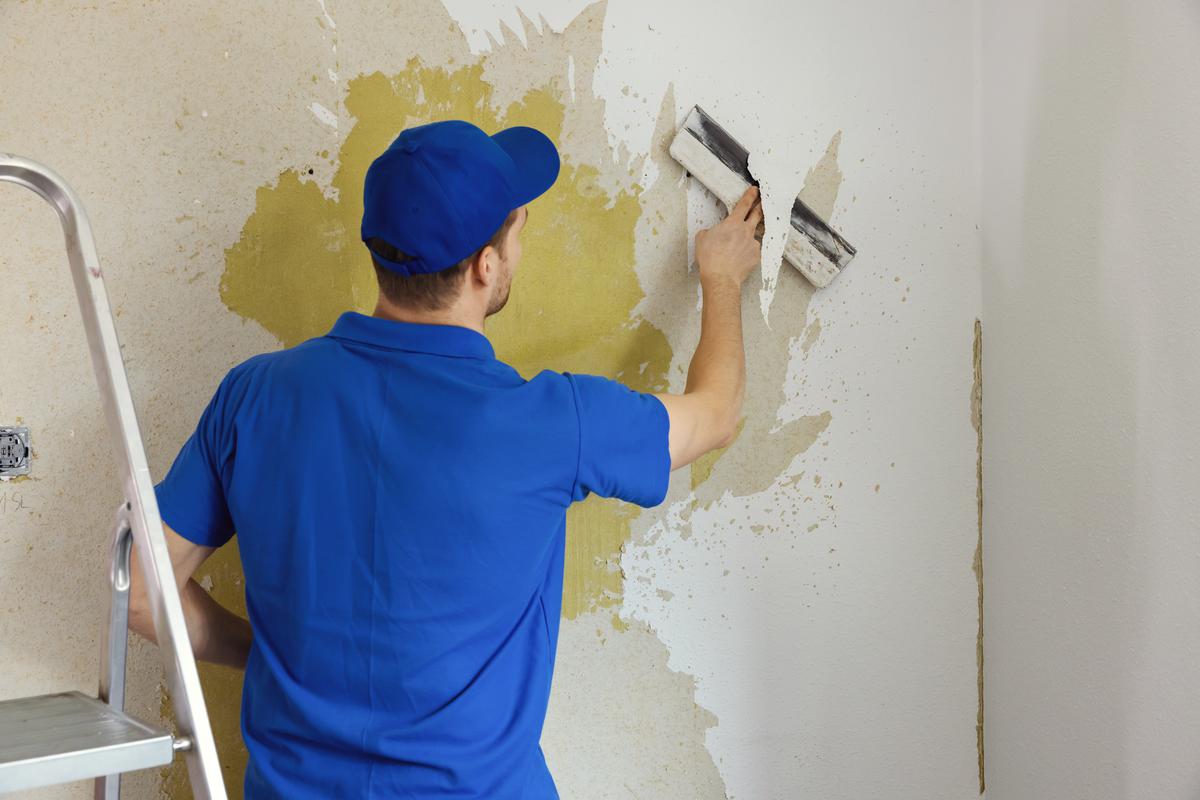
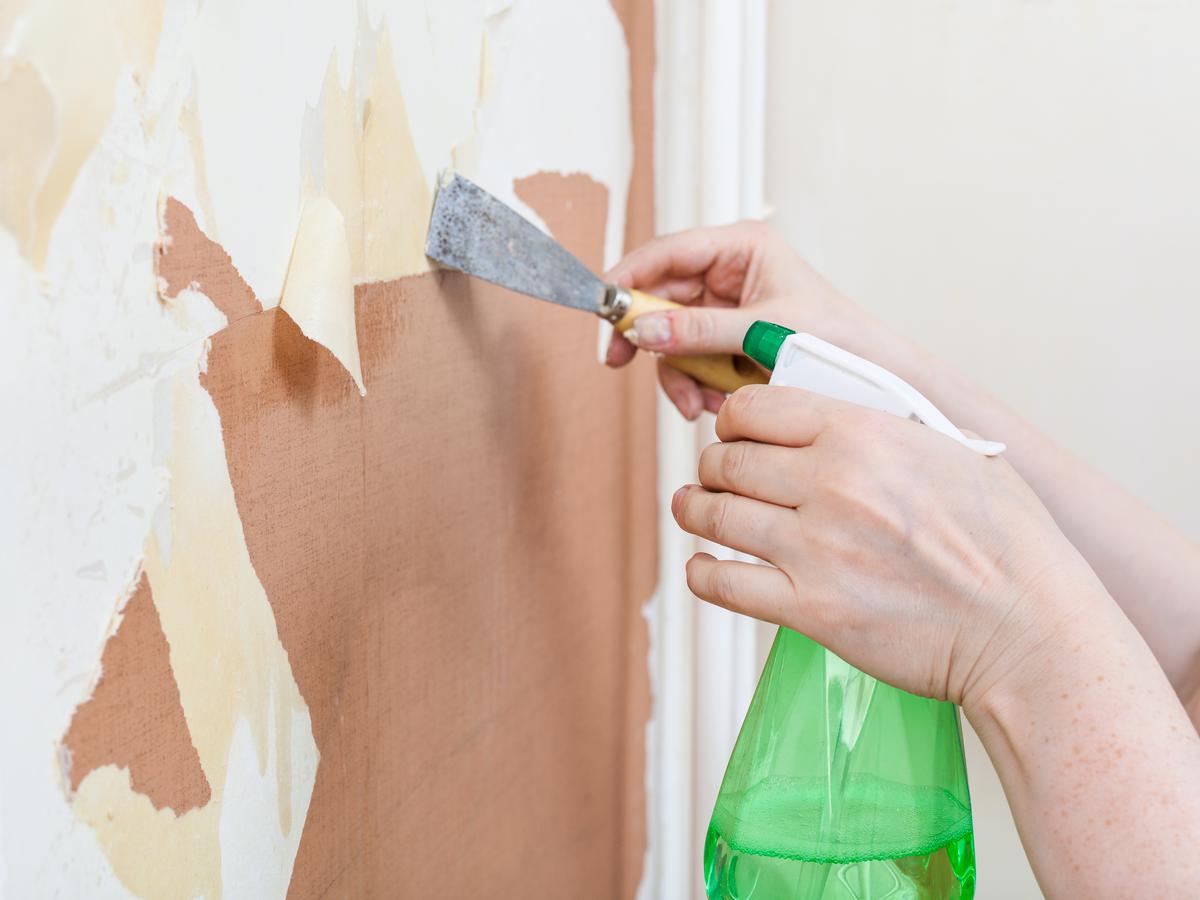
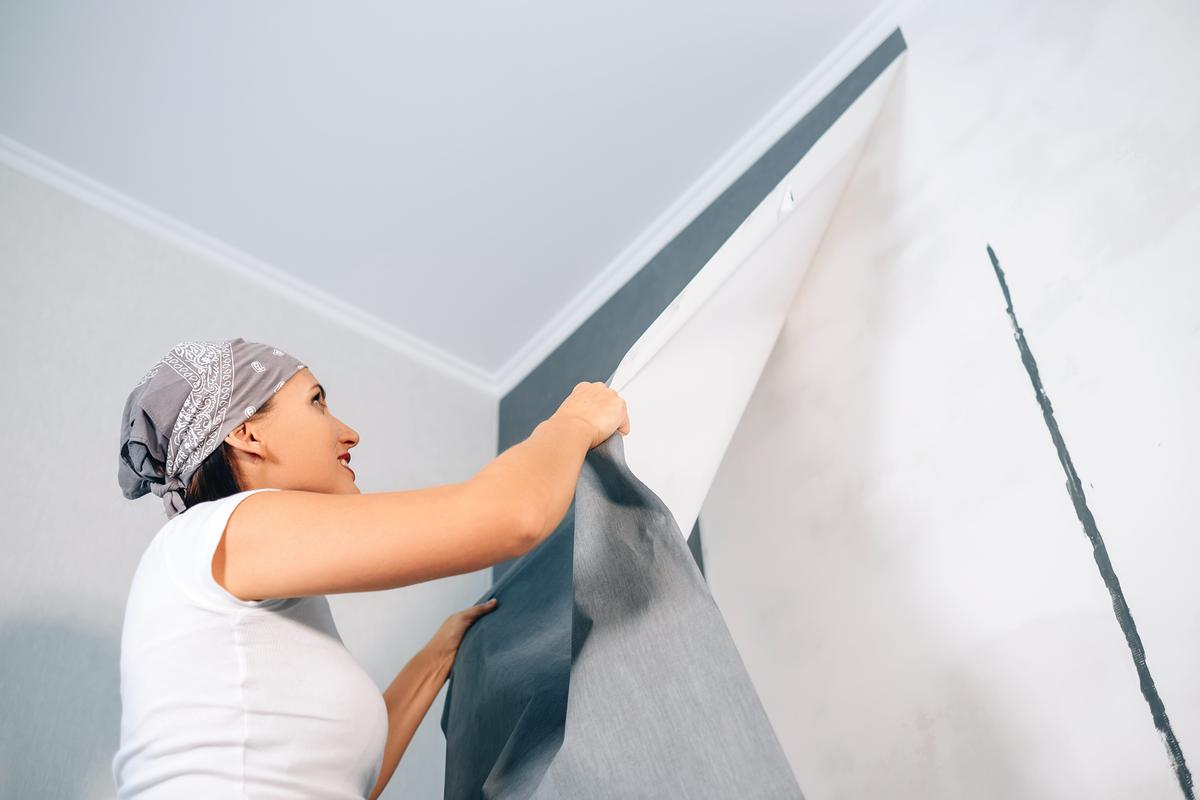
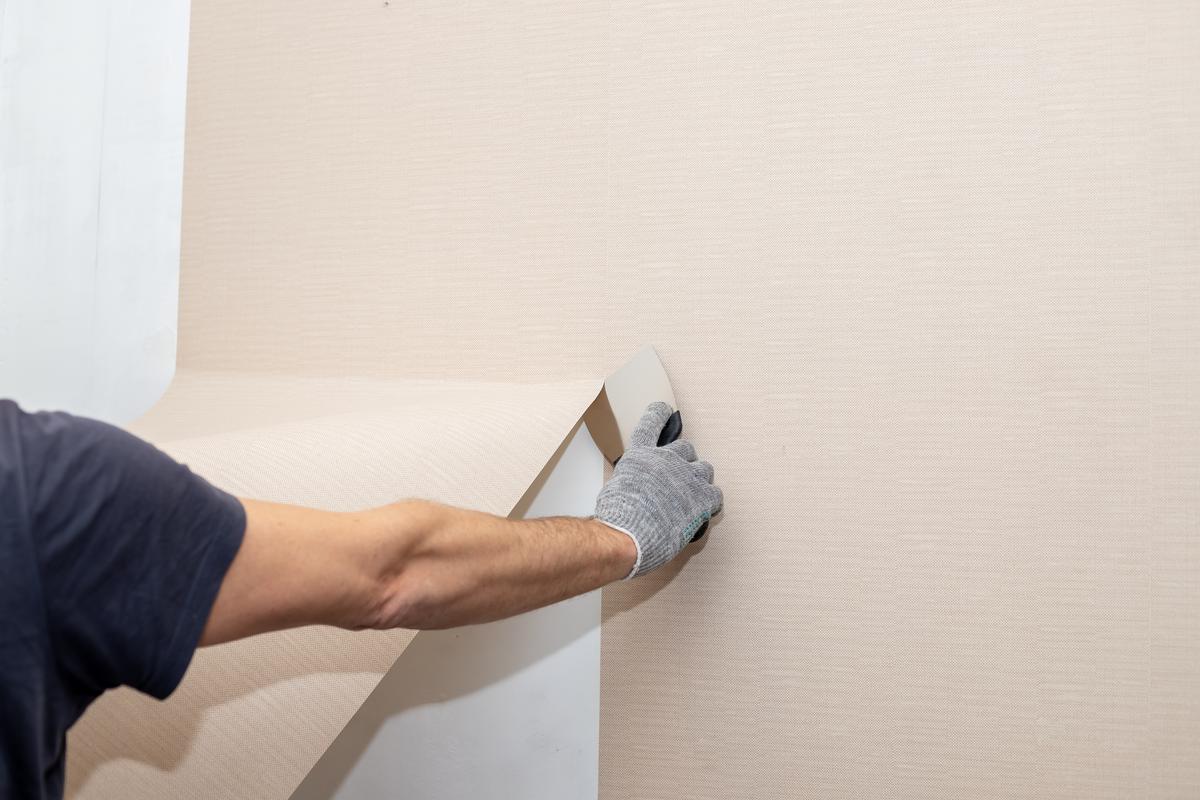
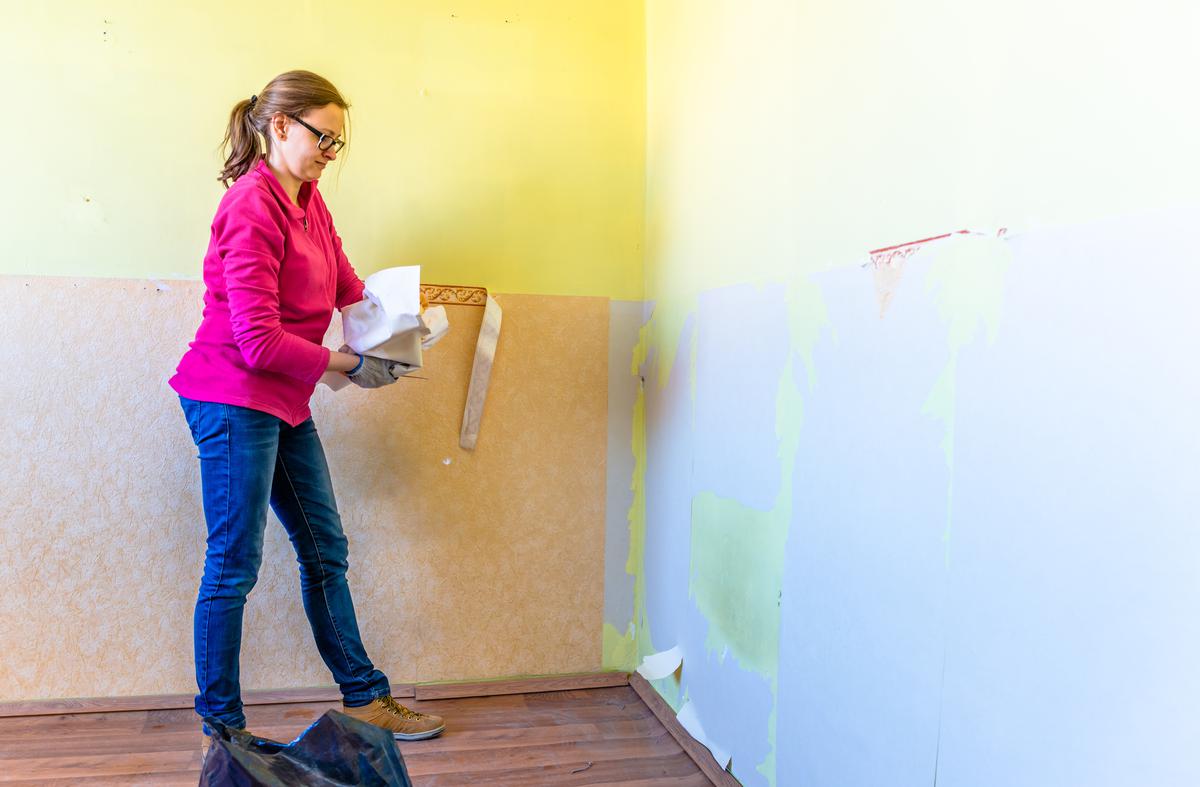
There comes a point in our lives where we have no other choice but to say “out with the old and in with the new”. “The old” in this case is old wallpaper and “the new” is whatever you want to cover your walls with. But this is way easier said than done. Removing wallpaper is just a bit more complex than scraping at it and ripping it off the wall. 

There are many steps to removing home wallpaper that does not want to come off. As difficult as applying wallpaper may seem, removing it successfully is also no easy task. With a guide and a few tips, homeowners will be ready to get rid of that old Peppa pig wallpaper in the kids’ room or the antiquated flower wallpaper for something more fitting with the times.

Before Getting Started

Pre-Prep Is Key When Planning on Removing Wallpaper

Pre-Prep Is Key When Planning on Removing Wallpaper

The best way to remove wallpaper is, first off, to prepare. Before getting to any piece of the wall, it is very important to take care of some preliminary tasks. Taking everything off the walls is a very good place to start. You might be surprised at how much stuff there is on your walls once you begin removing things, like nails for paintings that have long fallen, push pins hiding behind furniture, and power outlet cover plates – something many homeowners forget to remove. This could end up damaging the plastic cover, requiring a replacement one to be installed.

Don’t Forget to Turn Off the Power Before Removing the Wallpaper Around the Outlets

Don’t Forget to Turn Off the Power Before Removing the Wallpaper Around the Outlets

On the topic of power outlets, remember to turn off the power to the room you’ll be working in. This is an extra safety precaution you can take to ensure that no loose wire or outlet gives you an accidental jolt as you are working. Open up the windows and work with as much light as possible. If the room does not get much sun then bring out a LED construction light to brighten everything up.

It is also a good idea to clean the walls before peeling off the wallpaper. Regardless of whether or not the wallpaper is new or old, there is going to be some debris on the surface that will make it harder to remove. Also, as you’re peeling off the wallpaper, this dirt could come into contact with your clothes and skin, making it even more important to clean the walls before starting the removal. 

Being Cautious to Dangers Should Be A Priority

Being Cautious to Dangers Should Be A Priority

Another precaution you should take is to wear gloves (preferably rubber construction ones) and goggles. Wallpaper does not peel off smoothly, It will come off in whisps and little chunks, which could get smaller particles into your eyes. Any residual adhesive wallpaper could also flake off and while it is not necessarily dangerous, it can irritate the eyes. Goggles and gloves will ensure that you do not feel any discomfort as you work.

Step-by-Step Guide to Removing Wallpaper

With all the precautions taken, materials ready, and tools at hand, you can now begin removing the wallpaper.

Mix the wallpaper remover solution with warm water.

This acid made of non-toxic ingredients helps dissolve the wallpaper adhesive making it easier to remove.

"Mix a Remover Solution With Warm Water

"Mix a Remover Solution With Warm Water

Pour the solution into a spray bottle.

You can use a spray bottle to apply the wallpaper remover. Use a bigger spray bottle as you are going to be covering a lot of surface area; the bigger the spray radius, the easier it will be for you to cover the wall with wallpaper remover more efficiently.

Spraying Wallpaper Remover Evenly Will Help the Peeling Process

Spraying Wallpaper Remover Evenly Will Help the Peeling Process

Start from a corner of the room

It’s best to work in one direction as you would when painting the walls. Most painters, wallpaper specialists, and contractors advise not to move to a different point on the wall if you are not yet finished with the side you started. This way your work will be consistent both in terms of the results and time management. 

It Is Advised to Start Peeling Wallpaper From a Corner of the Room

It Is Advised to Start Peeling Wallpaper From a Corner of the Room

Spray the wallpaper remover section by section. Do not spray the entirety of the wall with it, as the solution will dry up. Segment your work and spray around three feet of wallpaper at a time. Give the solution some time to get absorbed by the wallpaper and you will notice how it gets looser as the adhesive dissolves. 

Pro Tip: If you find it hard to keep track of which part of the wallpaper you have already sprayed, use a writing utensil to score the area so you know exactly which section has remover on it. 

Spraying the Wallpaper Remover Section by Section Makes the Process Smoother

Spraying the Wallpaper Remover Section by Section Makes the Process Smoother

Remove the wallpaper

You can remove the wallpaper by tearing it at the corner and pulling it off. It may come off very easily by hand, but older wallpaper tends to rip as you pull on it. For this, you will need the putty knife to scrape off any residuals left behind. Keep peeling and using the putty knife until you have removed three feet of wallpaper.

Pro Tip: Some of the wallpaper residuals will not come off as easy even with a putty knife. You may need to apply some additional water to the spot, let it soak up, and then try again, scraping along the wall. Avoid putting too much pressure on the putty knife as it may end up damaging the drywall underneath, in which case you would need drywall mud (compound) to fix up the holes. 

Pulling Down the Wallpaper Corner Makes the Removal Process Much Easier

Pulling Down the Wallpaper Corner Makes the Removal Process Much Easier

Clean the wall

Make sure to clean the wall after you have removed all the wallpaper and its residuals. Use a sponge and soapy water to clean up the dust and grime that has built up underneath. This can also remove some of the remaining drops of wallpaper adhesive and will ensure that you have an easier time installing the new wallpaper or painting the walls.

Move on to the other parts of the wall once you are finished with the previous ones and continue repeating this process until you have removed most of the wallpaper.

Pro Tip: You may not be able to remove every single bit of wallpaper as some residual layers may hang on tight. If they can be peeled off with a putty knife, spray them with a little more wallpaper remover. If not, then scrape off as much as you can. As long as the surface of the wall is smooth, those tiny leftovers shouldn’t be too problematic.

What to Avoid

Be Careful With a Putty Knife as Excessive Force May Damage the Wall

Be Careful With a Putty Knife as Excessive Force May Damage the Wall

  • Do not use excessive force when working with the putty knife. Despite it being bendable, it is still a very strong tool and can damage your wall if you push too hard. Many putty knives come with sharp corners, which can also bore into the drywall if your hand slips. You can find special putty knives which have rounded corners, but even then you should still be careful when working with them.
  • Avoid peeling off wallpaper by hand unless it easily comes off. There are peel and stick wallpaper types that are very easy to pull off the wall, but most older ones were applied using very strong adhesives. If you try to pull this kind of wallpaper by hand you will make your work even harder, as it will not come off entirely and you will be forced to go over the area once more. Unless it is removable wallpaper, use your tools for most of the peeling.
Keep Your Working Area Clean and Organized to Avoid Hazardous Situations

Keep Your Working Area Clean and Organized to Avoid Hazardous Situations

  • Keep the area clean. Having a messy work environment is going to put a major strain on the flow of your work and can even create a hazardous working environment. Big pieces of wallpaper can be a tripping hazard. Also, it makes it harder for you to find your tools and materials when the entire floor is covered with wallpaper. Keep everything organized, especially the torn scraps of wallpaper.
  • Be careful with the smaller details. While it is perfectly fine to be a little daring when working with the center of a wall where there is little risk of damage, corners, window sills, and door frames can be easily damaged if you’re not careful. When you reach these parts of the wall, simply slow down your pace and be a little more gentle with how you remove the wallpaper.
AM

Written by
Alex Mikayelyan

Written by Alex Mikayelyan

None

comments