A General Guide to Building Your Own Floating Deck

A General Guide to Building Your Own Floating Deck

Decks and Porches
Additions and Remodels
Small Projects and Repairs
Outdoor and Gardening
Outdoor Additions
By Contractors.com Team June 01, 2021

Want to get a taste of the outdoor life, but camping trips aren’t something you can do over a weekend? Having a floating deck in your backyard is a convenient way to take advantage of great weather and is a perfect addition to your home. While it’s nothing more than a few boards and some posts, this little platform opens up opportunities for many outdoor activities. 

Cookouts, picnics, backyard camping, and simply enjoying the evening breeze with a good book are just a few of the many activities that become available to you with a deck. For many people living in warmer parts of the country, decks are an irreplaceable part of their homes. 

What’s a Floating Deck?

What Is a Floating Deck

What Is a Floating Deck

Before we get to building one, let’s look at how a floating deck differs from a standard one. Most decks you’ll find are attached to some kind of structure, whether it’s the house, a garage, or shed. It’s a very convenient way of making backyard living a bigger part of your life.

As opposed to standard decks which have at least one side attached to a building, detached, island or floating decks are entirely separate. This means you’ll need to have some extra room in your backyard if you want to enjoy the luxury of a floating deck. However, keep in mind, that decks can be of any size or shape. So even if you have a smaller backyard, you can still design the deck to take full advantage of the space available.

It’s also very easy to confuse decks with patios. While they’re both external additions to your home used as outdoor living spaces, their integral structural features are different. Patios sit at ground level and have a paved, stone, or concrete surface. Decks are almost always made of wood, are built a couple of feet (or floors) higher, and can be set on top of other structures, like a garage.

Why Have a Floating Deck?

Why You Need a Floating Deck

Why You Need a Floating Deck

Outdoor Recreation 

It’s impossible not to acknowledge the more obvious benefits of having a deck, especially as staying home has become the new normal. It’s a great place to relax, get some fresh air, organize cookouts, have picnics, and step away from the daily routine. Simply put: it acts as an outdoor living room. Considering how busy and stressed everyone is nowadays, even a few minutes out in nature could give you the energy to focus on your work for the rest of the day.

Become the Enviable Host

Decks are also the ideal venue for summer evening gatherings. One problem with picnics and cookouts is getting tables and chairs to stand upright on uneven ground. Floating decks give you the best outdoor dining experience. You can enjoy being closer to nature with friends without constantly having to balance your chair or keep cups from falling off the table.

How to Become the Enviable Host

How to Become the Enviable Host

Improve Property Value

If you don’t consider a floating deck to be too critical for improving your mental well-being or the quality of time you spend with your friends, then let’s think more pragmatically. When selling your home, every feature, from the smallest closet to an extra lawn chair is taken into consideration and can potentially help improve your property value. A floating deck, especially one that’s professionally constructed and well-maintained, could be that extra reason to tip the bidding scales in your favor when your property goes up for sale.

How A Deck Can Improve Your Home Value

How A Deck Can Improve Your Home Value

What You Need to Build a Floating Deck

Everything You Need to Build a Floating Deck

Everything You Need to Build a Floating Deck

If you’re aching to have a deck but the idea of building a deck yourself is a cause for hesitancy then consider calling a contractor or professional deck builder to take some of the weight off your shoulders. It won’t cost you much and you’ll have a custom-made deck for your home ready in a matter of days. Depending on the size and design of your floating deck, getting a professional designer to make one for you would cost anywhere from $4,000 to $11,000.

However, if you have the time and resources to spare for a DIY floating deck, you can build it yourself. It seems like a pretty big task at first, but once you get into the rhythm of it, it can turn into a fun weekend activity.

Design

Floating Deck Design Ideas Perfect for the Summer

Floating Deck Design Ideas Perfect for the Summer

As with any DIY construction project, planning a floating deck starts with design. Before you can even think about buying materials or starting to build, you need to have comprehensive floating deck plans. These should not only include stylistic choices but also have all the measurements accurately taken and documented. Additionally, it’s a good idea to make sure you have all the right permits at this stage — you don’t want to come across any legal issues halfway through the project.

The first design feature you should take into consideration is the size of your floating deck. Look at your backyard and see how and where the floating deck can fit in. Take all the measurements, from how high off the ground you want it to be, to its length and width. Also, think about its shape and form. Many people opt for the basic square or rectangular design, but you may be interested in something more complex.

You can look through tons of design ideas for inspiration and create something entirely unique for yourself.

Tip: If you have younger children, pay attention to the height you settle on for the railings of your deck in order to design a space that is safe as well as stylish.

Materials

Materials Needed to Build a Floating Deck

Materials Needed to Build a Floating Deck

Once you’ve picked out a design and have all the measurements, you need to buy all the materials. Initially, the many choices of products, tools, and equipment may be a little intimidating, but keep in mind that decks are actually very simple structures. They’re simply elevated platforms, with a few base posts supporting them through the ground.

The first batch of materials you’ll be looking for is the square 4 x 4 posts. If you want additional sturdiness then you should go for the thicker 6 x 6 posts. These posts will be cemented into the ground and will act as the main load bearers. 

For framing a floating deck you’ll need 2 x 8 (or 2 x 10) timber boards for the joists, as well as joist connectors. Most deck surfaces are covered with wooden boards, usually using the same kind of wood as the frame. There are also PVC deck boards, which can be entirely plastic or mixed in with wood. The advantage of PVC is that it never collects moisture, unlike regular wood.

You’ll also need a weed barrier, which is a kind of plastic tarp that keeps any grass from growing below the deck. It also protects the structure from any burrows or hives that small animals and insects might dig up. The rest of the materials you’re going to need are the miscellaneous nails, screws, and other tool-kit basics to fasten everything into place. As far as equipment goes, you can use standard saws, drills, and hammers to get the job done. If you have a table saw handy, it will make your work a lot easier.

How to Build a Floating Deck

How to Build a Floating Deck

How to Build a Floating Deck

Once all the materials have been procured and your design plans are ready, you can start building a floating deck

1. Foundation

Start by digging holes for the load-bearing posts. Make sure they’re deep enough that plenty of cement can fit in there to make them sturdy, but don’t make them too low. You want the frame to be above the ground when you fasten it to the support posts.

2. The Frame 

After the posts are set and sturdy, your next step is to put together the frame. You start by connecting the posts with beams, which are double 2 x 8 or 2 x 10 supports latched to the posts with connectors. You will then attach more 2 x 8 or 2 x 10 timber boards perpendicular to the beams, which then act as the joists in your deck. Joists are structural supports used to cover the empty space and they’re what you’ll be building your deck’s surface on. Depending on the size and dimensions of your frame, you’ll be using a set number of these joists, connected to the beams via specialized joist connectors. 

The span between each joist will vary. So while we can’t give you an exact number for this span, we can suggest that you use any of the numerous joist span online calculators. These will give you an exact number of joists you’ll need, as well as how far apart to set them. 

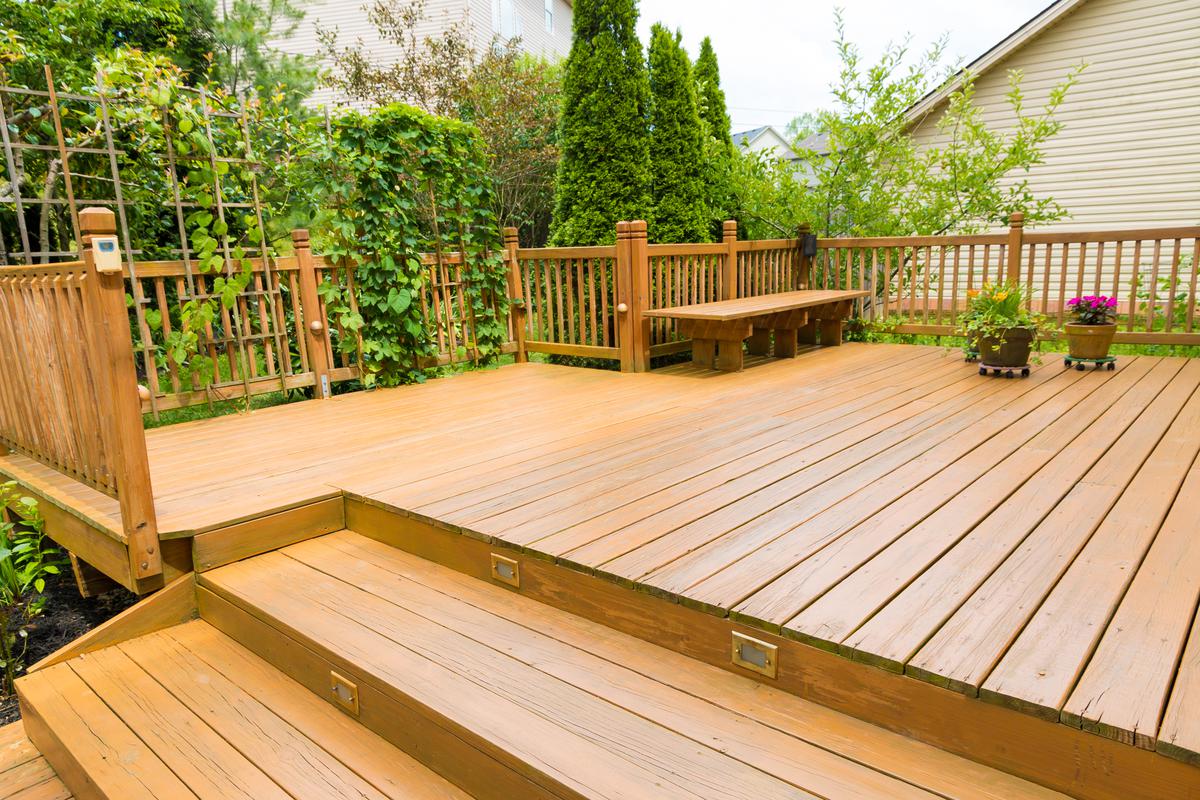
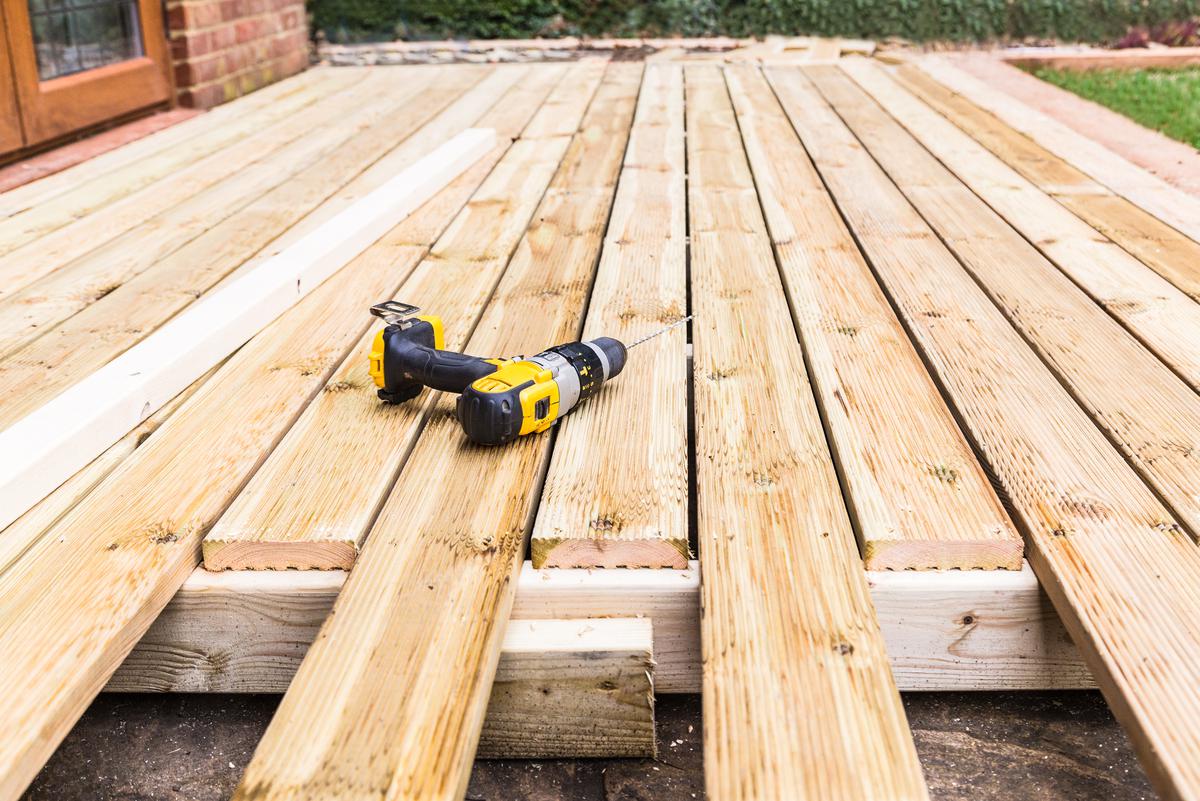
3. Deck Boards and Surface

Once these joists are set and firmly attached to the beams and frame, you now have the structural support needed to attach deck boards. These are standard 2 x 4s or 2 x 6s that you can bolt onto the joists. They’re not very expensive if you’re using ones made of natural wood, which can cost up to $10 for each board. Deck boards made of PVC and other composite materials can cost upwards of $70 per board. So, decide on which one will suit your design ideas and budget before making the purchase.

4. Stairs

You can use the same materials for the stairs as for the deck to keep it all aesthetically consistent. If you’re having trouble making them, we’d recommend speaking with an expert carpenter or joiner who will have experience building structurally sound stairs. Decks are relatively easy to make, but stairs require a bit more technical nuance.
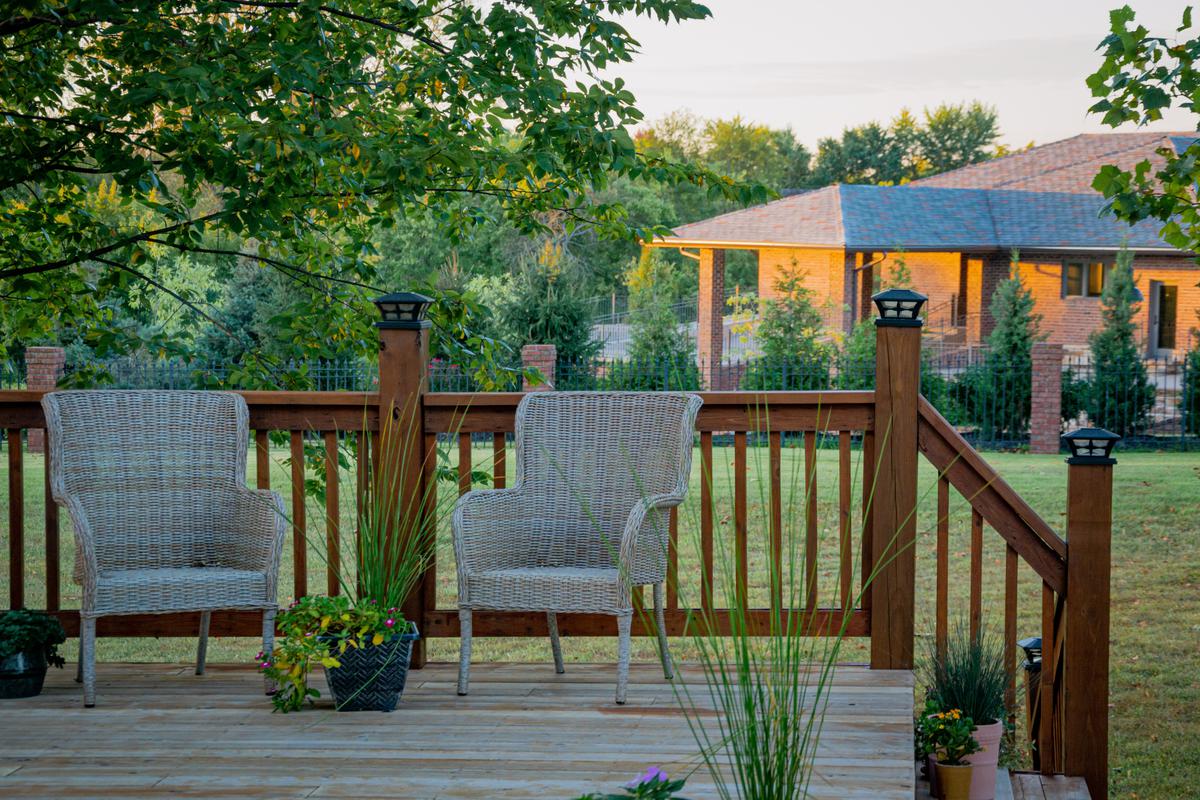
5. Railings

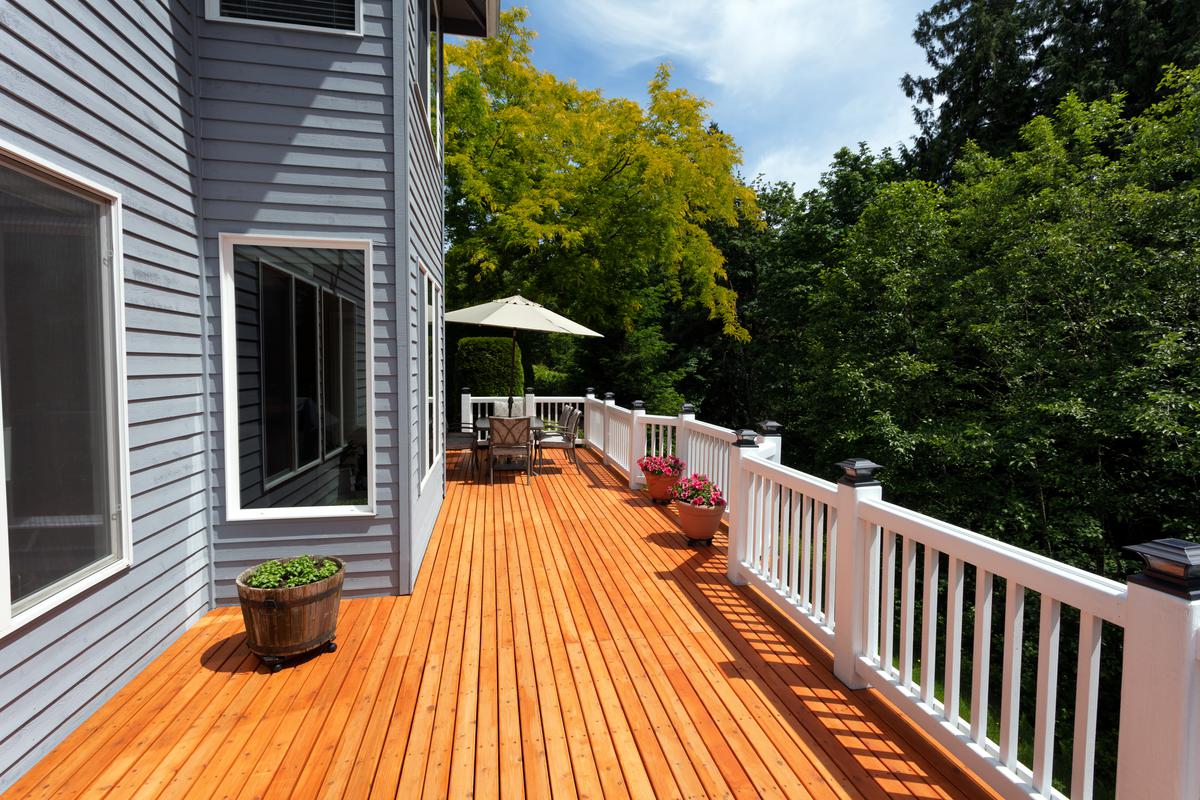
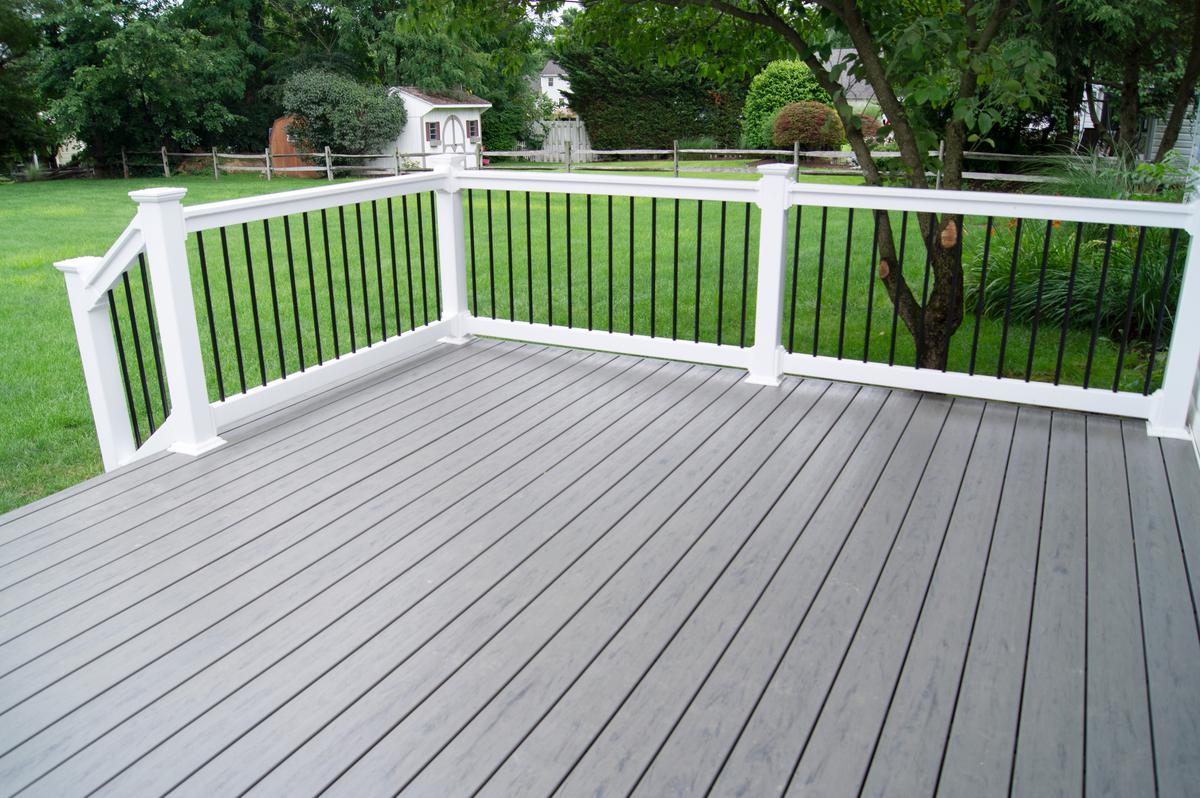
If you want to have railings on your deck, you can build them with the same material, however, you’ll need to commit a lot more time and effort. Railings can be a bit complicated, however, you can also buy them premade and attach them to the deck yourself. Making stair railings by hand actually sums out to be more expensive than buying them premade. You can find railings around $100 for the linear foot, though there are also more budget-friendly options. All you’ll need to do is calculate the area of the deck, the railing height, and then pick the design.

6. Minor Additions

Other than this, there are just a few finishing touches to consider when building a detached deck. You’ll need to check the structural integrity of the deck and make some final styling touches. For instance, this is the time to install light fixtures, paint the boards, and place permanent additions like an umbrella or overhead cover.

You have a lot of options in deciding how your deck will look and function. The workload may seem like a lot at first, but once you get into it and start building, you may just end up opening a can of DIY worms. When you’re finished, you’re rewarded with a gorgeous floating deck that complements the landscape around your home and gives you a relaxing spot to enjoy the lovelier times of the year. Building your own deck is a fun DIY project and really satisfying when you’ve finally pulled it off.

DIY Floating Deck

DIY Floating Deck

Written by
Contractors.com Team

Written by Contractors.com Team

Welcome to the Contractors.com Team, a group of passionate individuals dedicated to helping homeowners achieve their dream home through the best-in-class service providers and inspiring content.


We believe that every homeowner deserves to have a home that they love, and we're committed to making that a reality. Whether you're looking to remodel your kitchen, renovate your bathroom, or build your dream home from scratch, we've got you covered.


When it comes to creating content, we take a multi-faceted approach. We gather insider tips from experts in the home service industry, and do our own thorough research to write informative and engaging articles that are tailored to our readers' needs. At the same time, we harness the power of A.I. and GPT-3 technologies to generate titles, headlines, and even entire articles that are optimized for SEO and designed to provide value to our readers.


We're committed to providing the best possible service to our readers, and we're always looking for ways to improve. Whether you're a homeowner looking for inspiration or a service provider looking to join our network, we're here to help you achieve your goals.

comments