7 Steps to Build a Magical Treehouse Yourself

7 Steps to Build a Magical Treehouse Yourself

Small Projects and Repairs
Additions and Remodels
Outdoor Additions
By Mateos Glen Hayes May 26, 2021

Building a treehouse is one of the quintessential pastimes of young life in American suburbia, as well as in urban dreams of suburbia. It’s a wonderful excuse for some backyard fun and will give you a great space for outdoor recreation. It’s a wholesome time for the whole family and everyone can participate in the process. Plus, you can teach your tykes some new skills along the way. As home projects go, building a treehouse is one of the easiest and most rewarding. 

When it comes to how to make a treehouse, there are some important things to consider to ensure your vision is carried out without a hitch. As you work to realize your child’s plan for a magic treehouse, consider this your guide to DIY treehouse building. 

A DIY Project Everyone Will Be Excited About

A DIY Project Everyone Will Be Excited About

How Much Does Building a Tree House Cost?

While it is possible to put down as much as half a million dollars to have a professional build a modern “tree mansion”, treehouses for kids can be a great affordable backyard idea because they are quite reasonable projects when it comes to price. You can usually buy all the materials you need for as little as $400. If you chose to buy a prefabricated treehouse and assemble it yourself, this costs $1,600 on average. Depending on your project’s specifics you might also need to rent some special tools such as a table saw or a router, and these can cost $100 to $200 per day. On average a simple treehouse can be built in about 5 days. 

What You Need to Get Started

What You Need to Build a Treehouse

What You Need to Build a Treehouse

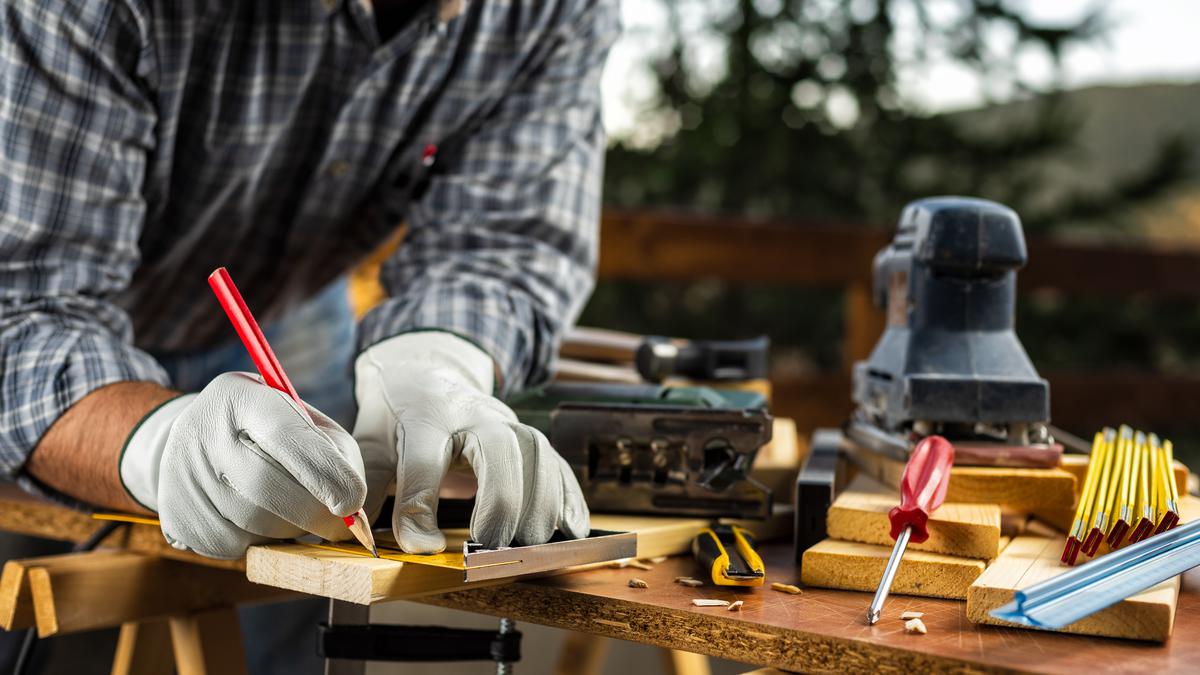
Thankfully, large power tools aren’t required to build a cool treehouse, and you can get by with a set of basic tools. When it comes to hand tools, it is recommended that you have:

  • an adjustable wrench, 
  • a hammer, 
  • a level, 
  • a square, 
  • and some tape measures. 


Aside from that, the only power tools you’ll need are a cordless drill and a jigsaw. A ladder is also a very useful thing to have for a project like this. However, if you don’t have one, you can get away with using a stepladder, provided you build a ladder to your treehouse early on in the project. 

Here are the materials you’ll need for a basic treehouse:

  • wood,
  • decking materials,
  • crews and washers,
  • rafter ties,
  • and some nails.


Naturally, wood is the main ingredient. You can either buy lumber from any major hardware store, or you can get timber from a tree on your property. If you plan to cut down a tree to use for lumber, be sure to check with your local government to make sure you don’t need a permit. Of course, since it is already processed and cut, lumber will be more practical but may end up being more expensive, especially if you choose to buy high-grade wood. In addition to this, you’ll have to get some decking material, screws and washers, rafter ties, and some nails. 

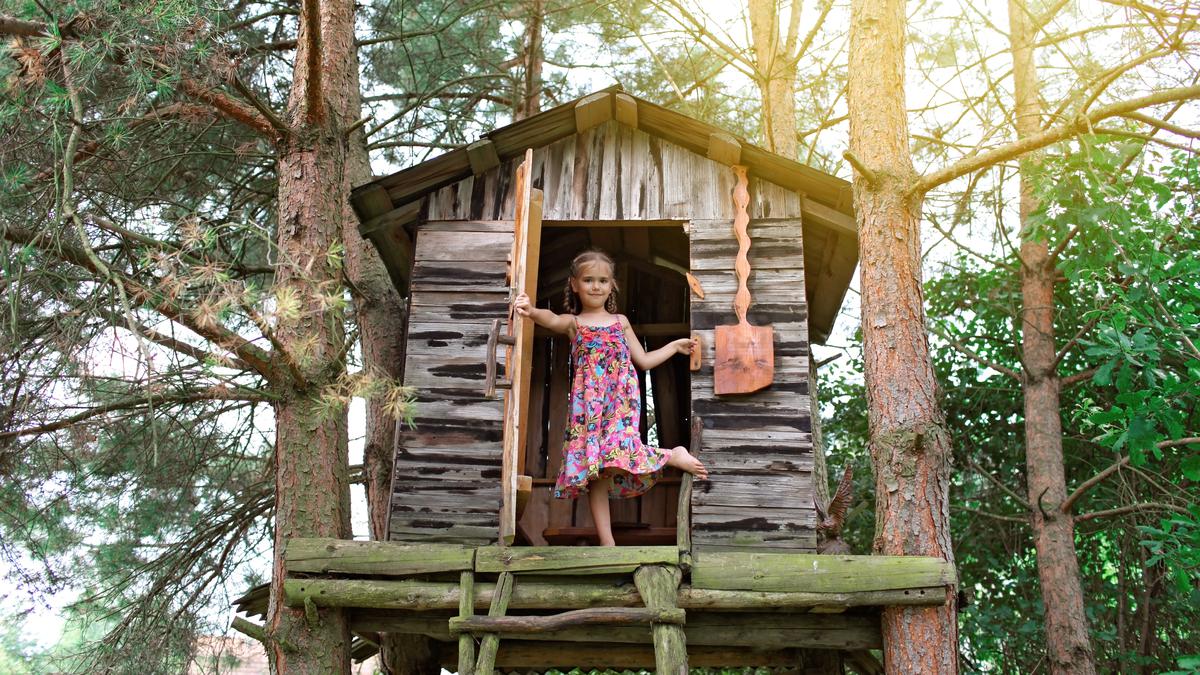
How To Build a Treehouse, Step by Step 

1. Pick a tree.

As with any project, the first and most important step to build a treehouse is planning. When it comes to treehouses, that means picking the right tree. Picking the best tree will better prepare your treehouse to stand the test of time. Multiple trees are better than one, especially for bigger treehouses, but this isn’t always possible to find. If you only have single trees, you’ll need to find one with a splitting trunk that could support your treehouse, and you might need to build pylons for additional support. In general, you should look out for healthy deciduous or coniferous trees. Namely, oaks, maples, beeches, and hemlocks are all ideal. Avoid trees that have shallow roots, and be sure the tree you pick isn’t too high. Ten feet is usually plenty. 

Tip: Even if you choose the strongest tree, your treehouse will still likely damage it. The extra weight will stress the tree’s roots and fasteners could cause an infection. For this reason, you should avoid a sick or damaged tree, since it will be less likely to survive the strain. This is a great reason to use pylon supports since this will take some of the weight off the tree. When making your design, minimizing the number of times you have to puncture the tree bark will help keep your tree healthy.     

2. Create a treehouse design.

Once you have found the ideal tree, the next step is to draw up a plan. Your treehouse design will be where you define how high the platform of your DIY treehouse will be, and how large it will be. The plan will also make it easier to figure out how much material you will need. Your blueprint should account for the tree you have chosen. This means that your treehouse design should allow for the tree to grow, and should have gaps so branches aren’t obstructed. Make sure that your treehouse design makes room for exits that are big enough and logically placed. This means you should avoid putting an entryway anywhere that could become easily obstructed, in a blind spot, or somewhere without a railing.  

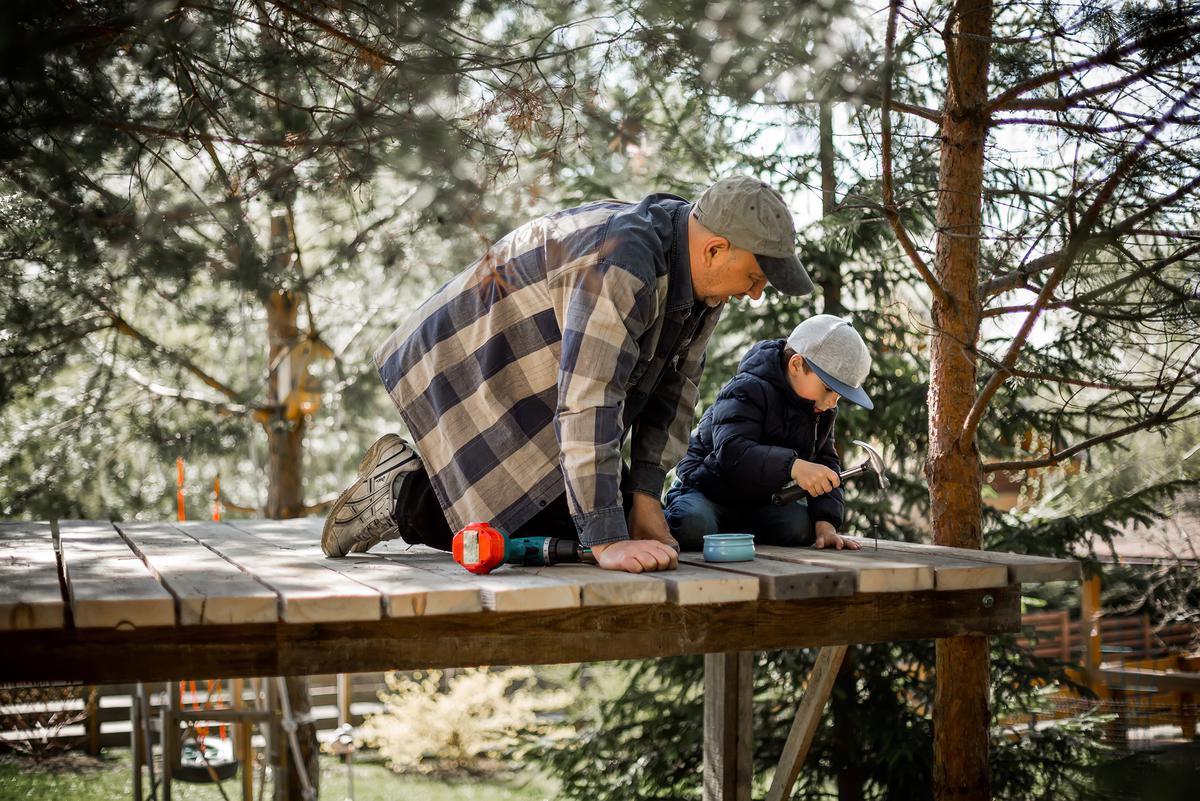
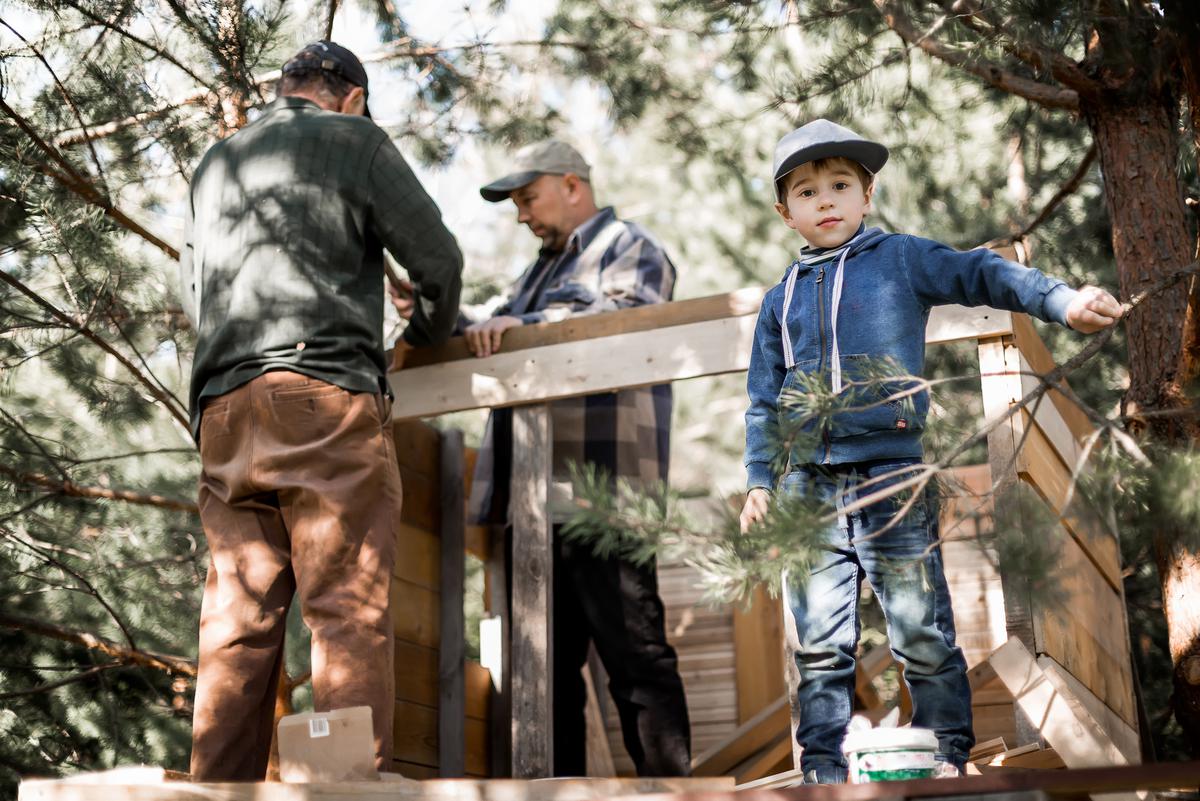
Tip: This is a great opportunity to be your kids’ “contractor” and have them participate in building a tree house. You can have your kids draw up a sketch of what they want the treehouse to look like, and you can work with them to turn it into a blueprint.  

Involve the Kids As You Build their Magic Treehouse

Involve the Kids As You Build their Magic Treehouse

3. Laying the foundation.  

If you plan to use pylons, it is important to build a small foundation for them to sit on. This can be done with a set of 4x4 concrete blocks which will help support the DIY treehouse when it is in the tree. You’ll need to make sure these blocks are level and aligned, and you can do this with the tape measure and level. 

4. Building the base.

Before building the base of your treehouse, it is recommended that you first lay it out on the ground without assembling anything. This will give you a good idea of how everything will fit together when it is attached (get your kids involved by helping to lay the plans out!). Once you have done this, you can start constructing the platform. A base is typically assembled with wooden planks and reinforced perpendicular floor joists. When you start to build the base, you’ll assemble the floor joists first. 

Tip: Take your time with this stage. The base is structurally the most important part of the treehouse. You want to make sure that it is as strong as you can make it, and that you protect the wood against the corrosive influence of rain and moisture as best as possible. If you put in additional pylons to hold up the structure, be sure these too are as strong as you can make them. 

Laying the Foundations of Perfect Childhood Backyard Fun

Laying the Foundations of Perfect Childhood Backyard Fun

5. Flooring.

Once the base or platform is done, it’s time to install the floorboards. Be sure to cut around tree trunks so that you give your tree enough space to grow.

6. Walls, railings, windows, and entrances.

With your base done, you can now build the rest of your treehouse. This step will be as easy or as complex as the treehouse design you ended up choosing. As a rule, you want to make sure that you include some strong railings for safety.

Step by Step to Building a Treehouse

Step by Step to Building a Treehouse

7. Put in a roof.

Once your walls are up, you can now start building your roof. The roof can also be made from wood or can be a tarp. If you haven’t yet installed a ladder, this can be one of your finishing touches. Adding a retractable ladder will add an extra layer of fun and give your children a whole bunch of new backyard games to play. 

How to Build the Perfect Treehouse

How to Build the Perfect Treehouse

Bonus Ideas to Make Your Cool Treehouse Even More Awesome 

  • Pulley system: If you also get a pulley system, you can later rig this pulley up at the top of your treehouse. This will give you a great way to hoist materials up to the treehouse, and can later be used by your kids to bring toys and snacks into the playhouse.   
  • Adjacent play area: This is a great way to increase the range of outdoor recreational activities in your backyard. The possibilities are virtually limitless: you can add swings, attach a slide to your cool treehouse, and even put in a zipline.
  • Give it a theme: This is a great way to increase outdoor recreation. With nothing but a can of paint, some leftover wood, and your child’s boundless imagination, you can transform your treehouse into literally anything. Hansel and Gretel hut? Done. Pirate ship treehouse? No Problem. Magical treehouse castle? Put it in the backyard so they don’t go looking for it in a video game.
Fun DIY Treehouse Theme Ideas

Fun DIY Treehouse Theme Ideas

  • Build another treehouse: What else to do when you’ve finished building a treehouse but to build another? Assuming you have enough outdoor space and some more trees, you can connect a second treehouse to your first and be well on your way to a real fortress.
  • No Limits to Imagination or to Treehouse Grandioure

    No Limits to Imagination or to Treehouse Grandioure

    As you build and upgrade your epic treehouse, be sure to infuse fun into the process as much as you can. Keep your children involved — even if it’s just to put in one screw or “hammer” a nail. When they feel engaged in the project, it will make the whole experience less of a chore and more like a fun family activity. The fun shouldn’t start just when the parents stop slaving away. 

    MG

    Written by
    Mateos Glen Hayes

    Written by Mateos Glen Hayes

    None

    comments