Top DIY Painting Tips for That Perfect Finish

Top DIY Painting Tips for That Perfect Finish

Painting
Small Projects and Repairs
By Contractors.com Team June 10, 2021

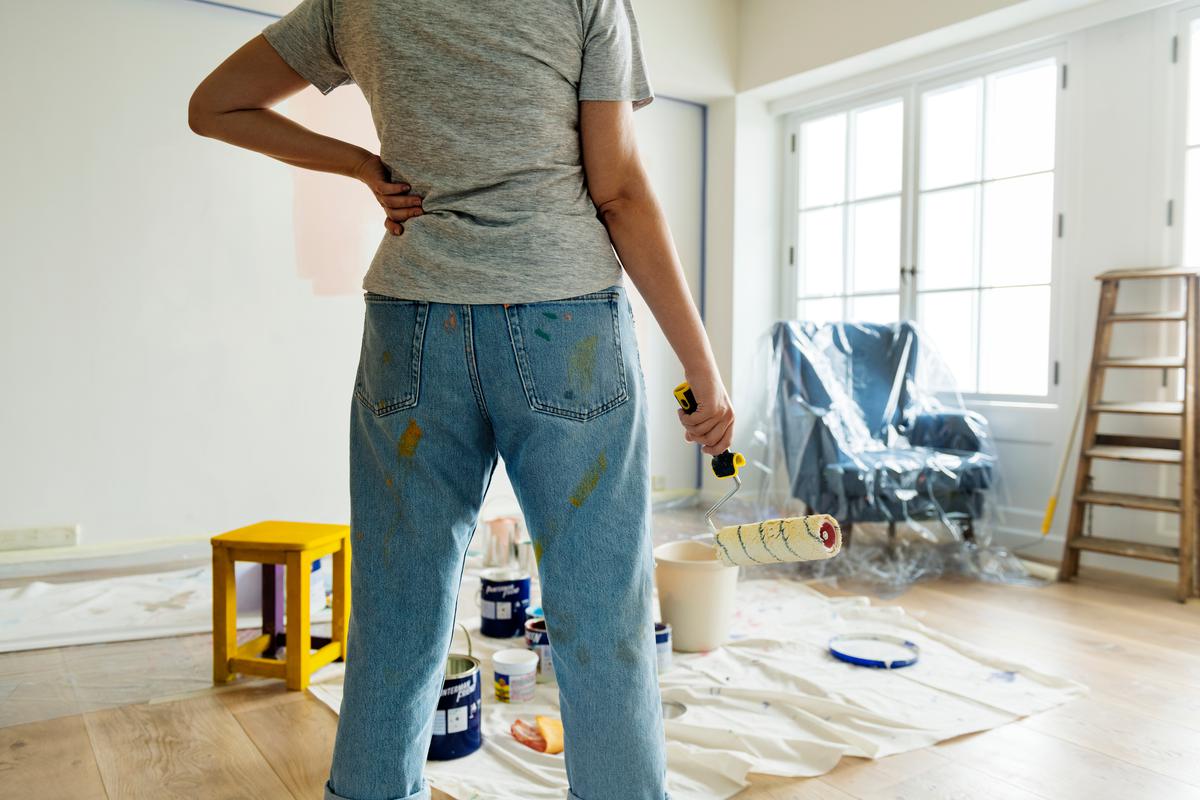
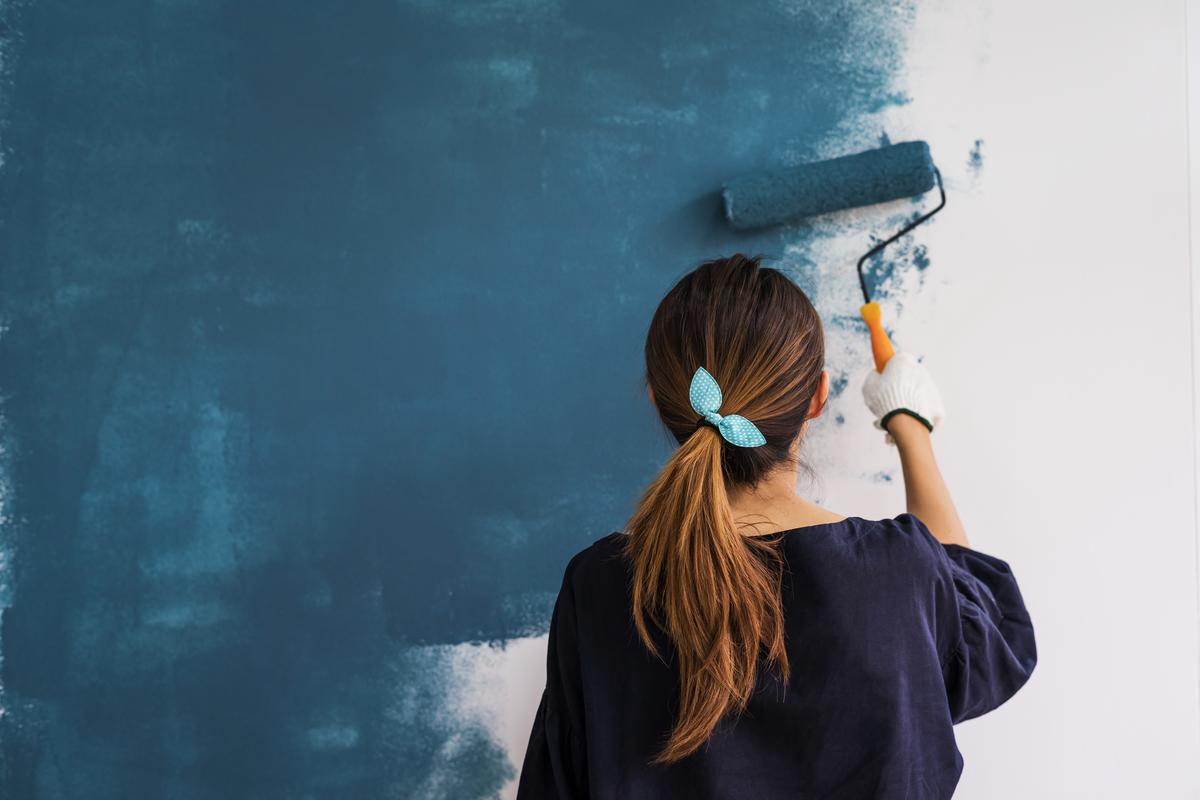
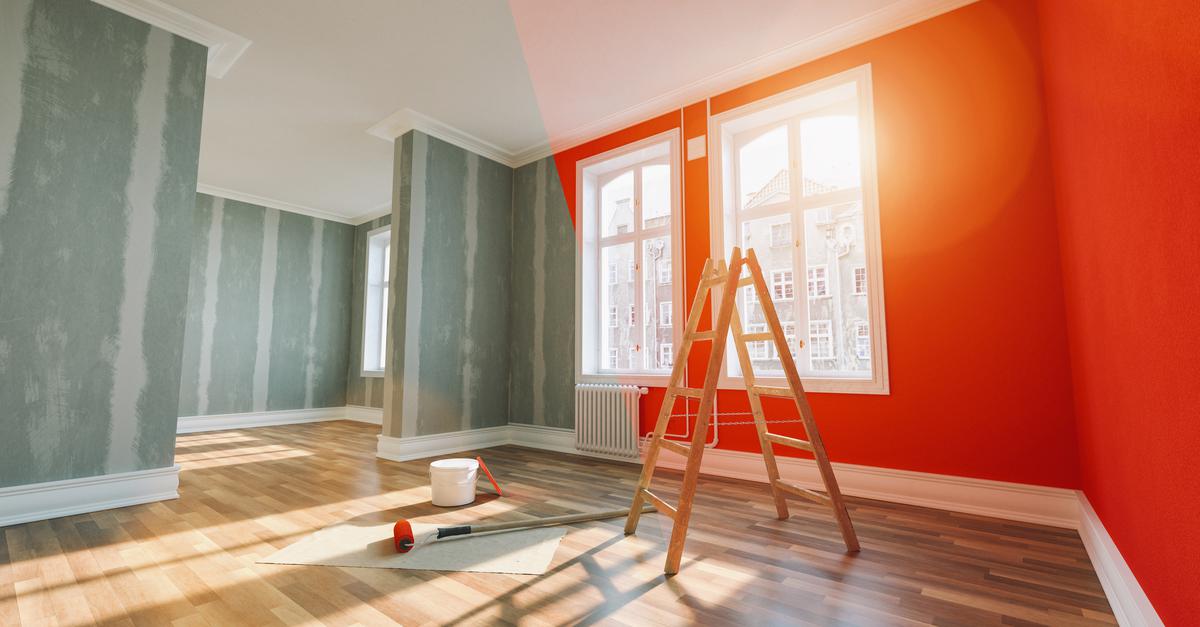
Painting is something most homeowners end up doing themselves at some point. Whether it’s freshening up an old room or repainting a damaged coat on the exterior, painting is a very useful skill to have. You can always hire a seasoned veteran of the trade, but knowing how to do it yourself will save you in tight situations where hiring someone may not be an option.

While it may seem like there is no best way to paint a room, when it just involves dipping a brush in a can of paint and then throwing it at a wall, painting is not easy to get right. But with a few DIY painting tips from the pros themselves, you will have very little trouble painting the interior and exterior of your house with flawless results.

1. Do the Research on Equipment and Paint

Choosing the Right Tools Can Go A Long Way In Your Paint Job

Choosing the Right Tools Can Go A Long Way In Your Paint Job

It may seem like a brush is nothing more than a handle with some bristles on it, but the difference between good painting equipment and cheaper alternatives is huge. This difference is also quite clear in the final results.

This does not mean you should go out and purchase the most expensive equipment you can find, as the price is not always indicative of quality. It’s not simply a matter of paying more money, but rather knowing what you’re paying for, so you don’t end up purchasing paint that contains lead or a high-quality roller when you don’t know how to paint a wall with a roller properly. A good rule of thumb when picking out a brush is to find one that has dense bristles, which are firm enough to spring back into place after you flex them. Roller brushes are a lot more forgiving, but find one that has two arms instead of one if you are using more viscous paint. Since you will be pressing down a one-armed roller can break, whereas a two-armed one will withstand the force. 

2. Clean the Surfaces

A Good Pre-Paint Clean Is Essential for a Good Paint Job

A Good Pre-Paint Clean Is Essential for a Good Paint Job

One fundamental rule that any experienced handyperson will tell you is to clean the surfaces before painting them. You may already know that the surface has to be cleaned when preparing walls for painting, but unfortunately, many homeowners overlook this step, ending up with a wall that is all bumpy and grainy. This is to ensure that there aren’t any bumps or grainy textures on the walls as a result of tiny dirt particles under the coats of paint.

Washing the walls after a thorough sanding should do the trick, but some stains and residue are harder to clean. Use a degreaser for more thorough cleaning in areas that are susceptible to grease and mud buildup. Degreaser is quite affordable too, with a gallon costing around $10, making it a great tool in your painting toolkit. 

3. Keep Stirring

Tips to Ensure a Professional Paint Job

Tips to Ensure a Professional Paint Job

One very important aspect of keeping paint in proper condition is to constantly stir it. You should already have a separate paint scuttle so you don’t have to dip your brushes into the paint can each time, but regardless of how you are storing the paint, always stir it.

Paint can separate after being exposed to the air for some time. This leads to inconsistencies in the color and texture when applied to the wall. There’s a reason why you almost always get a stirrer when you get a can of paint. Try making it a habit to stir the paint every time you dip the brush in and your paint will stay fresh and consistent throughout the entire process. 

4. One Wall at a Time

Painting Tips to Remember for Your Next DIY Paint Project

Painting Tips to Remember for Your Next DIY Paint Project

Not everyone knows how to paint a room in the manner that’s most efficient. However, a rule of thumb most professional painters and interior designers work with and recommend is to paint a room one wall at a time — preferably without a long wait in between. This way, the color on the different surfaces is consistent and you don’t end up with a room that has different shades of the same color. Do it all in one go and you will see how uniform the paint will look when it dries. 

5. Work in One Direction

Professional Tips that Can Help You Avoid Lap Marks When Painting

Professional Tips that Can Help You Avoid Lap Marks When Painting

Some people have a habit of starting something from one end, leaving it unfinished, and moving on to another section, slowly bringing the two ends together until the task is complete. When it comes to painting walls for beginners, this is a habit you ought to avoid. If you start from one side of the wall, paint in one direction until the entire surface is finished.

Working in one direction also ensures that the paint and texture of the surface are smooth and uniform. By starting from different areas and leaving brushstrokes at varying angles, you may end up causing overlaps, dark spots, and lap marks.

6. Rid Your Walls of Lap Marks

The Secret Ingredient for a Smooth Paint Job is Paint Extender

The Secret Ingredient for a Smooth Paint Job is Paint Extender

A common problem many novice painters tend to have is the lap marks. These have disappointed countless homeowners who initially thought they had created a smooth coat of paint, only to find brushstrokes and overlaps all over the surface. Happily, there is a very simple way to fix this problem which is the secret of many professional painters: paint extender.

Paint extender has a few benefits, the first one being that it slows down the drying process, giving you more time to smooth out any lap marks. When mixed into the paint, extender also makes it a little thinner, giving you more control over your brushstrokes. Lastly, extender smooths out the paint texture, resulting in a smooth, glossy surface, without any visible brushstrokes or lap marks.

7. Paint the Ceiling First

Always Paint Your Ceiling Before Your Walls, Here's Why

Always Paint Your Ceiling Before Your Walls, Here's Why

During a full room paint job, it is generally a good idea to paint the ceiling first. The obvious disadvantage of painting the walls first is the danger that you may get ceiling paint on the walls. On the other hand, if you paint the ceiling first and let it dry, the chances of getting any wall paint on the ceiling are very slim, as gravity won’t be working against you.

Also, painting the ceiling usually requires extra equipment, such as step ladders or a prime painting machine, which may also damage the coats of an already painted vertical wall. Place the ceiling first in line and you will make your interior paint project much more manageable.

8. Remove Outlets and Electric Plates

What to Do With Power Outlets During a Paint Job

What to Do With Power Outlets During a Paint Job

Part of a good interior paint job is about paying attention to the minutiae of detail within a room that needs a little extra care. Using masking tape on baseboards is a common way of protecting parts of the room from paint, but it is very easy to forget about electrical outlets and their plastic covers.

Even a small blotch of paint may seem like it’s not a big deal at first, but on the (typically) white plastic cover, it becomes very noticeable. All it takes to protect the pristine color of these plastic covers is to simply unscrew them and put them away until the painting is complete.

9. Light Up the Area

How to Set Up the Stage for a Beautiful Paint Job

How to Set Up the Stage for a Beautiful Paint Job

It’s important to know how a painted surface is going to look in different lighting conditions. Lighting up the darker corners of the room will allow you to see if the paint has any stains, blotches, or other problems which are very hard to see without proper lighting.

For corners of the room that don’t get enough light from the main lighting fixtures, use a high-powered flashlight or a work light which you can place on the ground as you work. This will give you enough light to see if you missed a spot or made a mistake.

10. Pressure Wash the Exterior

Exterior Paint Jobs Require A More Intense Cleaning

Exterior Paint Jobs Require A More Intense Cleaning

A crucial tip on how to paint house exteriors is that it’s very important to remember, much like on the interior, to work with a clean surface. It would be fair to say that this is even more important in exterior painting than it is for interior painting, as the outdoors tends to get a bit dirtier being exposed to the elements.

Most homeowners don’t have a high-pressure cleaner stored in their attic, but it is highly recommended that you have one ready to use if you are repainting the exterior. High-pressure cleaners are very effective at getting into all the nooks and crannies of a jagged exterior, whether it’s brick or wood siding. Pressure washers can be easily rented from any big box hardware store, which is great if you don’t want to put down big bucks for something you don’t use too often. 

11. Fill All the Gaps

Make Sure Your Surface Is Ready for Your DIY Paint Job

Make Sure Your Surface Is Ready for Your DIY Paint Job

Before applying paint you should make sure there are no gaps or holes. On the exterior, you will usually find these near door and window frames where the wall meets the frame.

While these door and window frames are generally built to keep the house well insulated, gaps can form over time whether as a result of damage or the old wooden sills losing their original shape. If you have gaps, use a caulk gun to fill in any damage and give the foam 30 to 40 minutes to dry (ideally a couple of hours) before you paint over it.

Written by
Contractors.com Team

Written by Contractors.com Team

Welcome to the Contractors.com Team, a group of passionate individuals dedicated to helping homeowners achieve their dream home through the best-in-class service providers and inspiring content.


We believe that every homeowner deserves to have a home that they love, and we're committed to making that a reality. Whether you're looking to remodel your kitchen, renovate your bathroom, or build your dream home from scratch, we've got you covered.


When it comes to creating content, we take a multi-faceted approach. We gather insider tips from experts in the home service industry, and do our own thorough research to write informative and engaging articles that are tailored to our readers' needs. At the same time, we harness the power of A.I. and GPT-3 technologies to generate titles, headlines, and even entire articles that are optimized for SEO and designed to provide value to our readers.


We're committed to providing the best possible service to our readers, and we're always looking for ways to improve. Whether you're a homeowner looking for inspiration or a service provider looking to join our network, we're here to help you achieve your goals.

comments