A water heater could last about 20 years if it is maintained in the proper manner. There are many homeowners, however, who are unaware that a hot water heater should be drained every six months. Not draining the water heater regularly greatly reduces its lifespan. When the time comes to get a new water heater, consult a professional water heater plumber.
HVAC
Small Projects and Repairs
By
Mateos Glen Hayes
November 08, 2022
Get A HVAC Quote
When Do You Need to Replace Your Water Heater?
In short, there is one major reason that most homeowners end up replacing their water heaters: age. Most hot water heaters are designed to last 8 to 15 years, and malfunctions are more likely to arise once your water heater starts to reach the end of its service life. Aging water heaters may have trouble reliably producing hot water and can even contaminate your water with rust if they are really old.
These problems mean many visits from a hot water repair technician while you tough it out without hot water. These frequent failures can be expensive and nerve-wracking. Nobody wants to be stuck with a leaky water heater, and with so many compelling options out there, it stands to reason to consider getting a replacement water heater. A certified plumber or HVAC contractor can help you decide whether your water heater needs replacing.
Water Heater Choices
Once you determine that your old water heater isn’t up to snuff, it’s time to explore your options for a hot water heater replacement. So, which is the best water heater option for you and your household? Unfortunately, there is no simple answer to that as it depends a lot on your needs, the number of people in your household, and the physical size of the home. Fortunately, you have a few options to choose from and each one is especially suited to cater to a specific set of requirements.
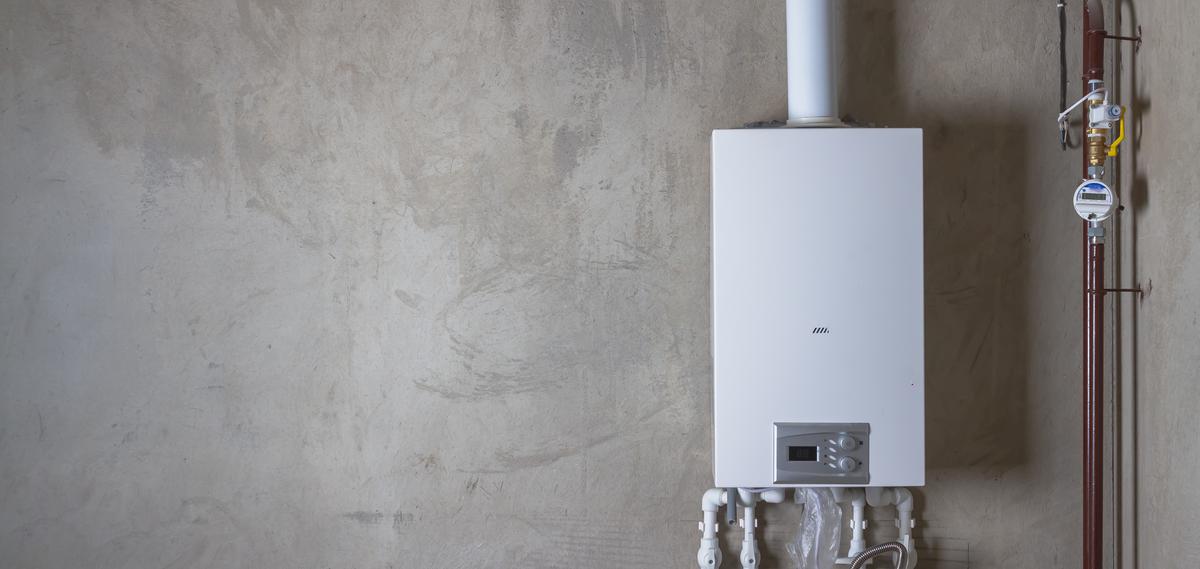
Tankless Water Heaters
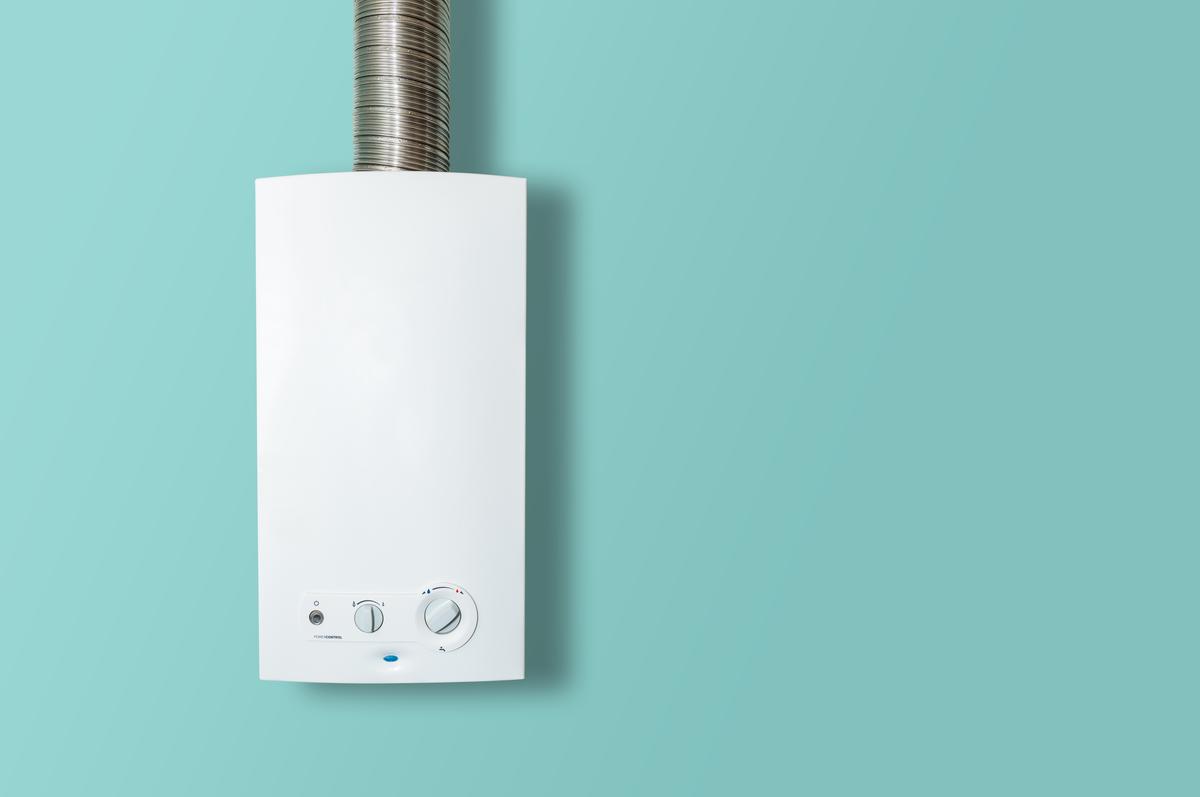
Tankless water heaters produce hot water on demand rather than storing huge amounts of water in a tank.
Also known as demand water heaters, these save a lot of money because they require so little energy to operate. These are electric water heaters that are renowned for being ultra-efficient and compact. The trump card for the tankless water heater is in its name. Unlike a classic water heater, tankless water heaters do not have a large 50-gallon tank of water that is being heated 24/7.
Instead, the tankless water heater will only heat hot water on demand, meaning when you turn on your hot water tap. This translates to huge energy savings for homeowners and a net gain for the environment as well. This also means that a tankless water heater will never “run out” of hot water, and neither will it ever have a leaky tank clogged with sediment. You stand to save up to 50% on fuel costs with a tankless water heater replacement over a regular water heater replacement.
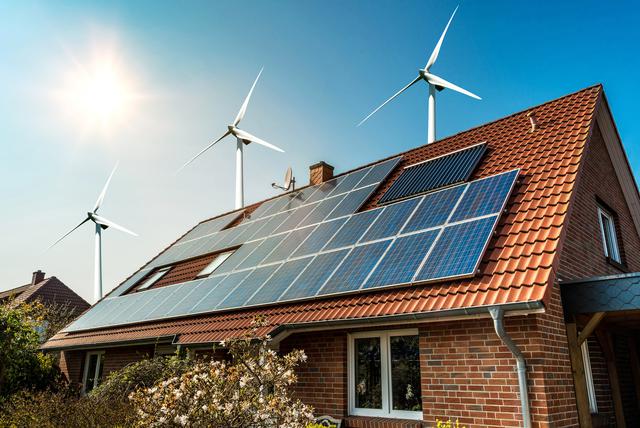
Solar Water Heaters
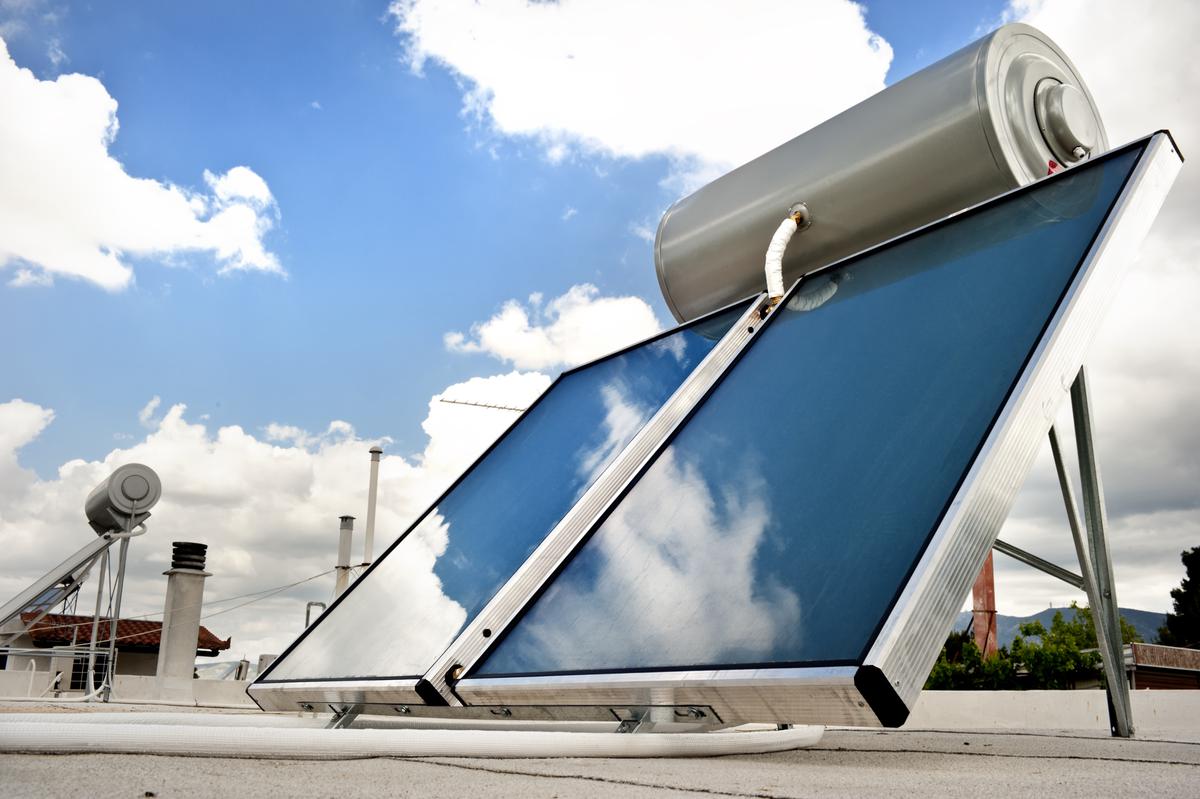
Solar Water Heaters
If being environmentally friendly is your top priority, you can’t get much better than this. Solar water heaters use the awesome power of the sun to give you hot water for all your needs. On top of being very energy efficient, solar water heaters are very cost-effective as well. After the water heater installation, your hot water is free since you don’t have any fuel costs.
Most solar water heaters have a fairly simple design whereby water passes through a solar panel, picks up the heat energy from the sun, and then is piped into your house. More sophisticated designers can also make use of a heat exchanger that transfers the sun's heat to your water, but either way, solar water heaters have very little in them that can go wrong, making them quite reliable. As you might expect, solar water heaters will work best in a place that gets plenty of sunlight, so they won’t be suited for places with less sunny weather.
The Classic Standard
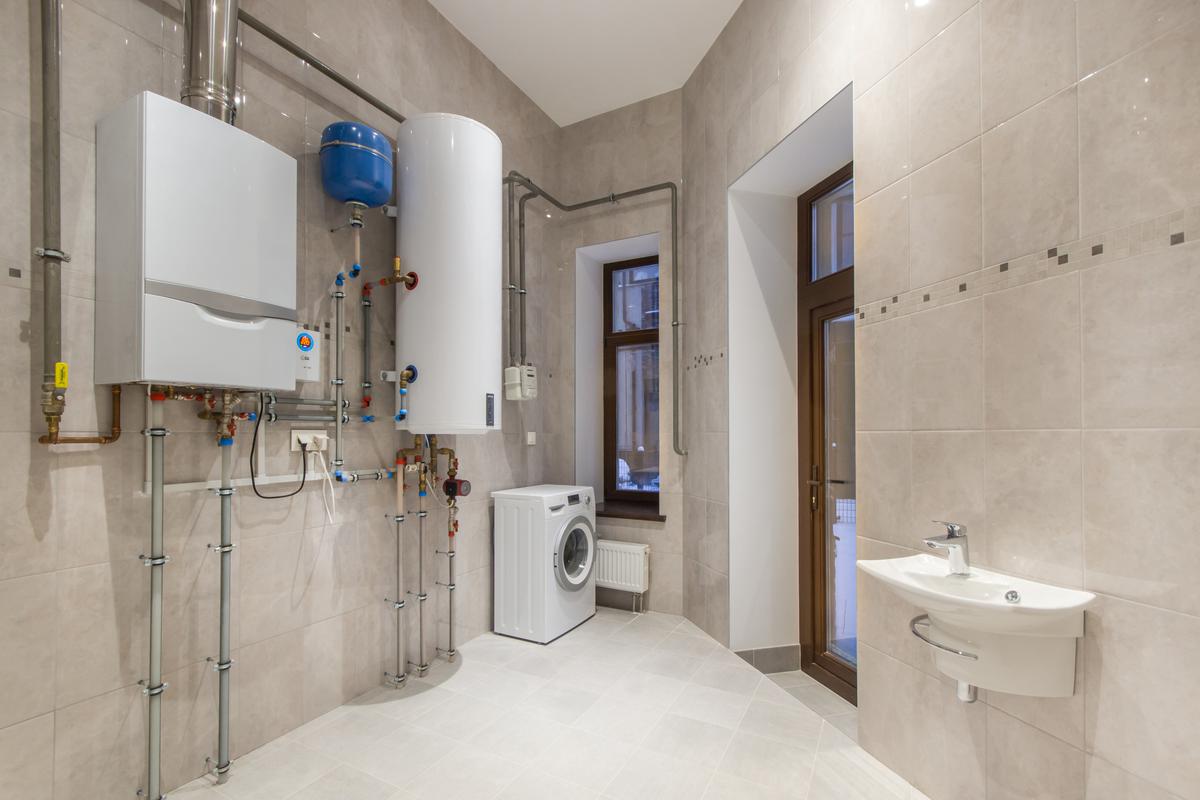
The tried and true boiler water heater is the design of choice for most American households.
Even with all these new options around, the traditional tank water heater design is still the most popular in American homes. Classic water heaters store water in a large 30 to 50-gallon tank and heat it constantly. They usually use either natural gas or electricity to heat the water, although oil heaters can also be common in certain regions.
Some compelling reasons explain why many homeowners have yet to move away from the traditional water heater design. They are affordable and easy to install. Because this is a tried and true design, traditional water heaters are typically low-maintenance during their service life.
However, the high energy costs of standard water heaters are a rising concern, especially with rising fuel prices. Additionally, classic water heaters must be installed indoors and need a lot of space, meaning you might have trouble fitting them in some smaller homes or apartments.
Get A HVAC Quote
Step by Step
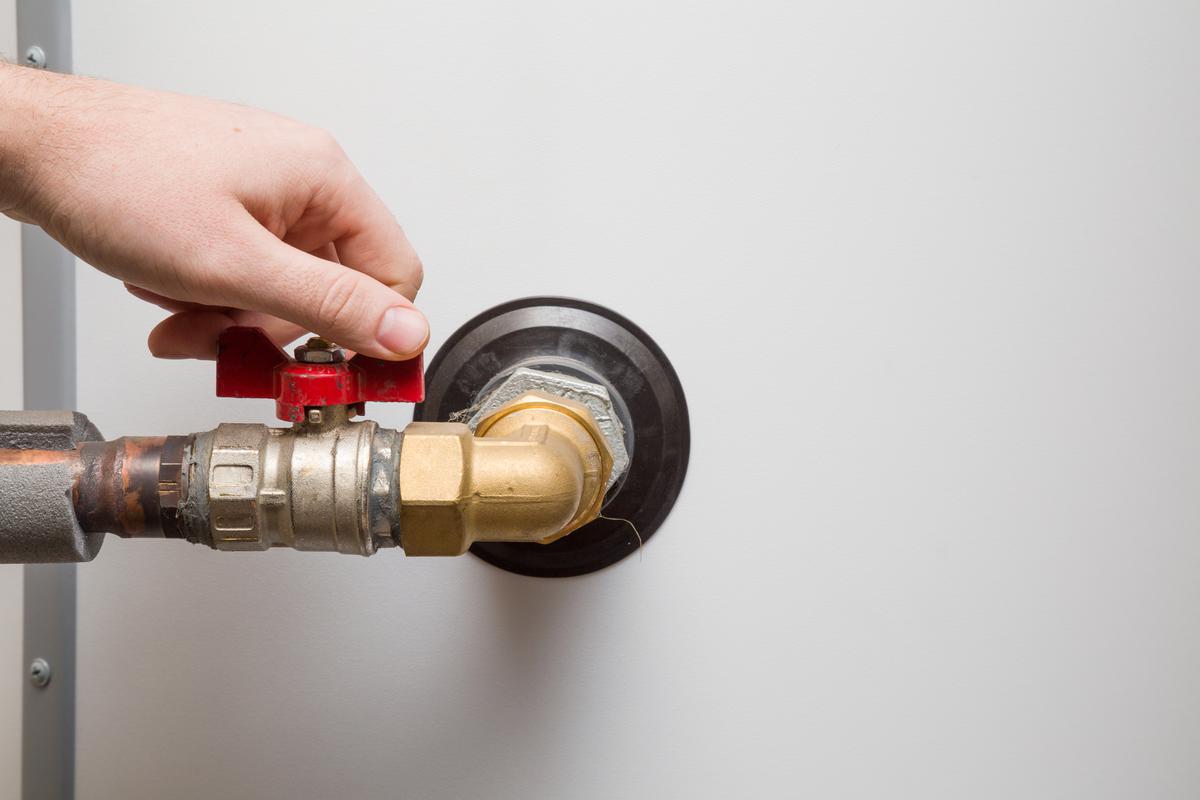
Turn off the gas supply to your water heater by turning the shutoff valve so that the red handle is at a right angle to your water heater tank.
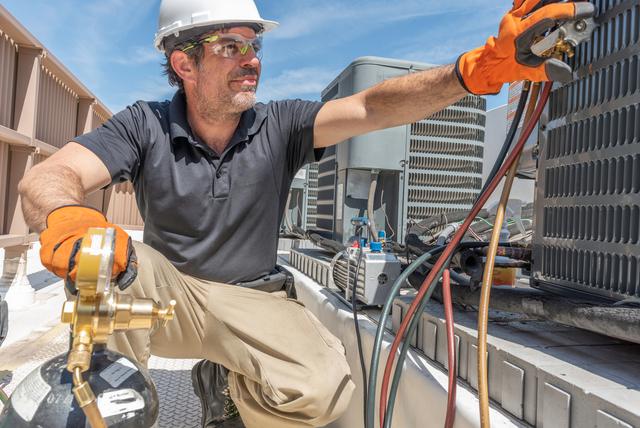
Once you’ve found the perfect replacement water heater for your needs, it’s time to remove the old clunker and install the new stuff. A certified plumber will be happy to help you install a water heater. However, seasoned DIYers can also install their water heater replacement.
If you are comfortable working with plumbing and gas lines, a hot water heater installation will be fairly simple, although it might take a bit of time. If you do decide to do the water heater installation yourself, we recommend having a plumbing inspector check your work so you can avoid gas or water leaks. Here’s a basic rundown of how to complete a DIY hot water heater installation.
1. Dealing With the Old Water Heater
Of course, you aren’t going to be able to do anything until the old water heater is out of the way. To start the process of uninstalling the old water heater, the first step is to disconnect the gas by turning the red shutoff valve above the water heater. The valve is fully closed when the valve handle is at a right angle to the pipe. After shutting off the water mains, drain out any remaining water in your pipes by running a faucet on the lowest floor of your house.
2. Disconnecting the Old Water Heater

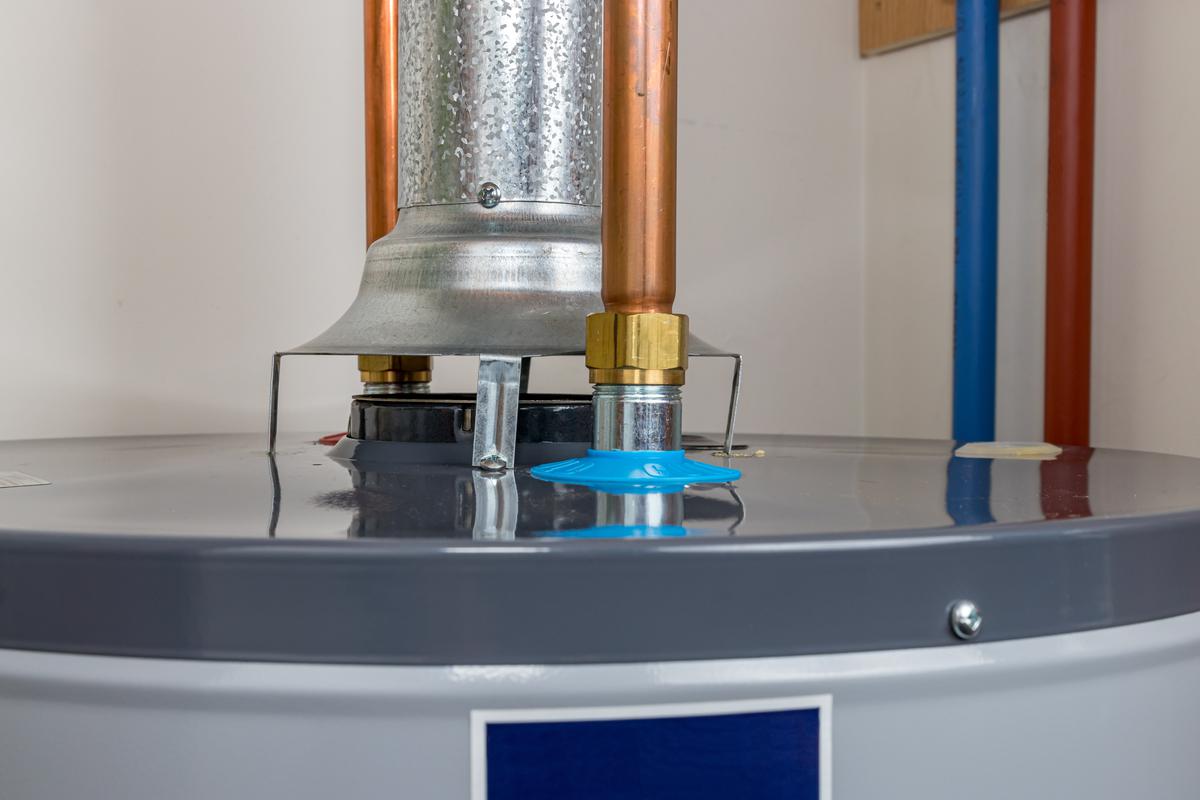
After shutting off your water mains, attach a hose to your overflow valve and drain the tank of water.
With gas and water shut off to the water heater, you can now drain the water heater with a simple drain valve and garden hose. Exercise caution when doing this as the water that comes out of the heater will be scalding hot. After verifying that the gas is off, you can also go ahead and disconnect the draft hood (where exhaust gasses go), usually done by removing a few screws.
As the water drains you can go ahead and disconnect the gas line by loosening its union with a pair of wrenches. To disconnect the water lines, you will either have to cut them with a tube cutter or unscrew their unions. This all depends on what kind of water pipes you have. Galvanized pipes typically have nuts or other connectors, but plastic pipes usually won’t.
3. Installing Water Heater
With the old water heater drained and disconnected it should be a lot easier to move it out of the way so you can put in the hot water heater replacement. Before hooking anything up, install the temperature pressure relief valve as this will keep your tank from exploding if the tank were to malfunction and allow the pressure inside to get too high.
Simply wrap the threads of the valve with Teflon tape, stick the valve in its dedicated port as indicated by the manufacturer, and screw it in tightly with a pipe wrench. Next, install the discharge valve so that water has somewhere to go if your water heater overflows.
4. Pipe Assemblies
The copper pipe assemblies must be installed before you can connect the replacement water heater to the water mains.
To attach the water pipes, first you need to set up the pipe assemblies. To do that you will need 6-inch lengths of ¾-inch diameter copper piping. These must be soldered to copper fittings of the same diameter to make an airtight seal and then screwed into the hot and cold water ports at the top of the water heater tank.
Depending on where you live your pipes may be more susceptible to corrosion and protections against this may be required by local building codes. To protect the galvanized water pipes of your hot water tank from corrosion, attach short plastic-lined nipples to the assembly. These can be found in most hardware stores and are designed to go between the water heater ports and the pipe assemblies.
5. Connecting the Water Pipes Backdrafting
With the pipe assemblies installed, slide the new water heater into its new home under its dedicated water pipes. With the new heater in place, recut or extend the old tubing, and use soldering to connect the pipe assemblies to the water piping.
This can be done with some solder, a blow torch, and some copper slip couplings to attach the assemblies to the pipes. If the pipes are not in alignment with the water heater pipe assemblies, 45-degree copper elbows may be needed to work around this.
6. Draft Hood and Gas Line Installation

With the gas reconnected you can relight the pilot light and increase the water heater’s thermostat to it’s maximum setting.
Once that’s done, reattach the draft hood with three ⅜ inch no. 6 sheet metal screws. The vent hood must rise at least 12 inches to exhaust gasses properly. Reattaching the gas line involves doing the opposite of what you did to disconnect it from the old water heater.
After applying the pipe joint compound to the threaded end of the gas line joint, use your two pipe wrenches to hold the pipe in place as you reassemble the union and nipples according to the manufacturer’s instructions.
7. Finishing Up
Once you are satisfied that there are no leaks or major issues, it’s time to get the new water heater running. You may want an electrician to check your work if you are installing an electric replacement water heater. If you have a gas water heater, you need to light the pilot light and set the temperature of the water heater to its highest setting.
Afterward, close the drain valve, turn your water mains back on, open the cold water valve of the water heater, and turn on a nearby hot water faucet until hot water comes out. For the first few times, you use the water heater, we recommend checking the joints and fittings for any sign of a water leak.

comments