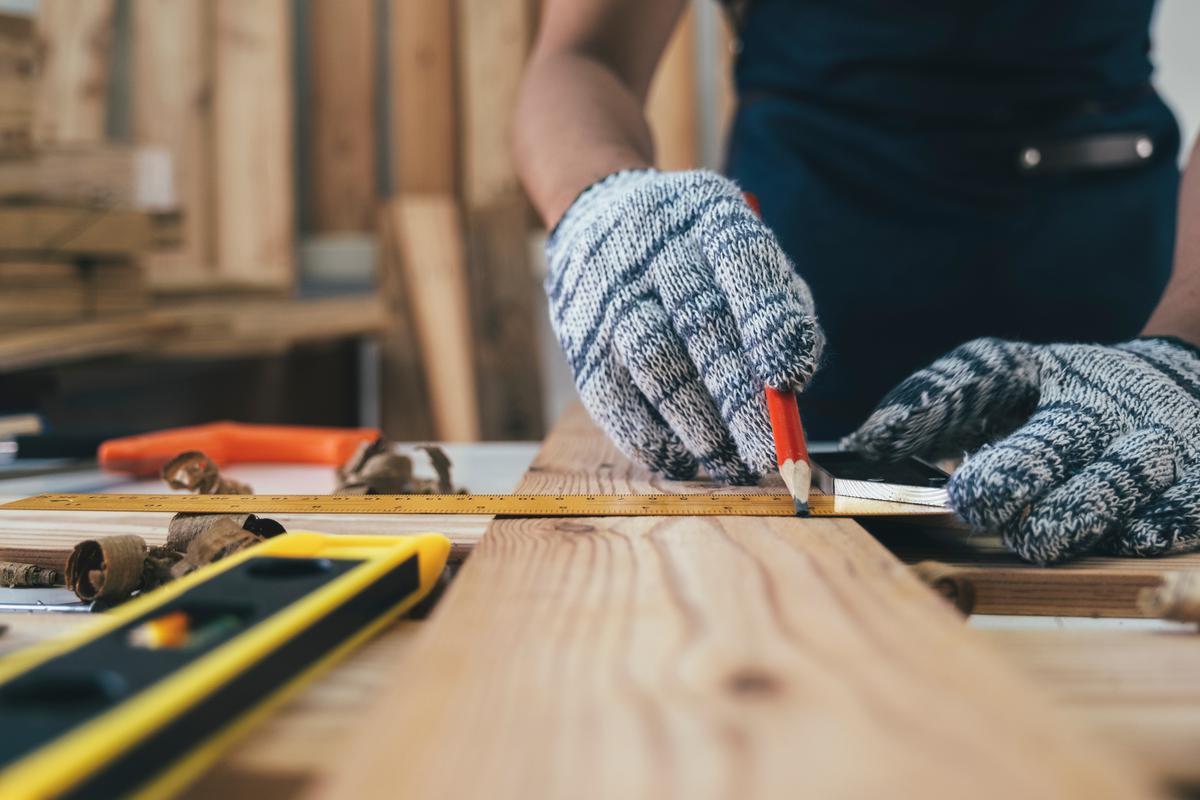
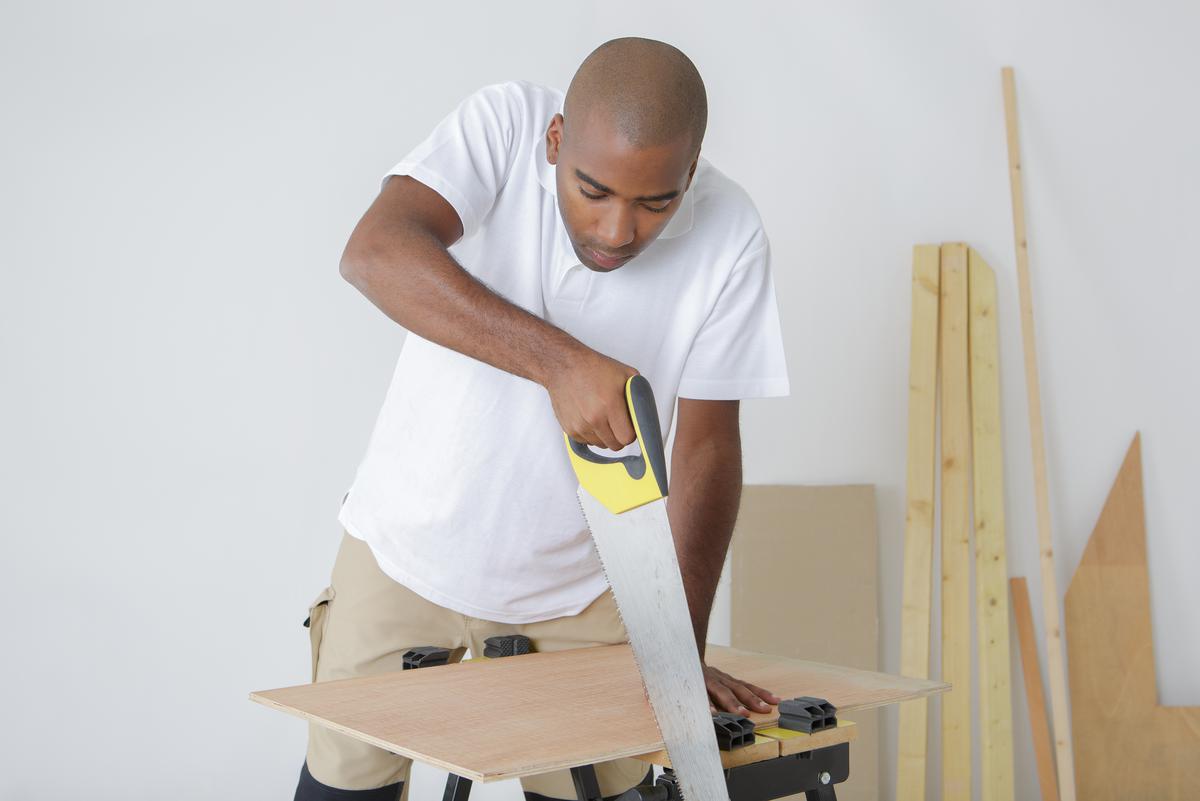
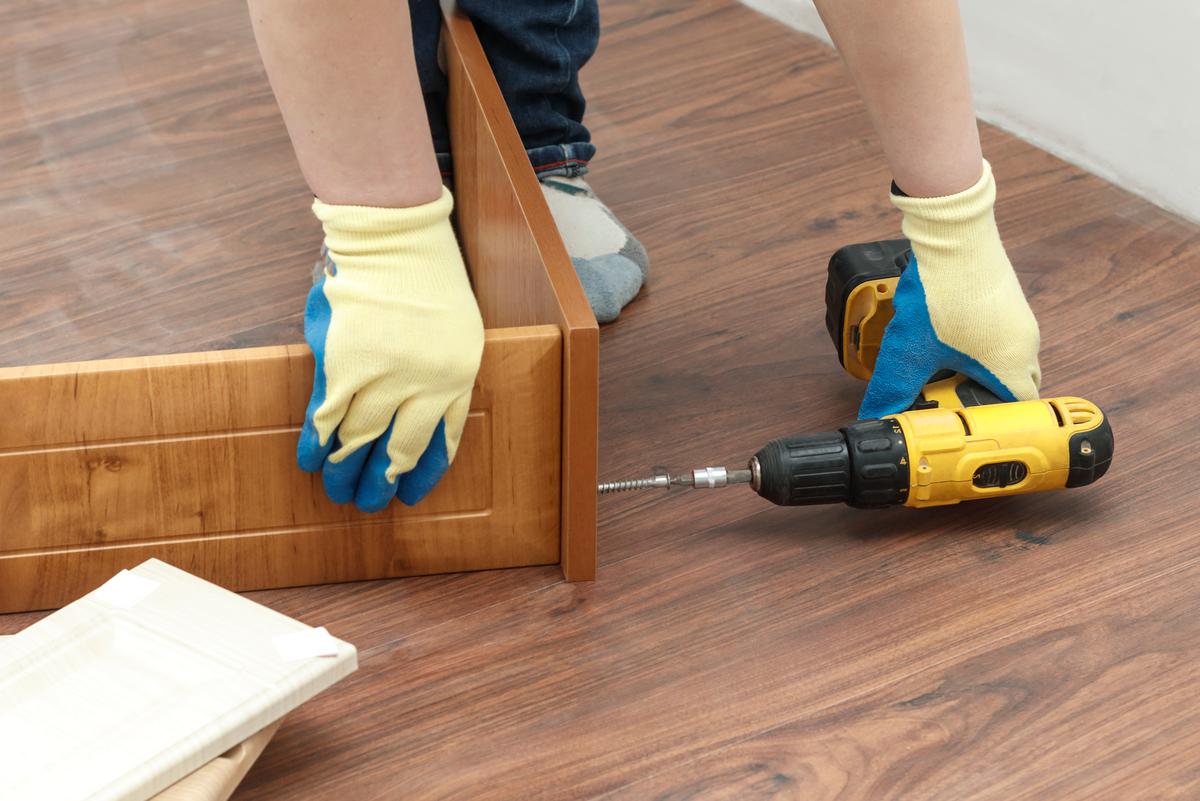
A Step-by-Step Guide to Building DIY Pull-Out Cabinet Drawers

A Step-by-Step Guide to Building DIY Pull-Out Cabinet Drawers

Cabinets and Countertops
DIY
By Dikran Seferian March 23, 2022

What You’ll Need

Tools

Materials

Drill

Wood glue

Screwdriver

Screws

Clamps

½ - inch plywood

Undermount drill guide

¼ - inch plywood

Corner clamps

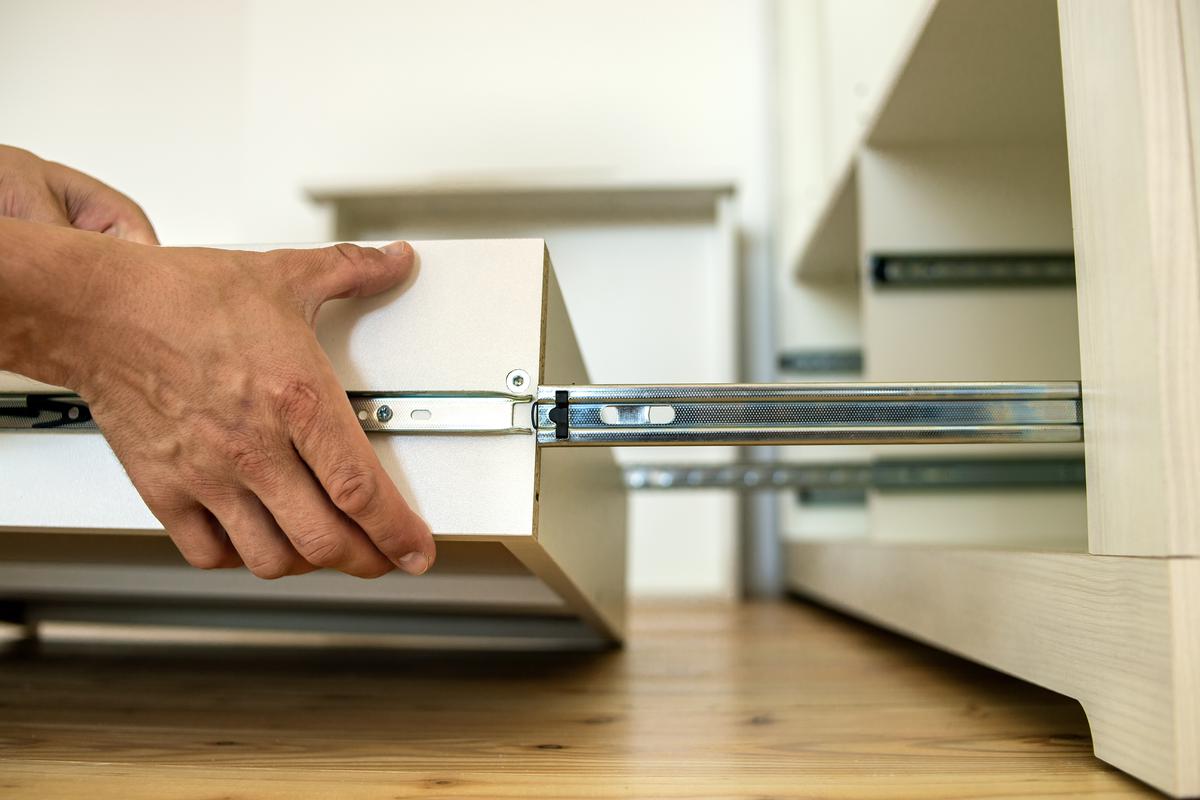
Undermount soft-close drawer slides

Circular saw/jigsaw


Estimated Time


6 to 7 hours


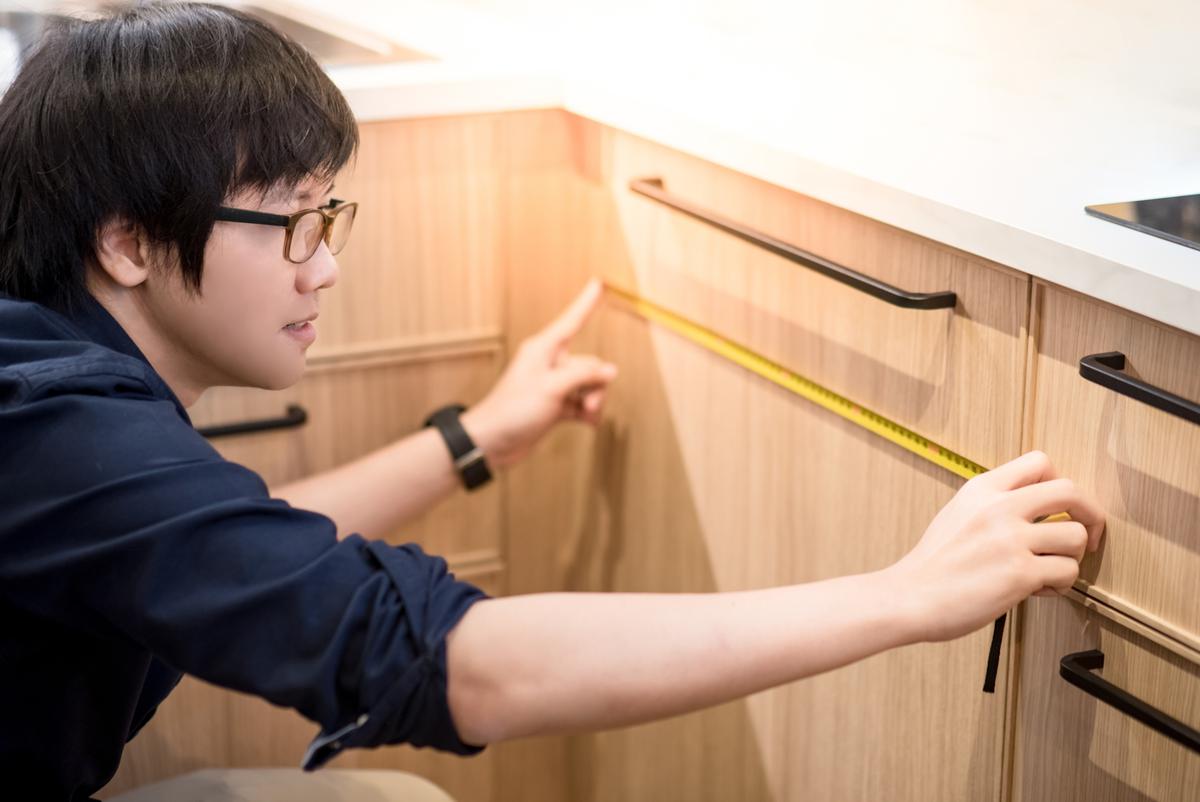
Having convenient storage space is key in every kitchen. Many homeowners will often prefer to have customized cabinets to fit their specific needs. However, that may not always be the case in certain kitchens. Then again, there’s nothing stopping you from modifying a part of your existing cabinetry — especially if you didn’t get to customize it in the first place.

Certain storage spaces tend to be somewhat inconvenient. For instance, imagine trying to reach for something from the back of a base cabinet. Now imagine how easier it would be if that cabinet had a drawer. You’ll be happy to find out that building your own DIY under-shelf pull-out drawer is a relatively easy project. With a few tools and materials in hand — and an afternoon to spare — you can give your cabinet the modification it needs.

Get A Small Projects and Repairs Quote

Determine the Size of Your Drawer

Begin by measuring the cabinet in which you’re going to install the DIY drawer and determine the size you want it to be. If your cabinet is wide, you can even go for two adjacent drawers — in which case you’ll need to measure the cabinet hinge-to-hinge and divide the number by two. It’s a good idea to subtract half an inch or so to account for any errors in measurement.

Bear in mind that this measurement takes into account the drawers and their slides. The label that comes with the drawer slides will usually mention the spacing between the drawer and the slide account. You’ll want to exclude the spacing from each side of the drawer when measuring it. In most cases, cabinets come in standard depths. When it comes to determining the depth of your drawer, it’s best to go with the standard 21 inches.

The math and measurements involved in this project are usually the trickiest. That is why it’s to be as thorough as possible. Mistakes are always possible, which is why it’s a good idea to always calculate twice.

Make sure to take precise measurements before proceeding with the project.

Make sure to take precise measurements before proceeding with the project.

Cut the Drawer Sections

Take the ½ - inch plywood and saw-off pieces for each of the drawer sides (according to the measurements you took). Begin with pieces of plywood that are the height of your drawer and use a circular saw to cut them down to the desired size. You can also use a table saw for this step. Next, saw down the pieces to the length you need. It goes without saying that you’ll need two pieces for each of the long and short sides.

Bear in mind the slight overlap you’ll have in each of the drawer’s corners. Consider cutting the longer strips to the entire length of your drawer, and subtracting the plywood’s thickness for the shorter pieces.

Get A Small Projects and Repairs Quote

Moving on to the base of the drawer, saw down the ¼ - inch plywood according to the dimensions you need. Make sure to account for the interior surface area of the drawer and an additional ⅛ of an inch for the groove.

Take extra care when cutting the sections of the drawer.

Take extra care when cutting the sections of the drawer.

Assemble the Cabinet Drawer

Assemble the sections together and drive screws into the inside of the drawer. For a more seamless look, you can’t go wrong with pocket hole screws either. Consider using corner clamps to hold the parts together at a 90-degree angle until the glue dries; Rockler Clamp-It Clips can be ideal for this purpose.

You’ll also need to form two notches on the backside of the drawer to accommodate the slides. A jigsaw and the undermount drilling guide can be useful in this case.

Use a drill or a screwdriver to assemble the drawer sections.

Use a drill or a screwdriver to assemble the drawer sections.

Attach the Hardware

Once you’ve assembled the drawer, you’ll need to attach the hardware that allows it to slide into the cabinet. Start with the components that go on the bottom of the drawer. Using the undermount drill guide can make the process a piece of cake. This tool can be incredibly helpful when drilling the holes for the hardware that allows the drawer to attach to the slide. The guide also helps in drilling the perfect holes to fit the drawer slide pin.

The drawer’s hardware allows it to fit into the cabinet.

The drawer’s hardware allows it to fit into the cabinet.

Install the Slides in Your Cabinet

Now that the pull-out storage drawer itself is complete, you’ll want to prepare the cabinet. This step is actually easier than it seems. First, you’ll need to glue a piece of wood to the base of the cabinet — one on each side. This essentially raises the drawer slides by an inch or two, which can be important if your cabinet has a lip along the front of the base. You can use a piece of scrap plywood for this part. Also bear in mind that the process will slightly differ if the drawer is meant to go higher up in the cabinet — and whether you’re going for one big drawer or two adjacent ones. Opting for a single drawer, for instance, is obviously much simpler and involves less math.

In the case of a framed cabinet, you’ll need to measure how deep the frame is and move the slide further from the wall to make sure you can open the drawer. You may also want to raise the components slightly upwards by adding a bit of wood along the bottom. The same applies if there’s a hinge in the way.

It’s usually easiest if you insert the front screws for the drawer slide first. Next, you can adjust the backside until it’s perfectly level and then drive in the back screws.

Attaching the second drawer slide can be somewhat tricky. You’ll want to measure the interior part of the drawer and add ⅝ of an inch to determine the spacing. Measure from the exterior side of one slide to the exterior of another. This step may require some trial and error so it’s okay if you don’t get it right on the first try.

Installing the cabinet slide requires a lot of precision.

Installing the cabinet slide requires a lot of precision.

Position the Drawer in Its Place

Once the slides are attached, the cabinet can finally accommodate the pull-out tray. This is probably the most exciting part of the project — especially considering the satisfaction and sense of accomplishment you’ll get when the drawer pops into its place.

Simply pull the slides out all the way, position the drawer on top, and push it back in until you hear the click. Your pull-out cabinet drawer is now ready to go. You’d be surprised at how much it can help in keeping everything organized while allowing for easier access.

Lower cabinets can get somewhat dark — especially when they’re away from sources of light. A smart idea involves adding LED hinge lights that automatically turn on every time you open the cabinet doors. This can be the cherry on top to your DIY cabinet drawer. Once you see how great the lights look, you may even want to install them in the rest of the kitchen cabinets. If the hinges in your cabinetry aren’t compatible with the LED fixtures, somehow, you can still work your way around them. An alternative idea for cabinet lighting is to install fluorescent tubes that come with a switch.

If you want your DIY pull-out storage to stand out, consider creating contrast by painting it in a complementary color. It’s important, however, to do this before you place the drawer in the cabinet — make sure the paint dries before doing so as well.

Once all the components are assembled, you can slide the drawer in the cabinet.

Once all the components are assembled, you can slide the drawer in the cabinet.

Get A Small Projects and Repairs Quote

DS

Written by
Dikran Seferian

Written by Dikran Seferian

comments