Scandi-Style Children’s Bedroom Furniture - A DIY Guide

Scandi-Style Children’s Bedroom Furniture - A DIY Guide

Small Projects and Repairs
Interior Design
By Dikran Seferian October 31, 2022

Mental stimulation is paramount for the little ones, especially at a time when they’re starting to develop their creativity and cognitive skills. Designing a bedroom that provides an ideal atmosphere for this development certainly helps. What’s even better is that you can make it a fun experience for you as well by crafting the furniture and decor yourself. Scandi-style children’s bedroom furniture in particular has so much potential for DIY-ing. 

This lovely kid’s room idea combines comfort and simplicity — with a touch of visual interest. And if you have the spare time and know your way around basic tools, the entire Scandi kid’s bedroom furniture project will be a piece of cake.

Get A Small Projects and Repairs Quote

DIY Tee-Pee Tent

Among the most common features of a Scandi bedroom for kids is the Tee-Pee tent.

Among the most common features of a Scandi bedroom for kids is the Tee-Pee tent.

Tee-Pee tents are a staple in Scandi bedrooms for kids. They serve as a cozy space for the little ones to play, make drawings, or perhaps take a quick nap. And considering how easy it is to make one, a Tee-Pee tent can be a perfect addition to a DIY kids room

What You’ll Need

  • Five 5’11’’ dowels with a diameter of 1 inch
  • Rope or twine (at least 40 inches)
  • Fabric of choice with a length of 10 feet and a width of 60 inches
  • Wide ribbon for tiebacks
  • Large scissors
  • Drill and drillbit
  • Basic sewing kit

Making Your DIY Tee-Pee Tent

  1. Start by drilling a hole through each dowel about 7 to 8 inches from the top. You’ll want to make sure that distance is the same for all five of the dowels.

  2. Feed the rope or the twine through the holes and loosely tie it off. Grab the excess rope and wrap it around the dowels - over and under, securing the ends. 

  3. Cut five triangle-shaped panels from the fabric. You’ll want them to be 4 feet and 8 inches high, 5 inches across the top, and 28 inches across the bottom. 

  4. Once the panels are ready, stitch them to each other along the long edges while making sure that the right sides are together to create seams. This would ideally form a circle. 

  5. Create the entrance by cutting straight up the middle of one of the panels, ideally starting from the bottom and working your way upward. 

  6. Sew a seam from the top end and work your way down to about 11 inches. Make sure to stitch any raw edges in place. At this point, the Tee-Pee for your DIY kid’s bedroom set would be taking shape.

  7. Finish up the cover by sewing a narrow hem around the top and bottom edges. 

  8. With the Tee-Pee cover ready, the next step involves arranging the frame on the floor, positioning the dowels equally apart, and slipping the cover over the frame. Then, simply move the dowels to position them along the seams. You’ll also want the entrance to come between two dowels. Consider using a ribbon to tie the flaps of the entrance back. A fluffy rug and a few snuggly throw pillows inside the tent can make for an extra-cozy bedding. 

DIY House Bed

The simple frame of a house bed makes it fairly easy to build.

The simple frame of a house bed makes it fairly easy to build.

Scandi-style children’s bedroom furniture wouldn’t be complete without a DIY kids’ bed in the shape of a house. And considering the incredibly minimal outline of this piece of furniture, it can be quite simple and straightforward to build — as long as you know your way around woodworking tools

What You’ll Need 

  • Power drill
  • Level
  • Miter saw
  • Orbital sander 
  • Pocket hole jig
  • Wood glue
  • Screws (wood and 2.5-inch pocket hole)
  • Measuring tape and pencil
  • Assorted sanding discs
  • Safety goggles, gloves, and mask
  • 2x4 lumber boards for frame, footboard, and headboard
  • Wood filler

Building Your DIY House Bed

  1. Using the 80-grit disc on your orbital sander, sand the 2x4 boards and work your way down to 220-grit for a finer polish. Seal any remaining holes, knots, and bad spots with wood filler and sand them smooth. 

  2. Make pocket holes where you’ll be connecting each board to the other. There’s really not much guesswork involved here since the frame is as simple as it gets. To put everything into perspective, the DIY kids’ bed will be 84 inches high including the roof (59.25 inches without), 42.5 inches wide, and 80 inches long. You’ll need three 35.5-inch pieces for the footboard and the headboard.

    This is where you’ll be preparing the two ends of the house bed. It’s best to ask for an extra pair of hands when you’re screwing the boards together. Clamps will also come in handy. After assembling both sides of the “house”, conceal the visible pocket holes with wood filler, let it dry, and sand smooth.

  3. Connect the two sides of the children’s bedroom furniture with the five horizontal boards and move on to adding the bed slats. Make sure to carry out this step in the little one’s bedroom because the structure most likely won’t fit through any doors once it has taken shape.

  4. Attach two of the 35.5-inch pieces for the headboard and one for the footboard. Make sure to give them a round of sanding and patching as you did with the other parts.

  5. With the assembly complete, apply a finishing coat and let it dry before placing the mattress and the bedding. You can make the house bed all the more adorable by hanging a set of string lights along the canopy. 

Get A Small Projects and Repairs Quote

DIY Rocking Sheep

A rocking sheep is essentially a Scandinavian version of a rocking horse.

A rocking sheep is essentially a Scandinavian version of a rocking horse.

Another great addition to your set of Scandi toddler bedroom furniture can be a DIY rocking sheep. It’s basically a more minimal — and incredibly cuddly — version of a traditional rocking horse. Much like a Tee-Pee tent or a house bed, it is fairly easy to craft if you have the right tools and woodworking skills. 

What You’ll Need

  • Jigsaw with smooth blade
  • Clamps
  • Table saw
  • Palm sander with 220-grit discs
  • Miter saw
  • Finish nail gun with finish nails
  • Upholstery stapler with upholstery staples
  • Pencil
  • Drill with 1-inch spade bit
  • 1 sheet of oak-veneered plywood with a thickness of 0.75 inches
  • 2x6 redwood board
  • 4x4 scrap wood
  • 6-inch wooden dowel with a 1-inch diameter
  • 0.75-inch oak edge banding
  • Wood glue
  • Stainer 
  • Faux sheep hide (with padding for extra comfort)

Crafting the DIY Rocking Sheep

  1. Draw the shapes of the sheep’s head and the rocker blades together with the body on the plywood. Using your jigsaw, saw them out in two complete pieces and sand - especially the edges.

  2. Position the first rocking sheep side to the remaining sheet of plywood, clamp it down, and trace the other side. Take off the clamps and saw out the shape. As with the previous step, sand the piece where needed. 

  3. Cut three pieces from the plywood to serve as the rocker blade braces. And from the 2x6 board, saw out the form of the seat. 

  4. Set your table saw to 11 degrees and cut the 4x4 on both sides. This will essentially form the backbone that positions the two sides of the DIY kids’ room rocking sheep at the desired angle. It is also where you’ll be attaching the seat. Using an iron, apply edge banding onto the exposed sides of the plywood parts.

  5. With a clean piece of cloth, stain the pieces and leave them to dry. 

  6. Attach both halves of the sheep to the backbone with wood glue and nails. Next, saw the three strips accordingly and nail them between the rocker blades for extra support. 

  7. Position the seat on the rocking sheep’s back and nail it down with your finish nail gun. Use wood filler to seal any nail holes. 

  8. Attach the sheep’s head on the front edge of the back using wood glue and nails. 

  9. For extra comfort, adhere foam padding onto the back. Cut a hole about the size of the neck on the faux sheep hide — where the head will be. Then, slip the hide onto the body and secure it into place with an upholstery stapler.

  10. Using a power drill with a 1-inch spade drillbit, make a hole in the head where the “ears'' should be. To create the ears — which will actually serve as handlebars — insert the dowel into the hole until it’s equal on both sides, glue it into place, and your rocking sheep is good to go.  

DIY Teddy Bear Rug

To turn a beloved (but old) teddy bear into a cute rug, make sure the teddy bear is large enough to craft a rug out of.

To turn a beloved (but old) teddy bear into a cute rug, make sure the teddy bear is large enough to craft a rug out of.

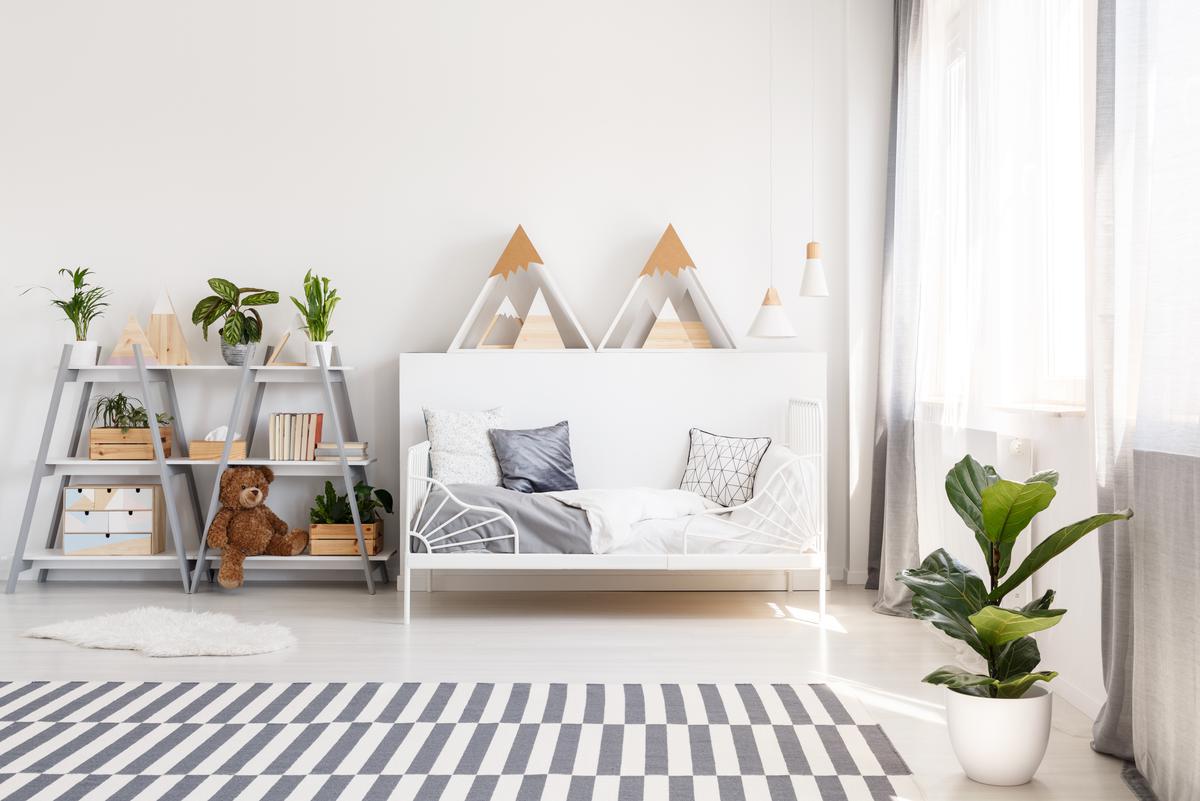
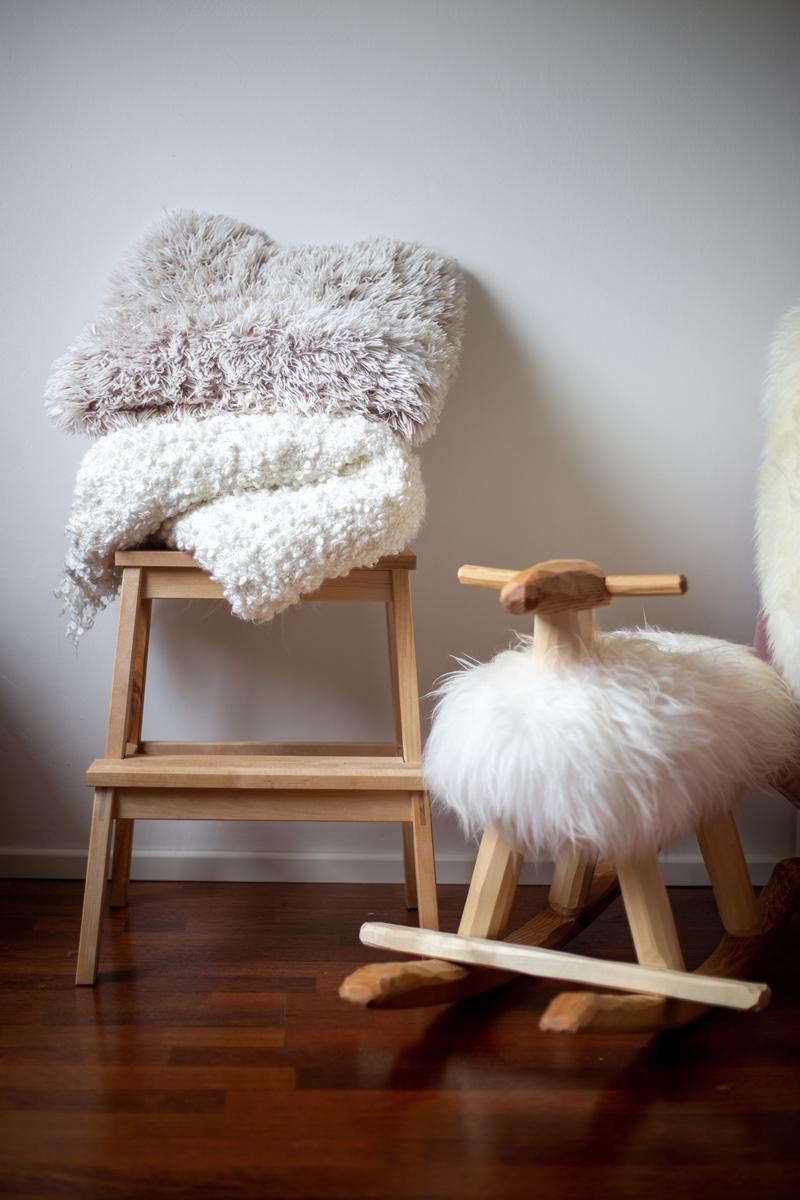
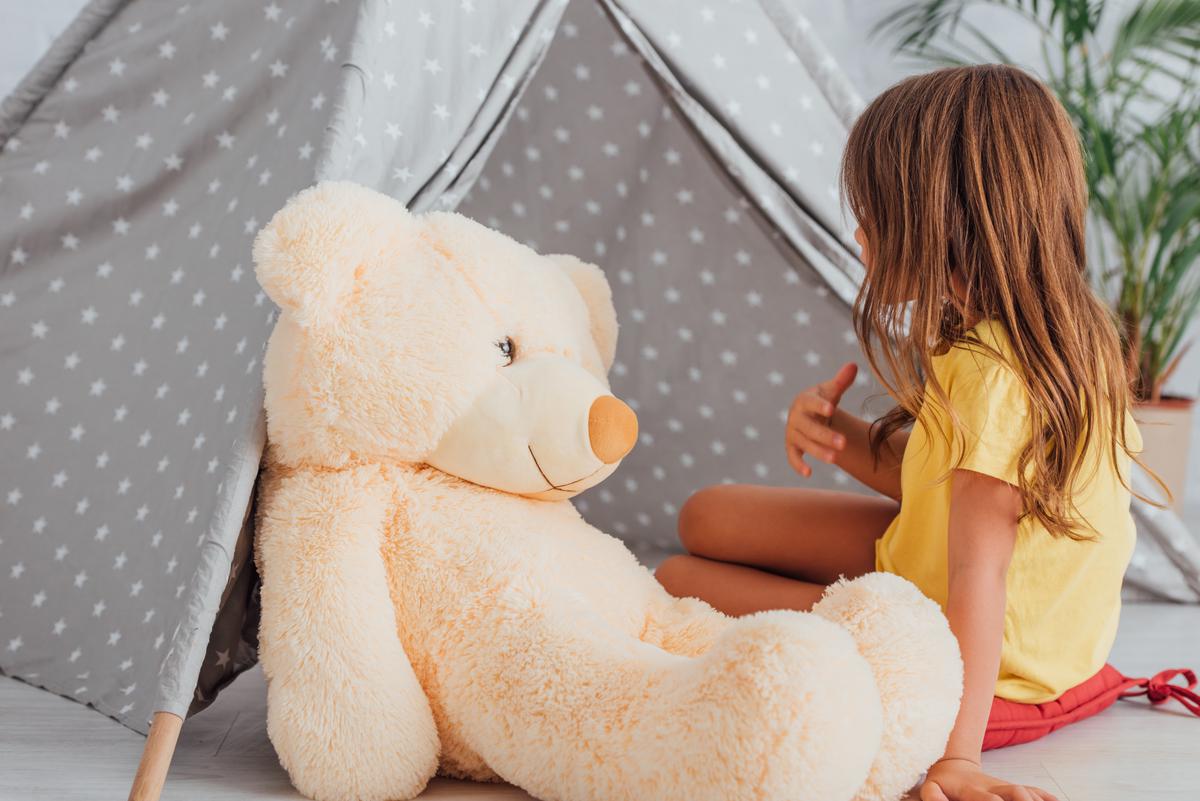
In keeping with the rustic vibes of your Scandi children’s bedroom furniture, consider crafting a DIY teddy bear rug. In case you were wondering, it is exactly what the name implies: a bear rug made out of a teddy bear. This way you can extend the lifespan of your growing child's favorite teddy bear by repurposing it into something unique! And crafting one is as easy as it can be. 

What You’ll Need

  • 1 large teddy bear
  • Scissors
  • Needle and thread
  • 1 sheet of felt in a matching color
  • Spray adhesive

Making a DIY Teddy Bear Rug

  1. Using your scissors, cut through the belly of the teddy bear and empty out all the stuffing. Make sure not to do this in front of any children to avoid traumatizing them. You’ll also want the stuffed animal to be big enough to make a rug out of it. 

  2. Wash the unstuffed teddy bear on a gentle cycle with low spin (or no spin) and let it dry. 

  3. Re-fill just the head with stuffing and sew it shut so that none of the stuffing falls out. 

  4. Position teddy on the felt with the limbs stretched out and trace a rough outline of it.

  5. Cut out the outline you traced on the felt and spray the glue on one side of it. Position the bear belly down on the felt and press it down firmly. You’ll want to let it dry until the next morning before displaying it in the DIY kids’ room.

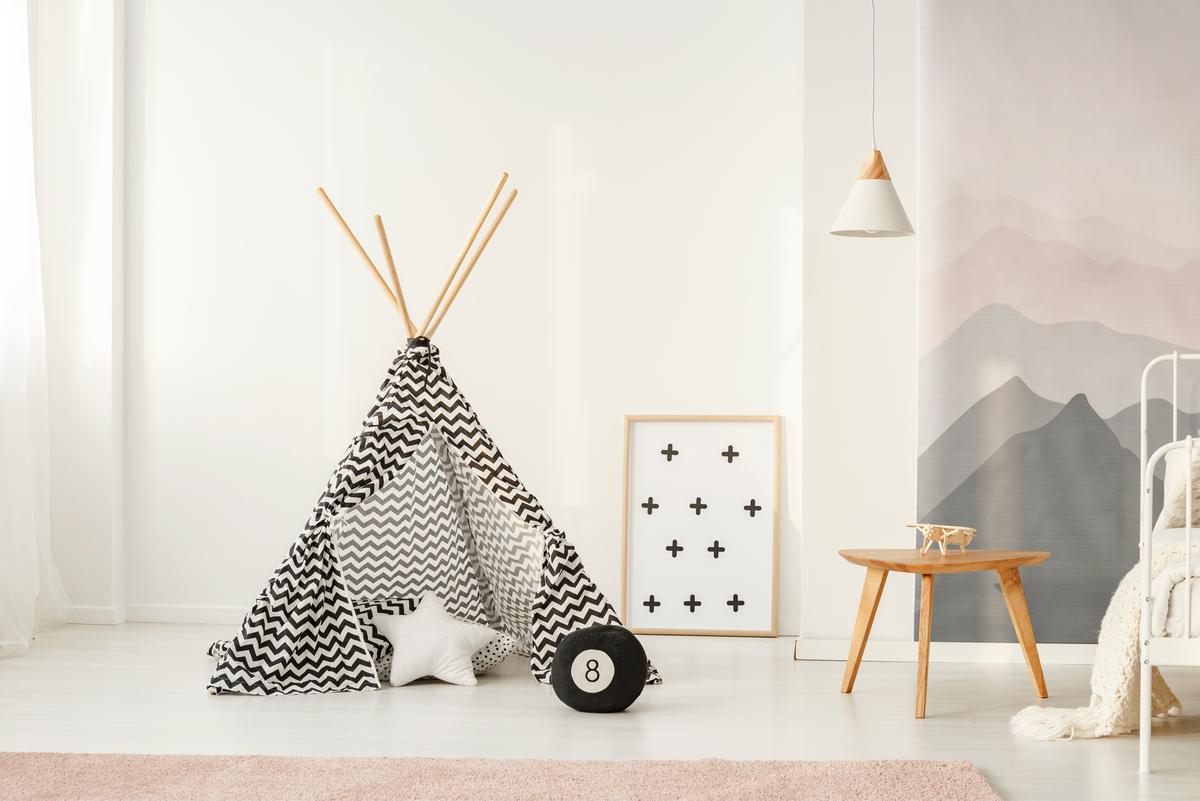
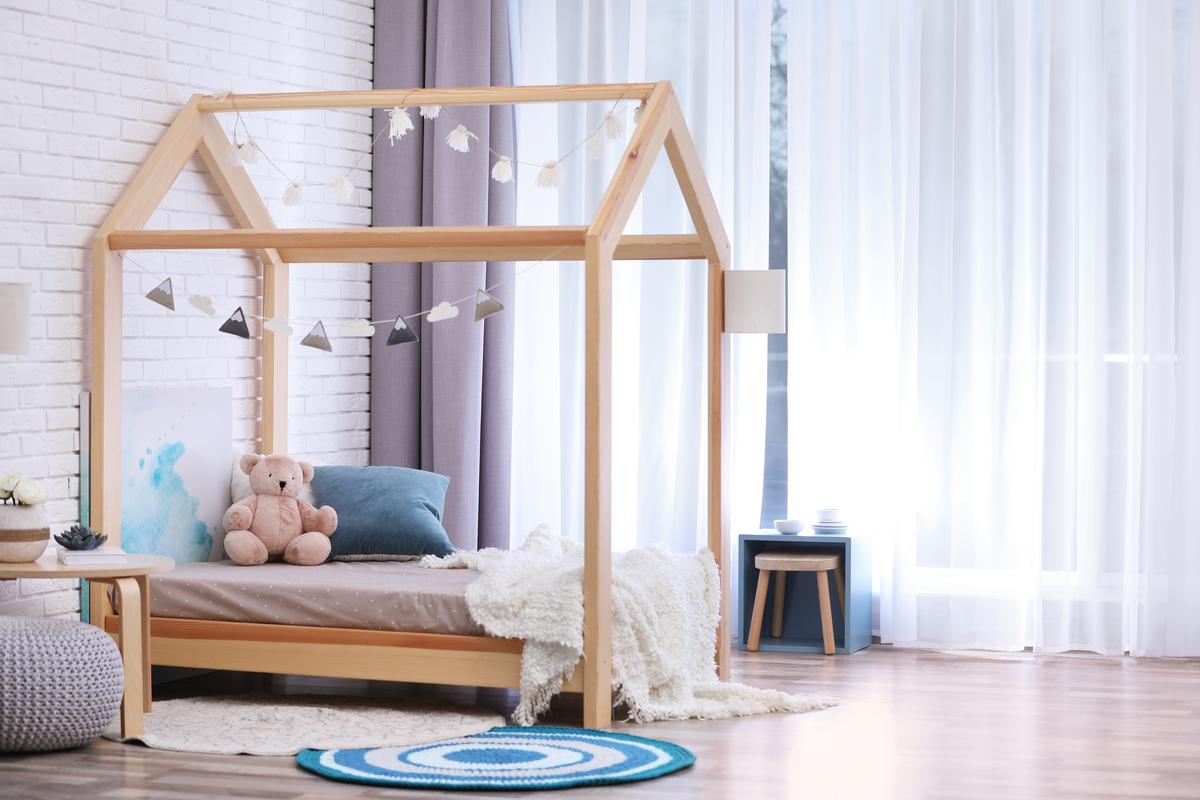
Complete the little one’s Scandinavian bedroom with a DIY nature-themed mural, a plush reindeer or two, and a patterned felt banner as a DIY wall decor

Crafting bedroom furniture for kids can be a fun and rewarding experience. And the nature-inspired simplicity of the Scandi style makes it an easy home project. Plus, you can ask your kiddos to supervise or help with the less-dangerous aspects to make it a family-bonding experience!

Get A Small Projects and Repairs Quote

DS

Written by
Dikran Seferian

Written by Dikran Seferian

comments