A DIY Guide On How To Apply Wallpaper

A DIY Guide On How To Apply Wallpaper

Walls
Small Projects and Repairs
By Contractors.com Team July 02, 2021

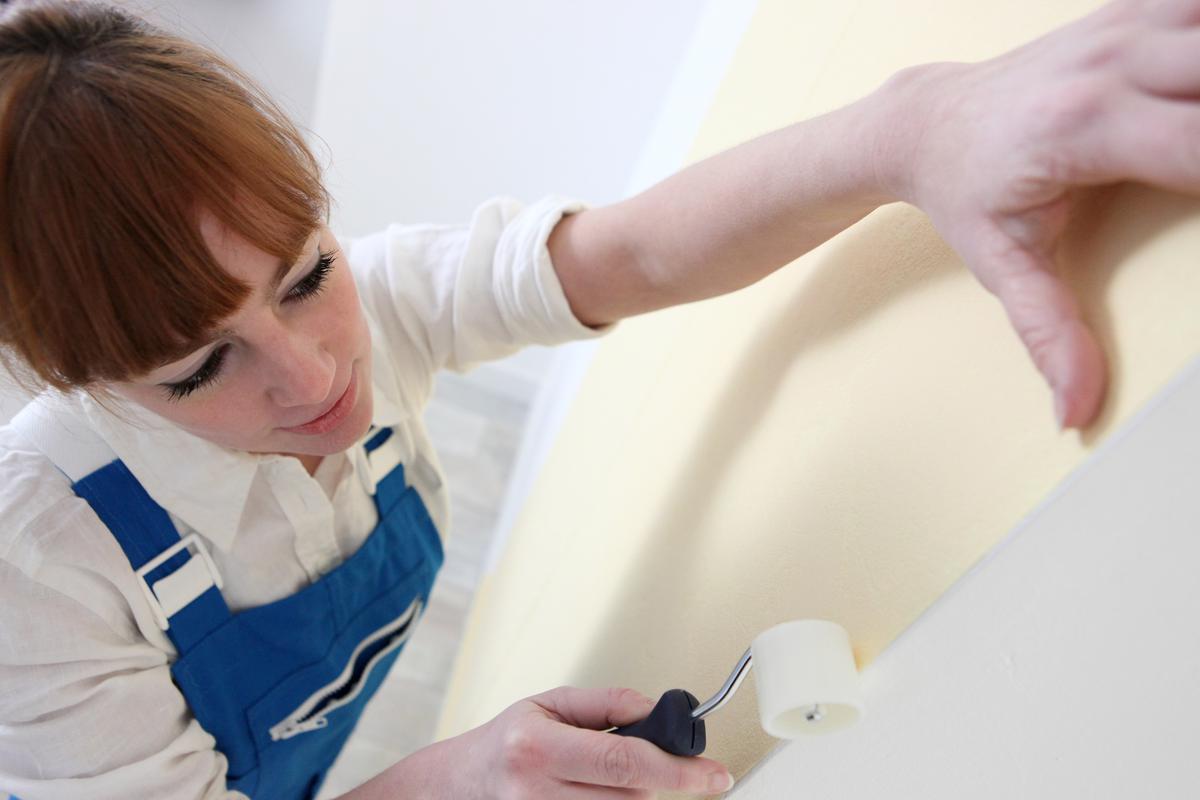
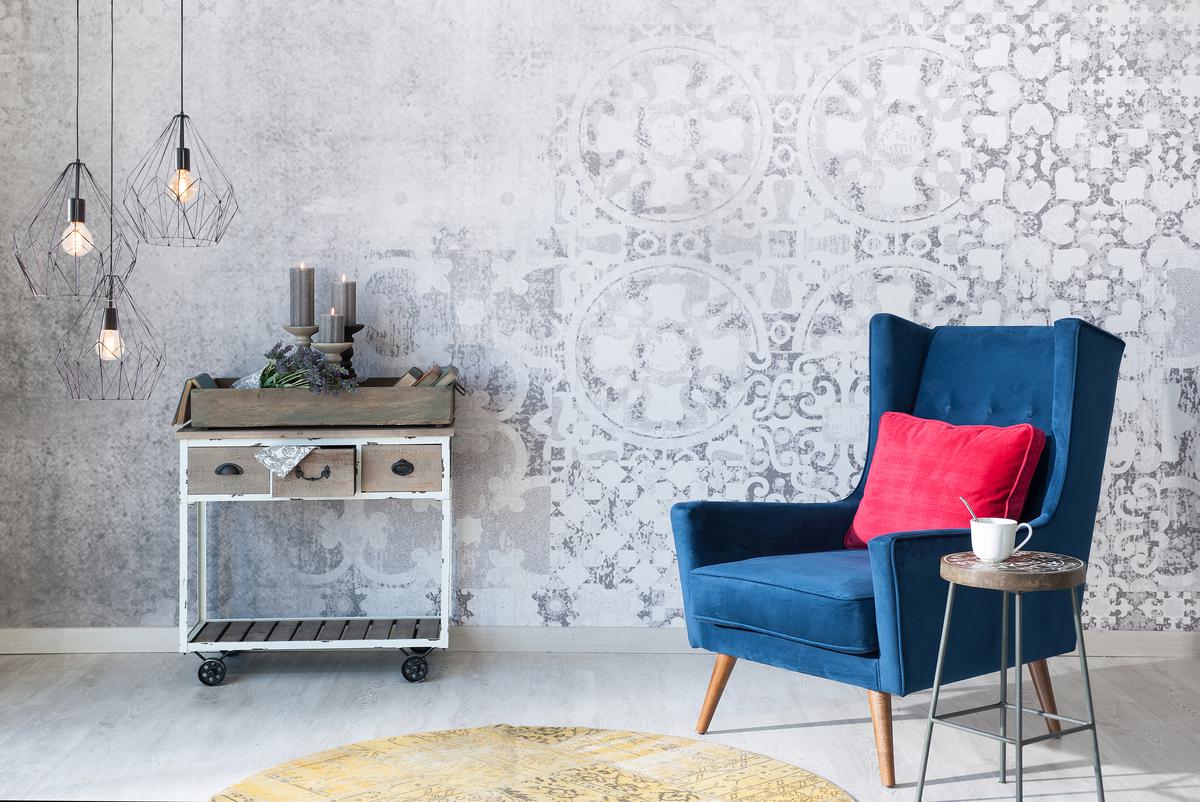
Home wallpaper is quite good at bringing a room together. It allows you to completely change the character of a room in just a day’s work. As such, DIY wallpaper is an option that should be considered by anyone who wants to transform their interior spaces without going through the trouble of a full home remodeling project. There are many different wallpaper options to choose from, so you don’t have to settle for a basic white wallpaper. Instead, you have a number of textured wallpapers, beautifully matte colored wallpapers, and patterned wallpapers that are all presenting themselves in a fresh new light that isn’t necessarily old school.

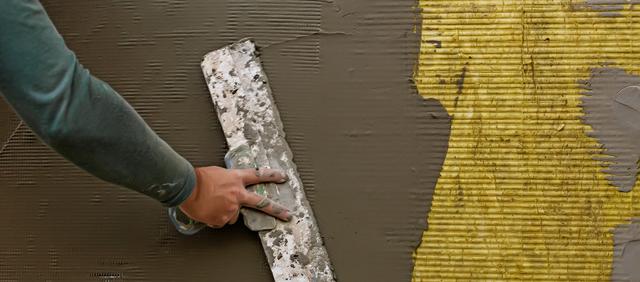
But before you go out and buy some wallpaper to spruce up your living room, there are a few things to consider. When thinking about how to apply wallpaper, it’s important to consider some important details, such as how much wallpaper is needed, how best to install the wallpaper to hide seams, and how you should prep your walls.

Before Getting Started

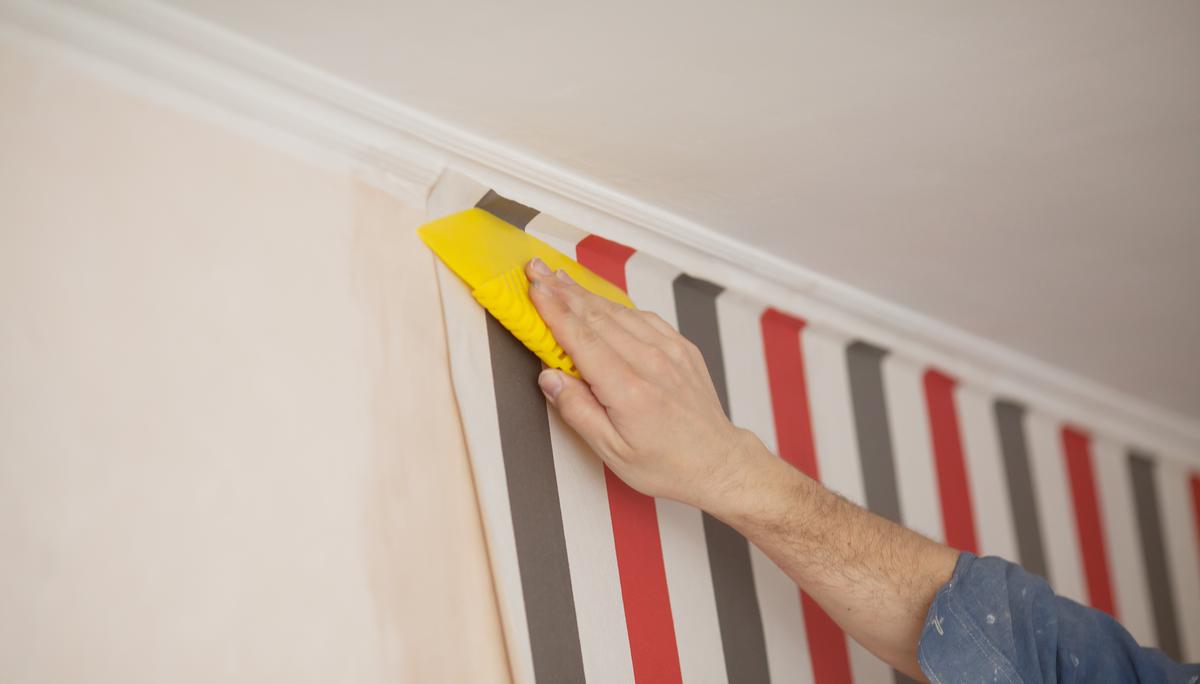
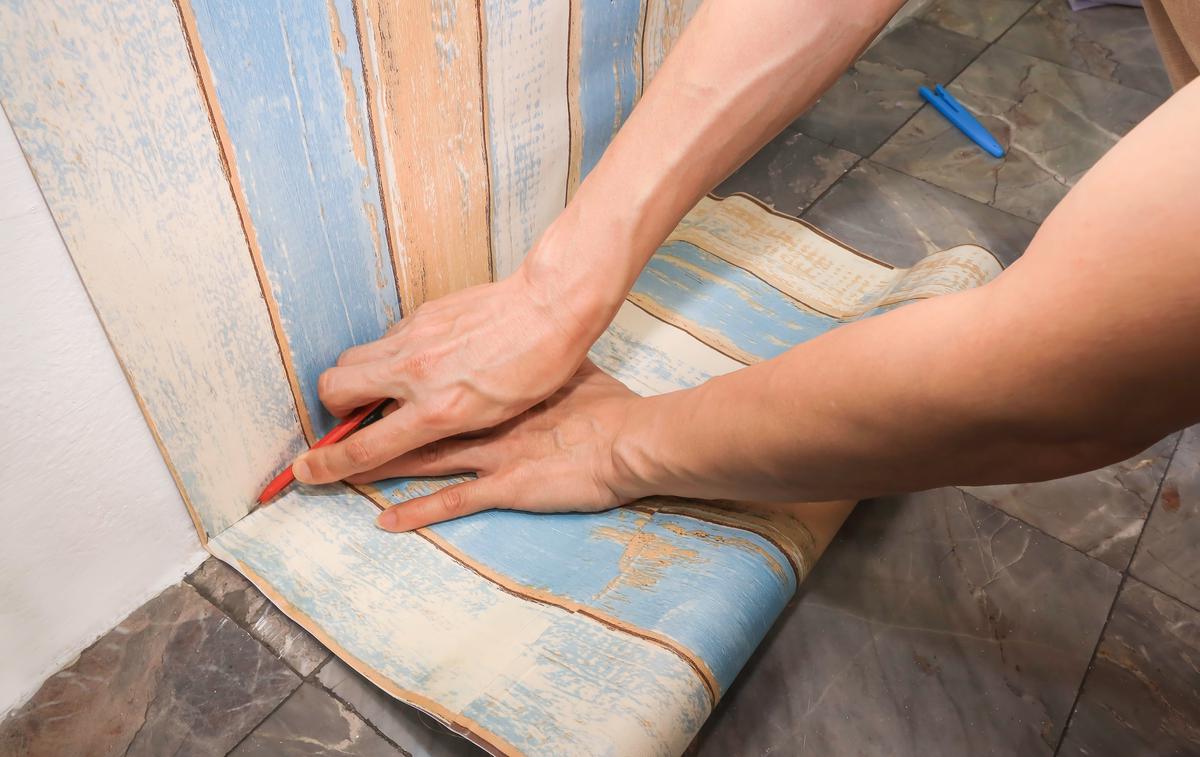
The first thing to do is map out the room where you plan to apply your new wallpaper. This can be done easily with a single roll of the wallpaper of your choice. All you have to do is butt the roll into the corner of the wall you intend to start rolling out the wallpaper from and mark the edge with a pencil. Butting in this context refers to the seams between wallpapers, which will have small overlaps to preserve your wallpaper’s pattern and make everything look seamless. This type of wallpaper seam is known as a “butt seam”.    

Then, use this mark to find where the other edge of the wallpaper will be and mark this as well. Once this is done all that is left to do is repeat the process with the same roll along the wall so you know where every seam will be when you apply the wallpaper for real. Another pre-measurement task to check off your to-do list is to use a plumb line. 

A plumb line is a method of measurement that is used to figure out the length of a vertical line on an upright surface of a wall. This is pretty useful for showing you precisely where the seams will go. Use a level and draw a straight plumb line about 1/4 inches past where you want the first panel of paper to end. Take into account that inside corner seams need to be overlapped by at least 1/8 inches. 

Things to Keep In Mind Before Applying Wallpaper

Things to Keep In Mind Before Applying Wallpaper

When it comes to buying paper, a general rule of thumb is to order about one foot more than you need. So if you have 9-foot walls, you’ll likely need at least 10 feet of wallpaper to cover everything and ensure that the pattern on your wallpaper stays aligned. Of course, all wallpapers have different designs, but this generic measurement works well with most of them, especially if your wallpaper pattern needs to align horizontally.

Prepping the Wall

The next big step is to sand the wall so the wallpaper will adhere without any defects or issues, which shouldn’t take longer than a few hours. To start, remove all light fixtures, light switches, and power outlet covers from the wall you want to work on. Once this is done, prepping the wall mainly involves scraping off the walls with a drywall knife to remove any residue and imperfections. Sandpaper might be necessary to rub out any smaller knicks a drywall knife might miss.  

Prepping Your Walls to Apply Wallpaper Yourself

Prepping Your Walls to Apply Wallpaper Yourself

Next, it’s time to apply primer with a roller or paintbrush. Primer is an important ingredient for a successful DIY wallpaper installation. It prevents the wallpaper from shrinking after installation and therefore helps reduce the risk of tearing and peeling. Primer will make it easier for the wallpaper to stick to the wall, and will also make it easier to remove the wallpaper in the future. Applying home wallpaper without primer will make the wallpaper impossible to remove in the future.  

Step By Step

Now comes the process of applying the wallpaper. This step-by-step guide will take around four to five hours to complete for one average-sized wall. You will have to repeat these steps for each panel of wallpaper applied. 

  • Roll On the Wallpaper Paste
    Wallpaper paste is what binds the wallpaper to the wall, much like glue on paper. You should use a half-inch paint roller to apply the paste to your wallpaper. You can also use a paintbrush to apply the paste to the wallpaper, though this will take longer. If you use prepasted wallpaper, you’ll have to add water to activate the paste. It is recommended that you also use a paint roller for this since this will ensure that the water is spread out uniformly. 
A Step by Step Guide to DIY Applying Wallpaper

A Step by Step Guide to DIY Applying Wallpaper

  • Fold Before Applying
    This is also known as booking and involves folding the wallpaper panel in on itself after the paste has been applied. This gives the paste time to activate and allows the paper to become softer, making the whole process of putting it on the wall easier. The most efficient way to do this is to apply the paste and fold all of your wallpaper panels before applying them. This will take less time than if you were to apply paste, fold, and stick each panel one at a time. 

  • Inside Corners
    It’s important to ensure that the corners of your wallpaper are perfectly straight when installed. This is where your plumb line measurements come into play to ensure that your wallpaper is aligned correctly with the vertical line of the wall. The first panel of wallpaper you install in a corner should be overlapped onto a perpendicular wall by ⅛ inches.

    This ensures that there are no gaps, that everything is straight, and that the wallpaper pattern lines up as it should. Most corners are not as straight as they appear, so it’s normal if things aren’t spot on with these recommended measurements. As long as you’re in the ballpark you should be fine.

  • Smooth Things Out
    Once a panel has been applied to the wall, it needs to be smoothed out to remove excess paste and get rid of any ripples in the wallpaper. This is done with a smoother (a small plastic tool that comes with your wallpaper kit). Avoid pushing too hard, though, because you could end up damaging the paper or pushing out too much paste. If that happens, your paper might shrink once the paste dries, exposing seams and causing all sorts of headaches. Be sure to repeat this process for every panel that is installed, and use a sponge with warm water to remove the paste residue before it dries.   
How to Make Sure Your Wallpaper Is Set Smooth

How to Make Sure Your Wallpaper Is Set Smooth

  • Final Touches
    As you near the end of this project, there are a few final details to take care of. One is to smooth out the seams of your wallpaper with a smoothing roller. This will also come in your wallpaper kit and will keep the paper edges from curling as the paste dries. Once again, avoid pushing too hard so you don’t roll out too much paste. 
The Final Touches In Applying Your New Wallpaper

The Final Touches In Applying Your New Wallpaper

If your wallpaper overlaps, you’ll have to use a utility knife to cut a seam at the overlap to prevent bulging. Buying extra wallpaper means you will have at least an extra two inches of wallpaper at the top and bottom of your wall, so use your utility knife to trim this excess. Avoid cutting into the drywall when using the utility knife. 

Bonus Tips

Tips for a Perfect DIY Wallpaper Application

Tips for a Perfect DIY Wallpaper Application

  • Cut down your first paper panel to fit well into the edges and corners. Depending on your wall size, it might be necessary to cut down the first panel of wallpaper near corners and doors. This will prevent tiny gaps in the wallpaper so you don’t have to cut 3-inch strips of wallpaper.

  • Use a high-quality roller when applying paste. We say high quality because a regular garden variety paint roller is liable to degrade as it is used, leaving little clumps of foam all over your wallpaper. This won't be good for your wallpaper paste. 

  • Choose the right paste.
    There are three types of paste: starch, wheat, and clay. In general, you should buy the paste recommended by your wallpaper instructions and avoid buying ‘universal’ paste unless your paper manufacturer calls for it.  

  • Use plastic bags. 
    Once the paste has been applied and you’ve folded your wallpaper, you can put them in plastic bags to keep the paste from drying too quickly. Place these plastic bags near the wall you plan to work on so your wallpaper panels are in easy reach. 

  • Use a cutting guide.
    If you don’t have a steady hand, you can use your drywall knife as a cutting guide to make sure all your trimming cuts are straight.

  • Look into vinyl wallpaper.
    Consider getting solid vinyl wallpaper as opposed to paper wallpaper for rooms that are exposed to a lot of moisture, such as kitchens and bathrooms. Solid vinyl wallpaper is much more resilient to moisture and wear. Just be sure to get solid vinyl wallpaper, as other vinyl wallpapers might only have a vinyl face but a paper backing.

Written by
Contractors.com Team

Written by Contractors.com Team

Welcome to the Contractors.com Team, a group of passionate individuals dedicated to helping homeowners achieve their dream home through the best-in-class service providers and inspiring content.


We believe that every homeowner deserves to have a home that they love, and we're committed to making that a reality. Whether you're looking to remodel your kitchen, renovate your bathroom, or build your dream home from scratch, we've got you covered.


When it comes to creating content, we take a multi-faceted approach. We gather insider tips from experts in the home service industry, and do our own thorough research to write informative and engaging articles that are tailored to our readers' needs. At the same time, we harness the power of A.I. and GPT-3 technologies to generate titles, headlines, and even entire articles that are optimized for SEO and designed to provide value to our readers.


We're committed to providing the best possible service to our readers, and we're always looking for ways to improve. Whether you're a homeowner looking for inspiration or a service provider looking to join our network, we're here to help you achieve your goals.

comments