How to Safely Remove a Brick from a Wall

How to Safely Remove a Brick from a Wall

Walls
Small Projects and Repairs
By Dikran Seferian January 05, 2022

One of the sturdiest and most durable elements of construction is the brick wall. Although it is important for brick walls to possess such qualities, certain challenges may arise as a result. A common challenge that you might face is when you need to remove a brick or two from the wall.

Vents, wiring, and pipework typically pass through the interior as well as exterior walls. If there’s a brick standing in the way of an installation, you may have to remove it. Or perhaps a single brick in an indoor feature wall may be damaged or stained, ruining the whole aesthetic. Removing and replacing it is usually easier than repairing it. With a few tools and equipment at hand, you can take on the brick removal project yourself.

Get A Walls Quote

Brick Removal Methods

Various Ways to Remove a Brick from the Wall

Various Ways to Remove a Brick from the Wall

There are several ways you can remove a brick from a wall. One way to go about the process is to drill a number of holes in the part of the brick where the clay is relatively soft. Then you would chisel out the rest bit by bit. This technique, however, tends to leave the hard mortar around the brick in place. Chiseling the mortar can be tricky once you remove the brick.

Another method makes use of a special masonry saw and is suitable for removing a large surface of a brick wall in order to install a door or a window. The technique essentially involves cutting the outline of the opening through the wall and demolishing the area within the cutout. However, this method makes sense only when you plan on removing a large number of bricks.

An ideal way to go about a single brick removal involves pulling the piece out intact. One advantage of this method is that you can repurpose the brick. Moreover, since you’ll be removing the mortar around the brick, you’ll end up with a clean opening.

Safety Precautions for Removing a Brick

Although removing a brick from your wall isn’t a complicated task, it does require a good deal of time and patience. It can also be messy, somewhat annoying, and possibly dangerous with all the debris flying around. As long as precautionary measures are taken, the process should be perfectly safe. These measures include wearing heavy-duty work gloves, particle masks, and safety goggles.

Contrary to what people may think, removing a single brick doesn’t pose a structural hazard. There’s no need to worry about the entire wall crashing down or its structural integrity being compromised — as long as it’s generally in good condition. If there are cracks or bulges in the wall, however, you may want to contact a professional mason.

What You’ll Need

Equipment You’ll Need for a Brick Removal Project

Equipment You’ll Need for a Brick Removal Project

  • Work gloves
  • Safety glasses
  • Particle mask
  • Ball-peen hammer
  • Screwdriver
  • Masonry chisel
  • Drill
  • ⅜-inch drill bit
  • Heavy tarp

The chisel you will need for this project is a specialized masonry tool. A wood chisel that’s used for shaping wood or a cold chisel intended for metal will not do. Masonry chisels are composed of hardened steel that doesn’t chip, and they feature a rubber guard for your hand. You can find these tools in a variety of sizes. For this purpose, however, you will need the narrow type. As for the drill bit, you may want to use one that’s designed for drilling concrete such as a ⅜-inch piece.

The hammer you would be using for this project is designed for striking steel chisels. If you don’t have one, however, a regular hammer will do just fine.

Removing a Brick from the Wall

Whether you’re extracting a brick from a wall for form or function, the process isn’t as difficult as one might think. If you’re handy with tools, it can be a relatively straightforward project. 

Safety First

Before getting started, make sure to wear safety glasses, a dust mask, and work gloves. All the drilling and chiseling will create a great deal of dust. You can also expect pieces of brick and mortar flying around. If you’re working indoors, it might also be a good idea to move furniture and other objects away from the area. Moreover, covering the floor with a tarp will make it easier for you to clean up the mess afterward.

Get A Walls Quote

Get Loose Mortar Out of the Way

Using an old screwdriver, pry out any loose mortar from around the brick you’re planning to remove. Make sure to remove any loose bits that could be flung when you start drilling the mortar joints. 

Drill the Holes

Use a Drill to Make Closely-Spaced Holes in the Mortar

Use a Drill to Make Closely-Spaced Holes in the Mortar

Attach a ⅜-inch bit to a drill of 800W or higher and make a series of holes in the mortar around the brick. Make sure the drill is set at a low speed. Also, drilling the holes as close to each other as possible will make the next step easier. This process requires a fair amount of patience and concentration in order to avoid mistakes. Expect to wear out a couple of drill bits while drilling so make sure to have spare ones at hand. Using a hammer drill, however, can make the process considerably easier while preventing the masonry bits from being worn out. Newer drill models will most likely have a hammer setting.

You’ll also need to drill through the entire depth of the mortar joint. Basically, keep pushing through until you feel the drill bit exiting from the other side.

Chisel the Mortar Joints

Chisel Out the Remaining Mortar Around the Brick

Chisel Out the Remaining Mortar Around the Brick

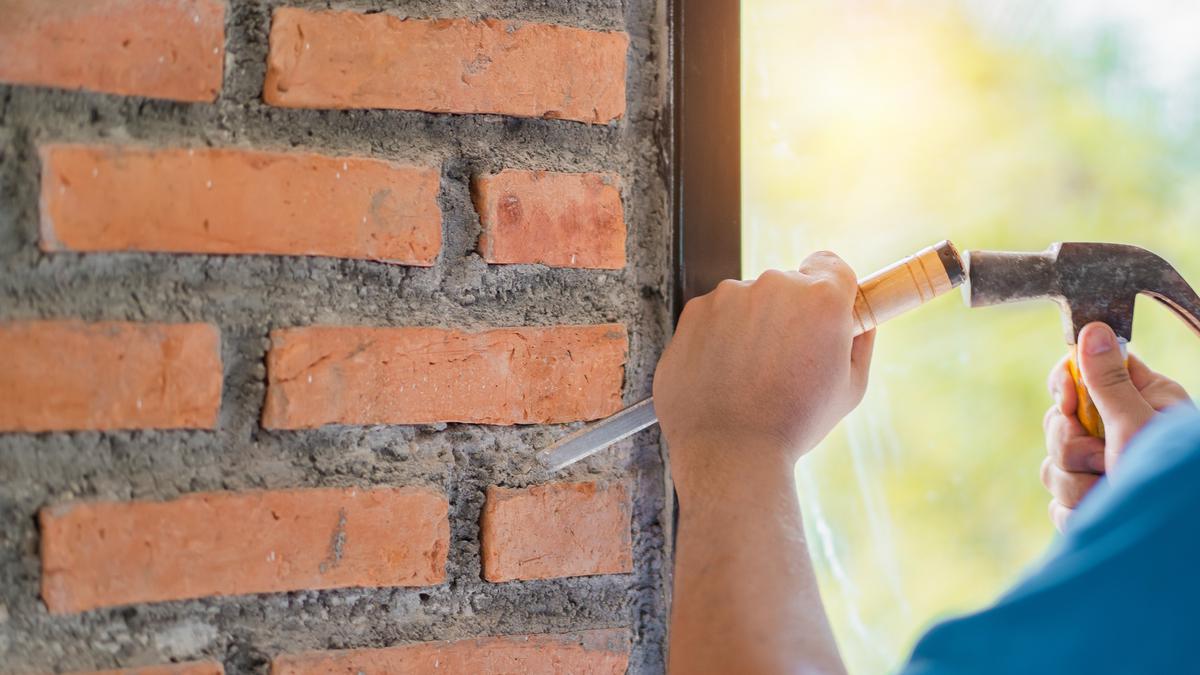
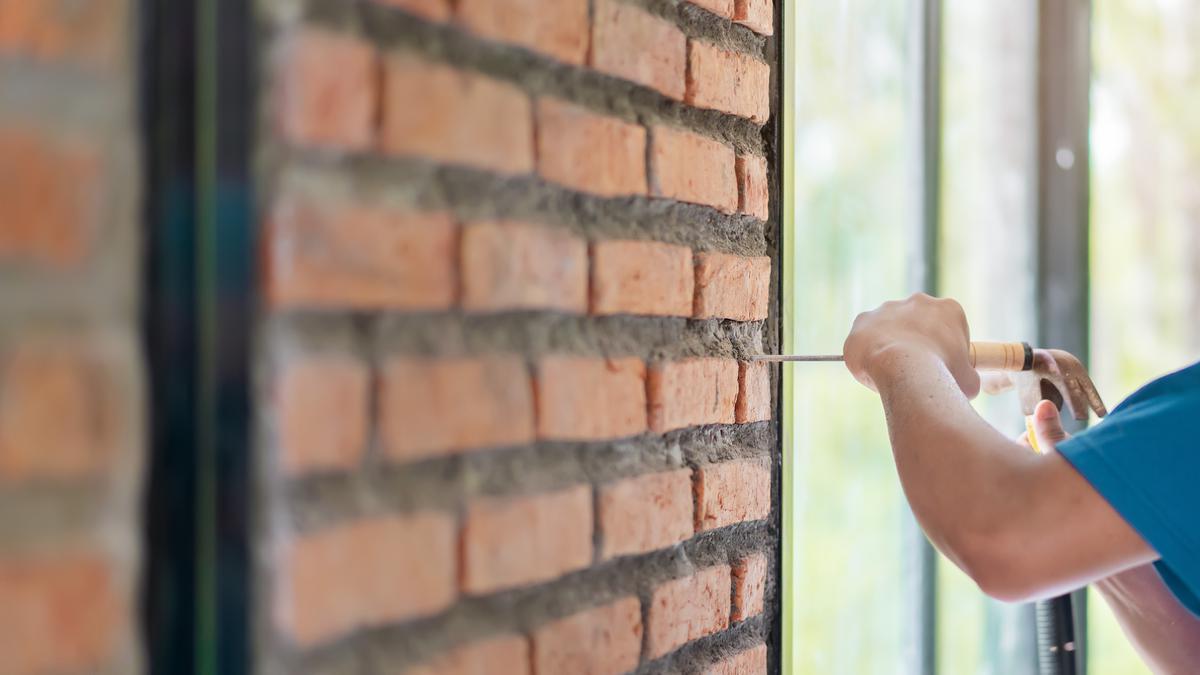
Once you’re done drilling the holes in the mortar, grab a hammer and chisel and begin striking the joints. Start with the sides, then move on to the bottom and lastly the top. If the mortar is limestone-based, you may be able to use a masonry saw to work your way along the lines, severing it from the surrounding wall. Once you break off all the mortar, the brick should most likely become loose.

Remove the Brick

As the brick breaks loose, you may start pulling it outwards. Using a screwdriver and a masonry chisel, carefully pry the brick from both sides until it’s pulled out far enough to grip it by hand. Then, wiggle the piece around while extracting it till it comes out. 

Scrape Out the Remaining Mortar

Once the brick is out, use the hammer and the chisel or an old screwdriver to chip and scrape out the remnants of the mortar along the opening. Make sure to be extra careful as to not damage the surrounding brickwork. If you plan to reuse the newly removed brick, you may want to clean off any remaining mortar using the aforementioned tools.

Finding a Replacement Brick

Unless you’re removing a brick for functional purposes, you’ll obviously need a replacement for the damaged piece. It’s imperative that the replacement you find matches the existing brickwork — especially in the case of an indoor feature wall. Even if it doesn’t personally bother you, it can be an issue if you were to sell your house in the future.

The difficulty of finding a replacement brick depends on several factors. These include the age of the brick, the manufacturing location, and the company that manufactured it. If you live in a relatively new property, you can most probably get a brick from the construction company. If the house is older than 15 years or so, your best bet is an architectural salvage yard or a brick supplier. For bricks that are unique, however, you may have to dig a little deeper. In this case, consider looking for companies that specialize in custom-made bricks.

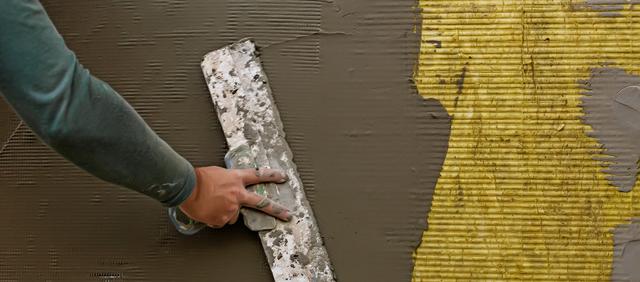
Besides the brick, you will want the new mortar to match the rest of the wall. Otherwise, it will be standing out like a sore thumb. Ultimately, the color of the new mortar comes down to that of the sand and cement you’re using. This process may involve a good deal of trial and error by mixing various types and shades of the materials. Fortunately, an easier way around this involves using special tints and dyes to obtain the desired color.

Tip: If you are replacing a brick only because it is stained, consider simply turning it around to the clean side and laying it back in.

Get A Walls Quote

DS

Written by
Dikran Seferian

Written by Dikran Seferian

comments