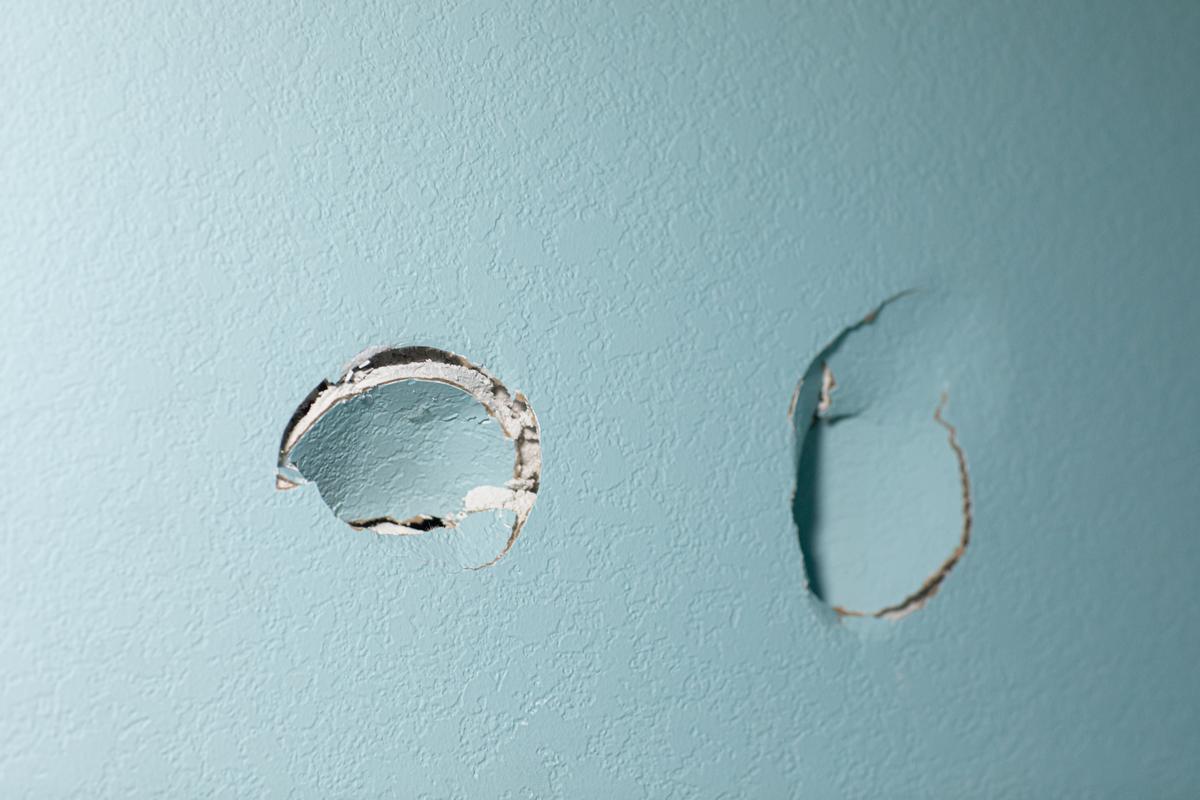
There’s a big huge hole in your drywall, but that’s no reason to beat yourself up; it happens to everyone. You slip, trip, or hit your hammer at the wrong angle, and bam, there's a big hole in your drywall. The important thing isn’t to blame anyone but to fix the drywall.
Holes in your drywall allow ingress of moisture, pests, and other bad things that can cause structural problems in the long run. It also goes without saying that a hole in your wall won’t do all that many favors for your insulation. Fortunately, drywall repair is relatively easy and can be pretty straightforward.
Take Stock of the Damage
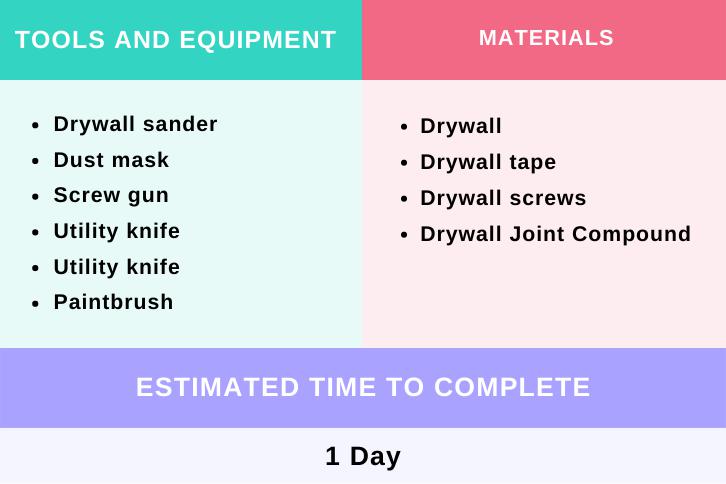
These will be your tools of the trade.
The first step is most important. You need to measure the hole in your drywall to determine which repair method is best. In most cases, a hole of four inches in diameter will be easy to repair with a spackle hole filler.
Significantly larger holes will require a section to be cut out of the drywall patch so that the repair can be completed properly. This is because a larger hole will require structural reinforcement as part of the repair process in order to maintain the integrity of the drywall.
Once you’ve applied at least three coats of compound and it has dried, sand the compound with some 100 grit sandpaper to remove any roughness and allow for repainting.
Backer Boards
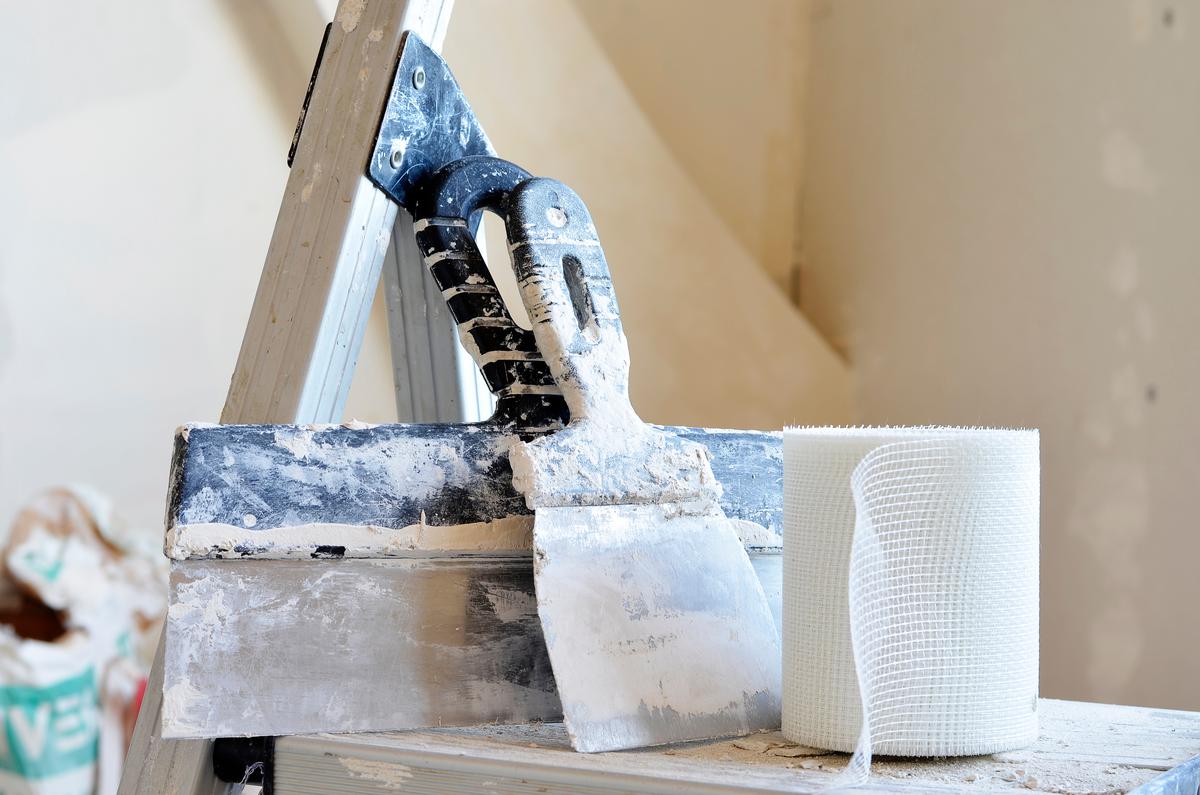
Backer boards will give your drywall structural rigidity.
For holes larger than 4 inches, you will need to cut out a section that is 4 inches longer and wider than the damaged section. This can be done with a drywall saw and will allow you to install backer boards to reinforce the drywall. When the backer boards are screwed in with a power drill, the damaged segment of the drywall patch can be installed and sealed in with the drywall compound.
Multiple coats of the compound will have to be applied to help the drywall hold fast. The backer boards must be at least four inches longer than the height of the segment that was cut out and should ideally be made of soft wood such as pine. Use drywall screws to draw the boards in tight. It is important that the screwheads be sunk in slightly below the drywall patch so they don’t get in the way of the drywall compound.
Repairing a Large Hole, Step By Step
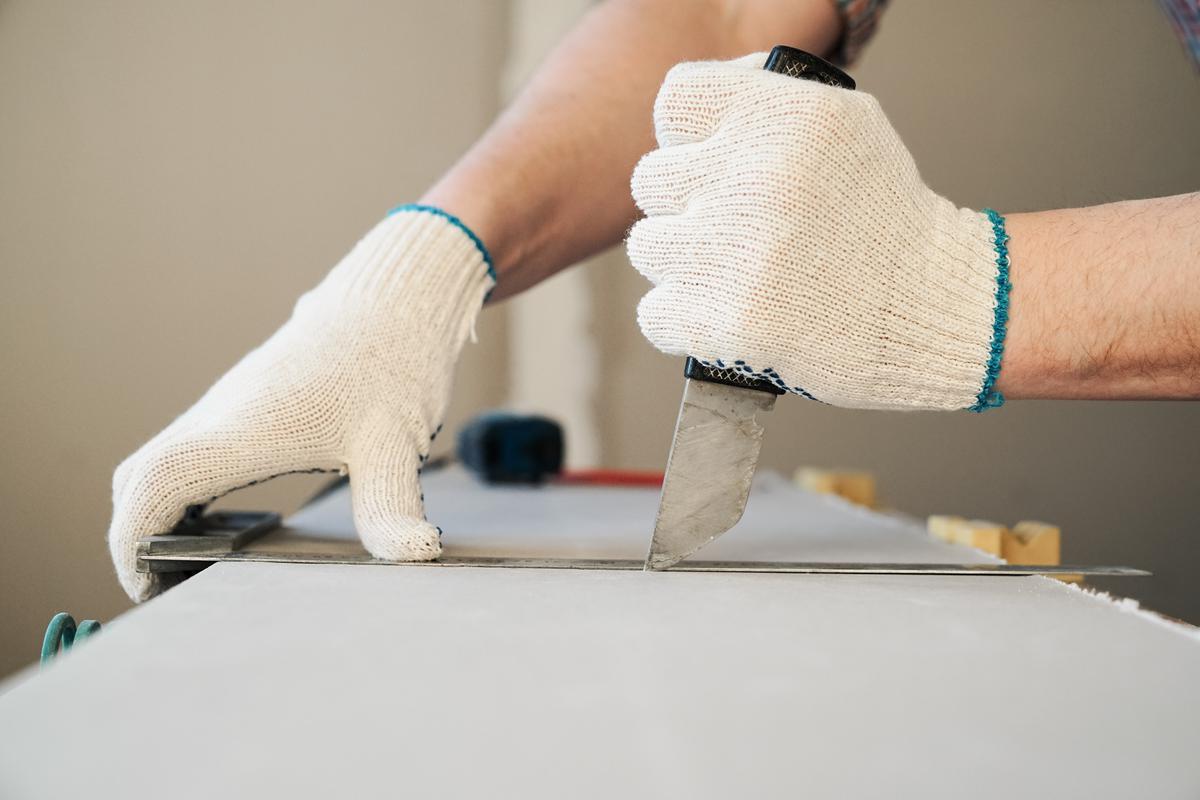
Use a utility knife for a precise cut.
As when you work with masonry, some repairs will be more involved than others. For smaller drywall holes, spackle hole filler is the best way to go, so it’s no surprise that it is the most popular method for drywall repair out there. Holes as large as four inches can be easily patched with spackle hole filler, allowing for a quick fix that will hold for decades to come.
Cut Away a Segment
First things first, before cutting away the drywall patch, it’s important to check behind the damaged drywall to ensure there aren’t any obstructions. This is especially important since you want to avoid cutting into electric wires, pipes, or air ducts. If you find any, carefully work around them as you cut out the drywall segment.
A keyhole saw is especially helpful in these kinds of situations. Alternatively, work around the obstruction by making shallow cuts so you don’t cut too much and cause damage. Be sure to leave a few inches of drywall at the corners as this will make it easier to add the drywall tape and the binding compound when the time comes.
Installing the Backer Boards
When screwing in your backer boards, it is best to hold them tight to the backside of the drywall so that you can get the screws as far in as possible. However, we recommend holding the board carefully so as to avoid getting pricked by the screws as they come out the other side of the board.
Once the backer boards have been installed you can move on to installing a new drywall patch. To start off, you will be taping the segment you cut out using drywall tape.
Taping the Joints
The first step in taping is to apply some drywall compound over the joints, at which point you can apply paper tape with a utility knife. Then, apply a thin layer of compound on top of the tape to secure it.
This will need to be left to dry before you can proceed. This should take no more than twenty or thirty minutes to dry.
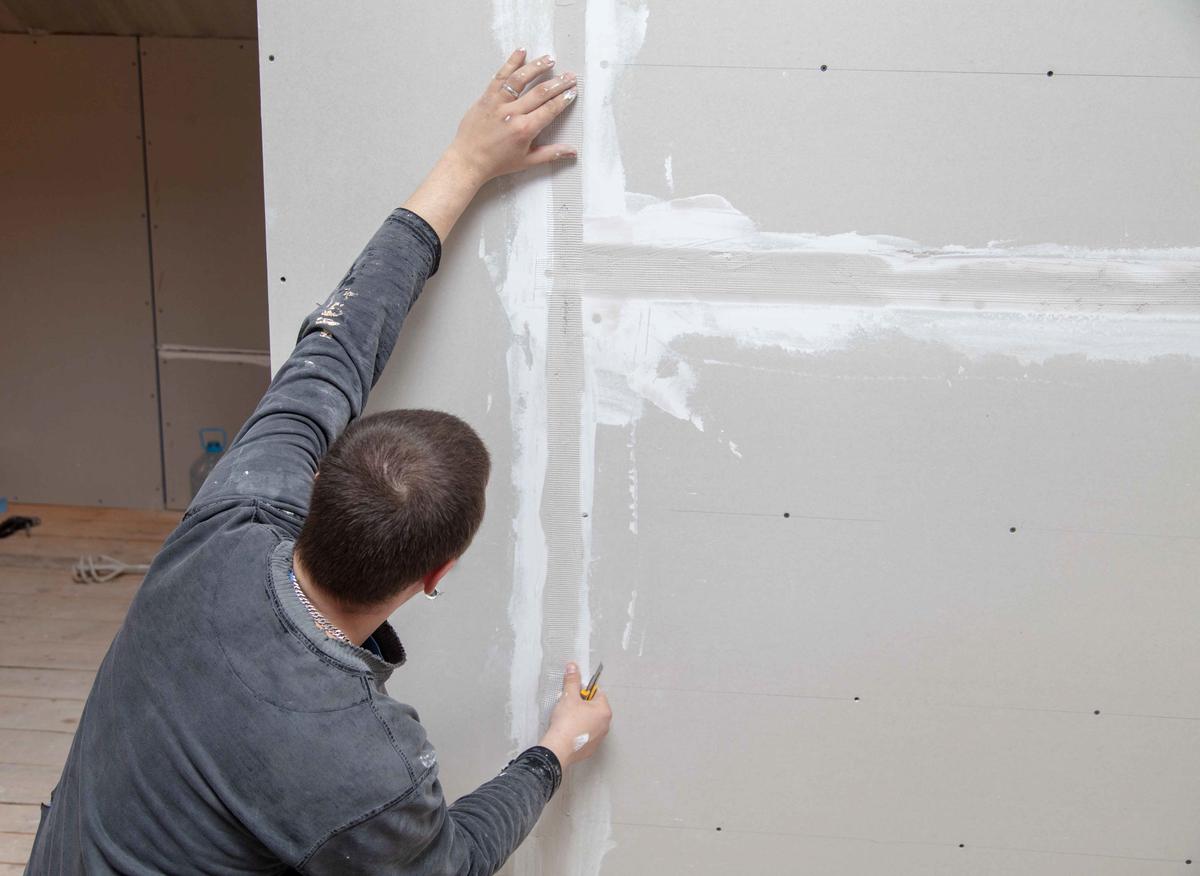
Drywall tape will help the repair to hold.
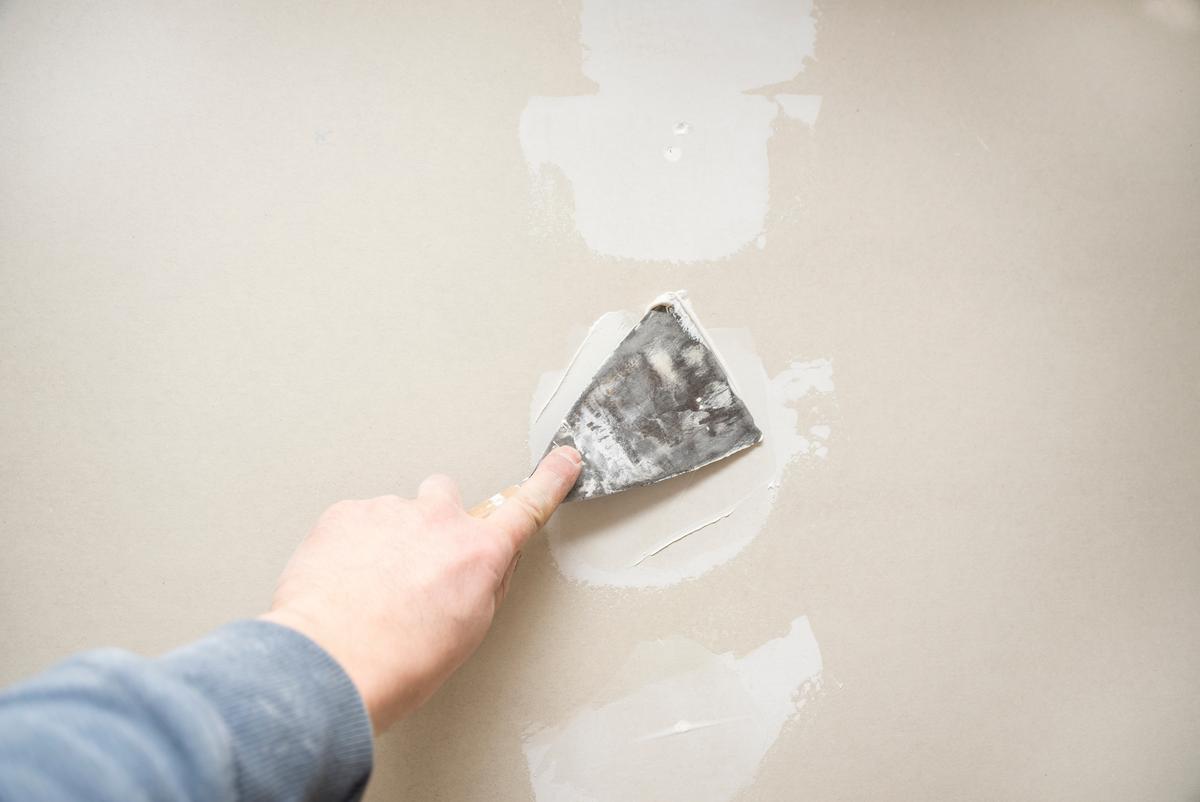
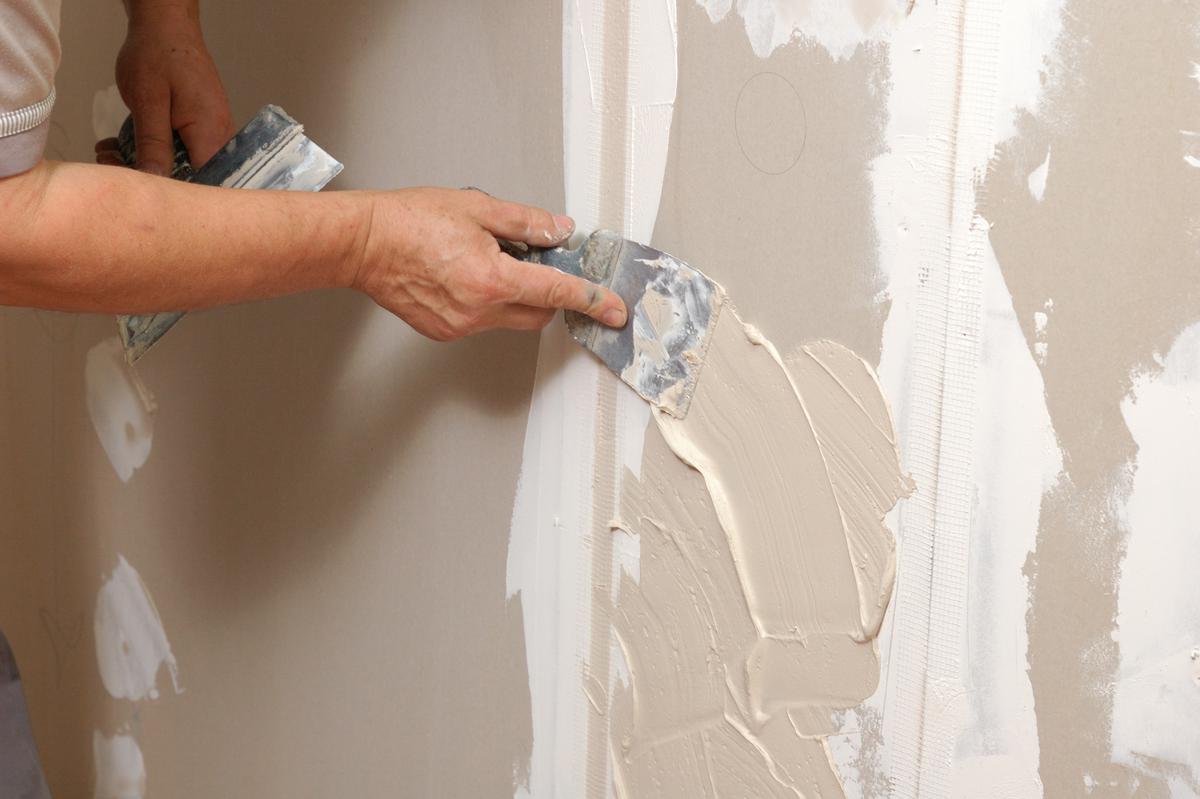
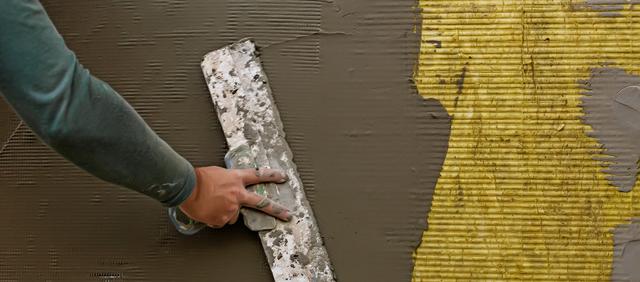
Applying Drywall Compound
Once the compound spread over the tape has dried, apply a second coat to help further strengthen the repair. A third coat should also be applied once the second coat has dried. For the second and third coats of drywall compounds, draw at least six inches beyond the edge of the first coat to taper the edges of the replacement drywall patch.
Smooth any remaining uneven lines once the drywall compound layers have fully dried. The surface will still be rough after this, however, and as such will need to be sanded.
Sanding
Use 100 grit sandpaper to remove any ridges and rough edges from the drywall compound. For the best results, take a flat panel of wood and wrap the sandpaper around it. This will allow the sandpaper to smooth the compound out evenly and leave you with a nice and flat surface perfect for priming and painting.
You can also rotate the sandpaper back and forth using clockwise and counterclockwise movements, allowing for a better-smoothened process.
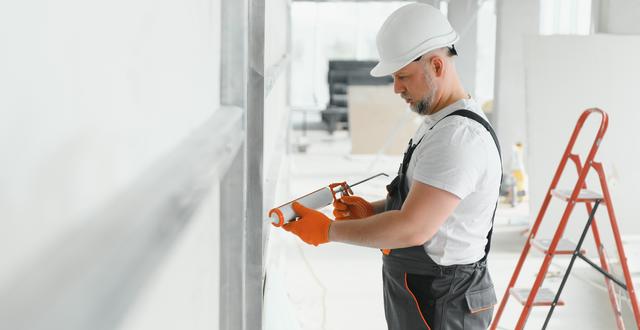
Prime N’ Paint
When it comes time to repaint, place a sheet on the floor before starting so no paint can stain your floor. Be sure to move furniture out of the way as well. To begin, apply primer to the wall patch and give it three hours to dry.
Use a paint color that matches your wall color and apply two coats with a paint roller, waiting four to five hours between each application so that the paint can dry. You may need to apply a third coat to completely cover the spackle hole filler.
Fast Fix
Not all hole repairs require cutting out drywall.
Some deep holes and gaps can be fixed far quicker than with this DIY process. There are now twenty-minute setting compounds available that allow you to fill deep holes that harden quickly and do not shrink as they dry.
This means that you’ll spend less time filling and you can apply a second coat as well without having to wait for the first coat to dry. Lightweight types of quick-setting compounds will dry even faster at ten minutes, so don’t dilly dally when you use it.
Cracked Corners
Drywall joint compound can also fix cracked corners.
Most homes settle unevenly as they age, and this sometimes causes cracks on the walls. Often, these cracks run from the ceiling to the floor and can manifest in corners as well as in drywall tiles. To remove these cracks, cut away drywall patches using a utility knife and fill in the gap with a setting compound.
After retaping the joint and adding more compound, you can mend these cracks and restore strength to the drywall. It’s best to add compound to one side first, then add compound to the other side as this technique will prevent the compound from bunching up unevenly.
Nail Holes
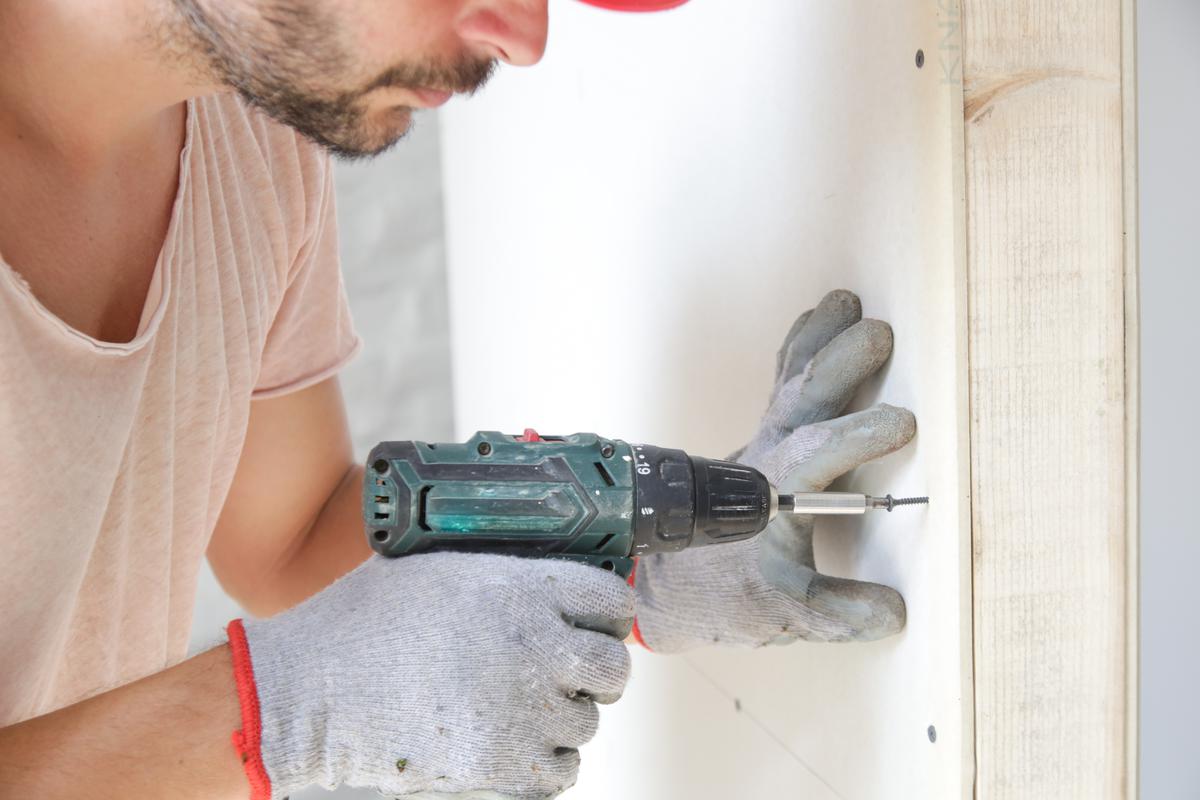
Screws can help fill nail holes.
Most drywall holes in your drywall will be pretty small, and the majority will be as big as a nail hole. The way to fill nail holes in walls is to drive in a 1-¼” screw into the hole the nail used to occupy. This can be easily done with a power drill so that you put the screw in tightly.
With the screw installed, fill the hole with a joint compound, applying it in an up and down motion so that you have an even coat of compound. Finally, sand the surface to smoothen it further, prime the surface, and paint with a color matching your wall’s paint color. Alternatively, this is also the time to replace your wallpaper if you had one prior to the repair.

comments