The life-saving capabilities of a GFCI outlet are no secret. And the increasing number of electrical appliances we use around the house nowadays makes all the more reason to install ground fault circuit interrupters. GFCI receptacles serve as a reliable — and inexpensive — solution to preventing dangerous accidents due to interruptions in the electrical current. However, it goes without saying that a GFCI will not function unless it’s properly installed. But if you know your way around power outlets and have adequate experience working with electricity, installing GFCI outlets can be a piece of cake. And to make things easier, a step-by-step guide can walk you through the whole process.
Electrical
By
Dikran Seferian
October 20, 2022
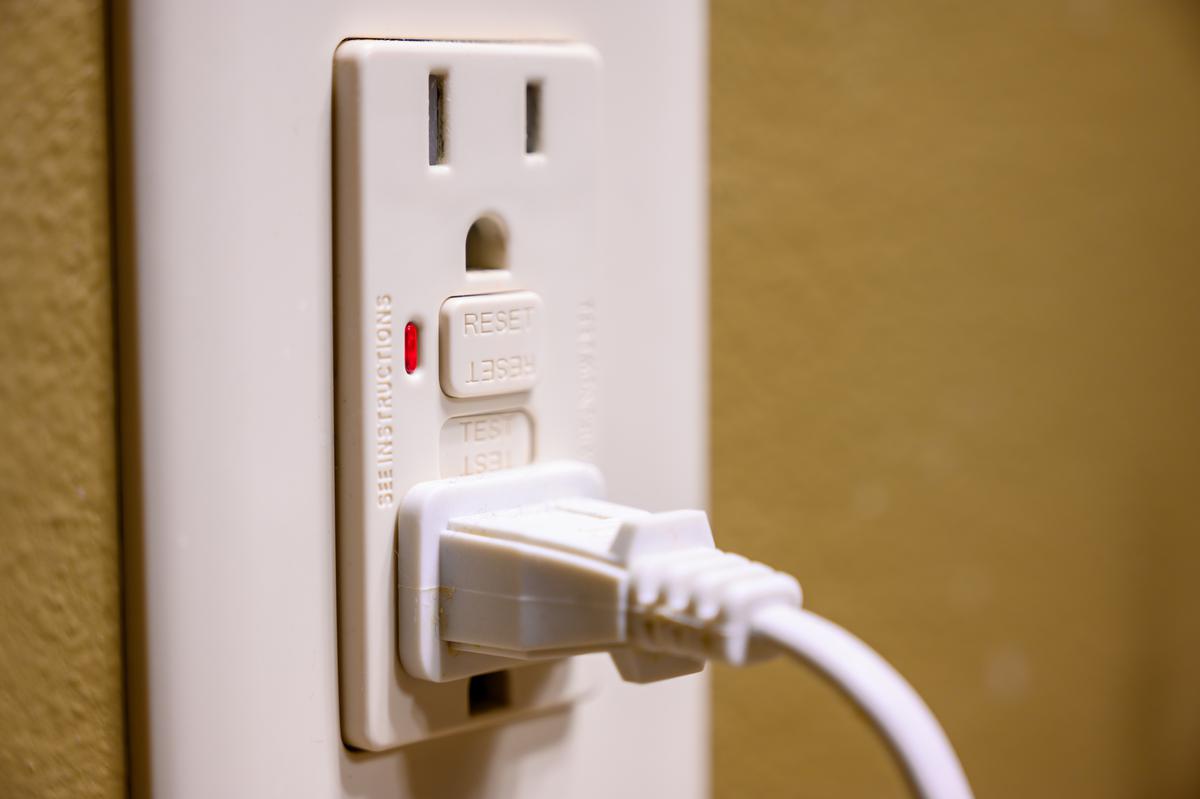
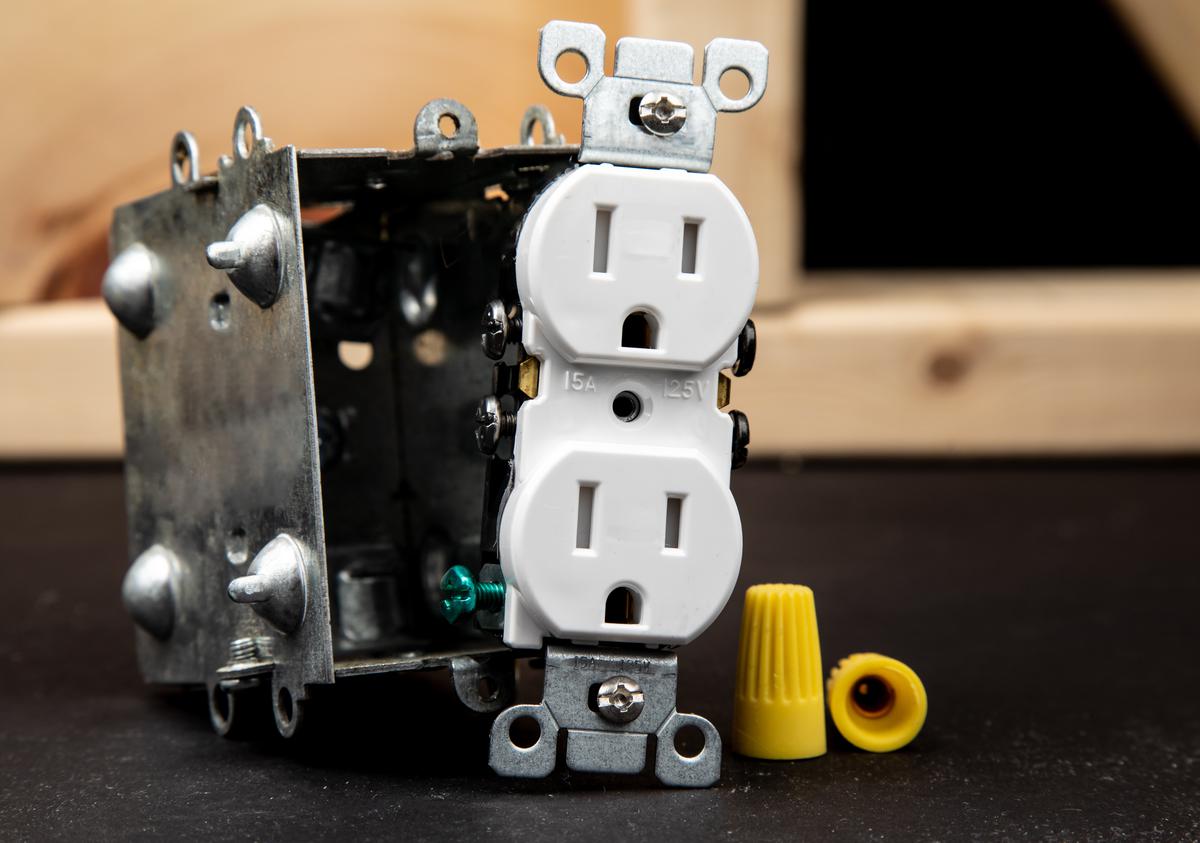
Installing GFCI outlets around the house allow you to use your electronic devices with confidence.
Where to Install GFCI Outlets
One important question to consider is where to install GFCI outlets. In the case of new constructions, mandatory places would be anywhere that’s typically exposed to water and humidity. This includes bathrooms, kitchens, garages, and laundry rooms. As for old constructions, chances are these rooms don’t feature any GFI receptacles. It’s even likely that you’d find ungrounded outlets — with two prongs instead of three — throughout the entire house. And needless to say, simply substituting them with three-prong receptacles won’t do.
Get An Electrical Quote
If you happen to live in old construction, replacing ungrounded outlets with GFCI receptacles can potentially save lives — especially in the typically damp areas. And with the right tools and skill set, the whole process can be a breeze.
How to Wire a GFCI Outlet
Step 1: Safety First
Needless to say, electrical work can be quite dangerous. As such, your first course of action should be to turn off the power supply, from the electrical panel to the receptacle you’ll be replacing with a GFCI outlet. Insert a circuit tester into the receptacle to confirm that it’s off. You can also make sure that there is no power to the electrical outlet by plugging in a lamp or any household appliance such as a radio.

It’s always important to switch off the power supply before doing any electrical work.
Step 2: Remove the Old Outlet
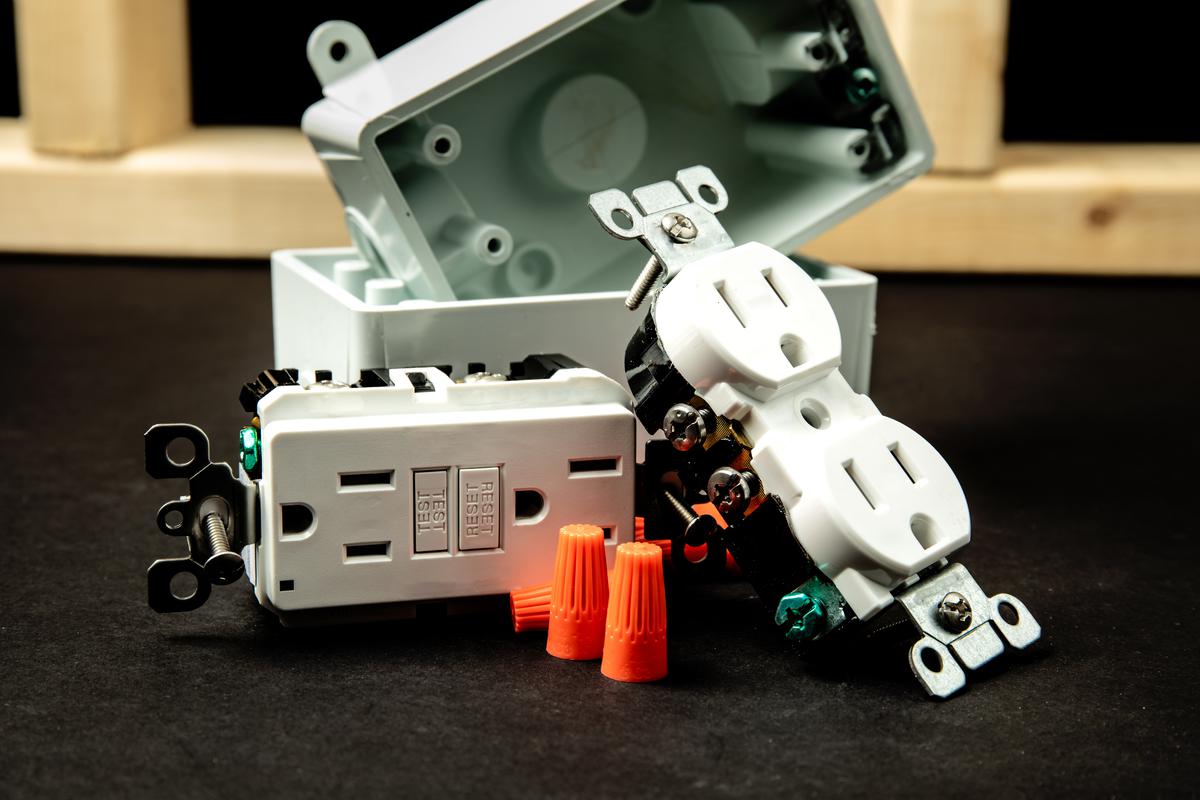
Once you’ve confirmed that the power to the circuit is off, the next step of GFCI outlet installation involves removing the old receptacle. Using a screwdriver, remove the screws that hold the old outlet to its housing box and detach the receptacle from the wall to see the number of wire connections it has. You may find anywhere from two to six wires, depending on their location on the circuit (in the middle or at the end), and whether it's already grounded.
There’s no need for much deliberation here, all you should know is how the wires are attached to the existing outlet. It can be a good idea to draw a sketch of the connections before disconnecting the wires from the terminals using your screwdriver.
Step 3: Test the Wires
You may sometimes find two wires (one being hot and the other neutral) or three (one hot, one neutral, and one bare copper grounding wire) coming out of the outlet box. Should that be the case, you’ll want to proceed to step four of GFCI outlet wiring. But if you see two or three wires going into the box and two or three coming out, test them to determine which ones come from the main panel, and which ones connect the outlet you’re working on to others in the circuit.
Spread the wires out to make sure they don’t touch each other and head over to the main panel to flip the power back on. Using the voltage tester, touch each of the wires to check which one is hot. Hot wires usually tend to be either black or red while neutral ones tend to be white. However, you may find them in other colors as well so it’s important to check them all. After locating the hot wire (there should be only one), switch the power to the circuit back off again and use masking tape to mark it.
Get An Electrical Quote
Step 4: Hook the Line Wires
The backside of the GFCI outlets should normally have labels next to the terminals saying “line” and “load”. Before you proceed, test the line wire once more to ensure that there is no electrical current to the circuit. Attach the hot wire to the brass terminal on one end of the “line” label and tighten the screw. As for the neutral wire, you’ll want to connect it to the other end of the label (the silver terminal). Should there be a grounding wire, attach it to the green terminal (the grounding terminal) of the GFCI outlet.
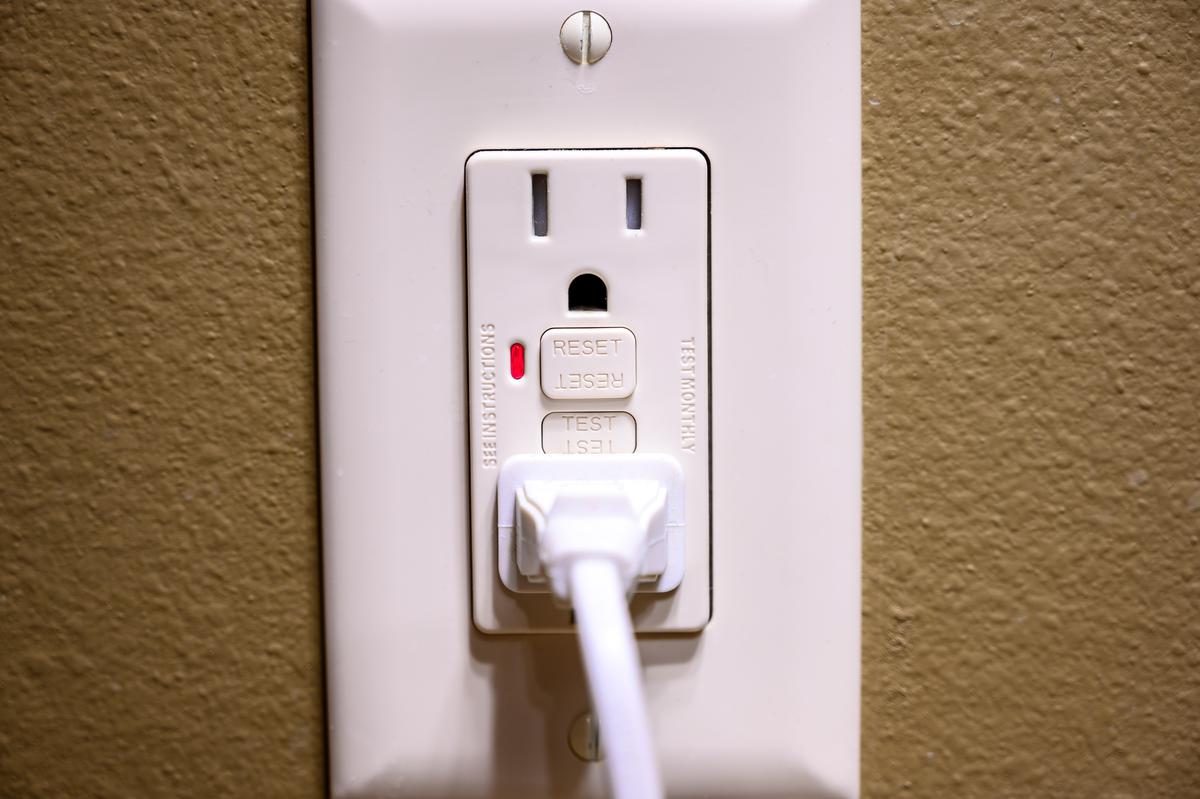
The colors of the screws denote the specific terminals.
Step 5: Hook the Load Wires
If the housing box features two sets of wires which you tested, as per step three of wiring GFCI outlets, take the wire that you marked as hot and wrap it around the brass terminal beside the “line” label. Connect the second wire from the same sheathing to the silver terminal on the other end of that label. Attach the two neutral wires to the terminals that are next to the label that says “load”. The black wire goes to the brass terminal while the white one goes to the silver terminal.
Your outlet box will most likely have two grounding wires coming out of it, in which case you’ll want to pair them (unless they’re already attached) before connecting them to the GFCI outlet. This involves wrapping one end of a grounding jumper around the grounding terminal on the GFCI and attaching the other end to the two grounding wires using the wire nut.
Step 6: Reinstall the Housing Box
After ensuring that all the connections are made, tuck the wires into the outlet box before screwing it into place. Switch the power back on and use the circuit tester to test the receptacle. If everything is in good working order, you can mount the plate back on. Try testing the GFI plug on an appliance by switching it on and pressing the “test” button on the outlet. The appliance will ideally turn off. Pressing the reset button will turn the device back on.
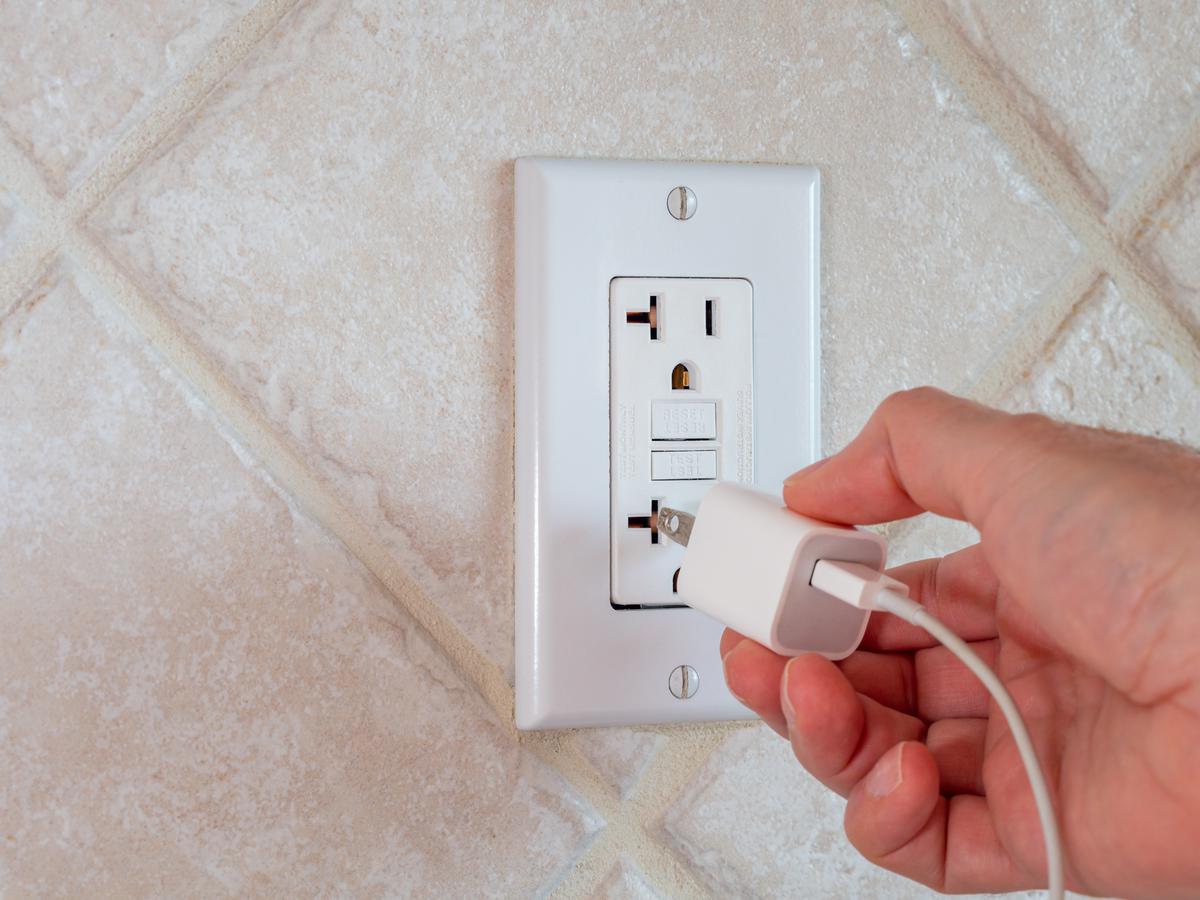
Any device you plug into the GFCI outlet will ideally turn off once you press the “test” button.
Grounding a Metal Outlet Box
Should you be installing a GFCI outlet in a metal box, it’s important to ground the box itself in addition to the receptacle. It’s likely that the electrical contractor who initially installed the receptacle already took care of that part. But if that’s not the case, you’ll have to go ahead and ground the metal box.
If one cable happens to be going into the box, connect a grounding jumper from the GFI receptacle to the box’s green (grounding) terminal. In case the metal box doesn’t have a green terminal, you’ll need to make use of a grounding clip. And if the box has a green terminal and more than one cable going into it, you’ll want to attach the grounding wires together with a wire nut using a grounding jumper.
A metal outlet box needs to be grounded just like the receptacle you’re installing it in.
Checking for Required Outlet Box Size
Before installing the new outlet, you may want to determine the minimum box size needed for all the wires it contains as well as the GFCI. If the size happens to be adequate, you can proceed with the GFCI wiring. Otherwise, you’ll need a bigger box. Here’s how you can calculate the minimum box size that the National Electric Code requires:
- Add an inch for each hot wire and neutral wire going into the box,
- Add an inch for all the grounding wires together,
- Add an inch for all the cable clamps together,
- Add two inches for each device (outlets or switches).
If the wire is 14-gauge, simply doubling the total will give you the required box size in cubic inches. As for a 12-gauge wire, you’ll want to multiply the total by 2.25.
Installing a GFCI outlet is a straightforward and inexpensive electrical project that can potentially save lives — while preventing a host of electrical problems. And by following a step-by-step guide, the whole process can be a walk in the park.
Get An Electrical Quote


comments