How to Build and Maintain an Indoor Aviary

How to Build and Maintain an Indoor Aviary

Additions and Remodels
Small Projects and Repairs
By Dikran Seferian January 14, 2022

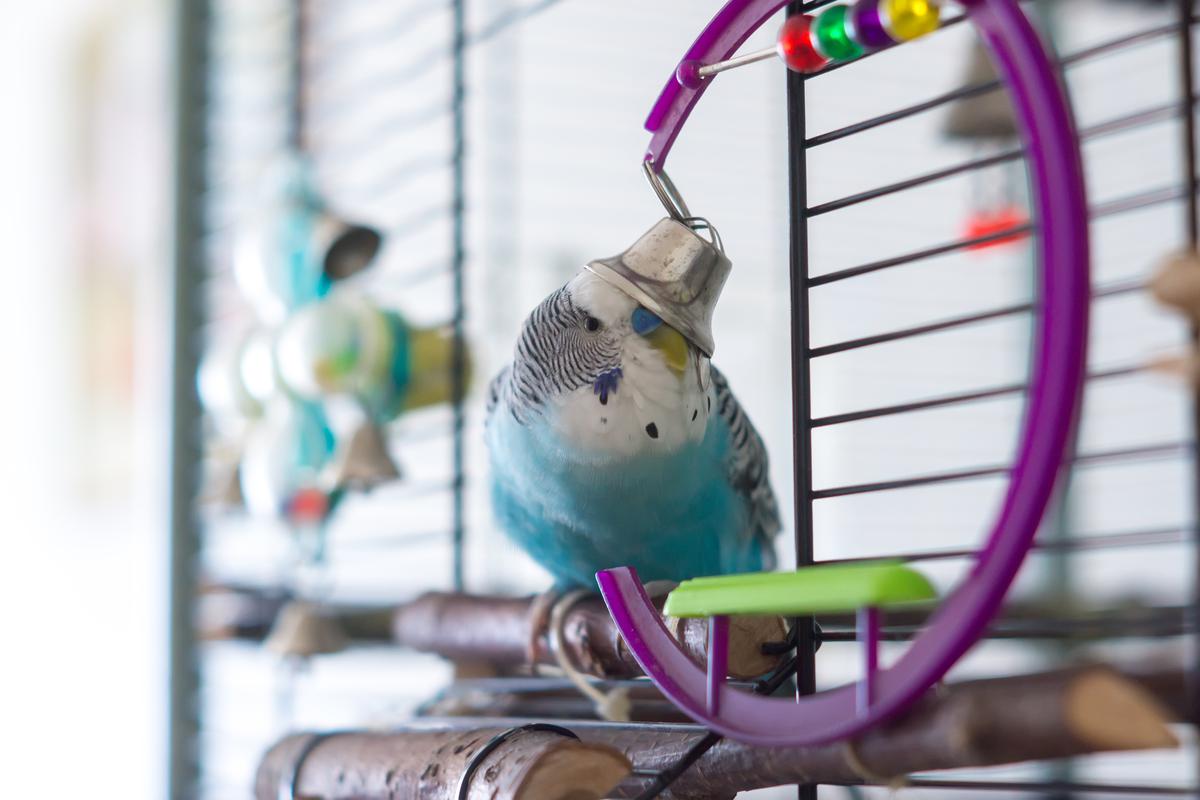
While house plants provide a splash of greenery to your interior, another unique way to bring your living spaces to life is by creating an indoor aviary. Many homeowners are known to opt for regular cages that are usually too small for most types of birds. Aviaries, however, provide ample space for them to fly around in. Besides the benefits an aviary provides to the flying fauna, it can also be a perfect conversation starter and even an aesthetic feature if nicely built. Moreover, nothing can lift your mood more than the sight of birds interacting with one another and simply existing. If you’re interested in aviculture and have a couple of days to spare, building your very own aviary can be the ideal DIY project.

Building the Aviary

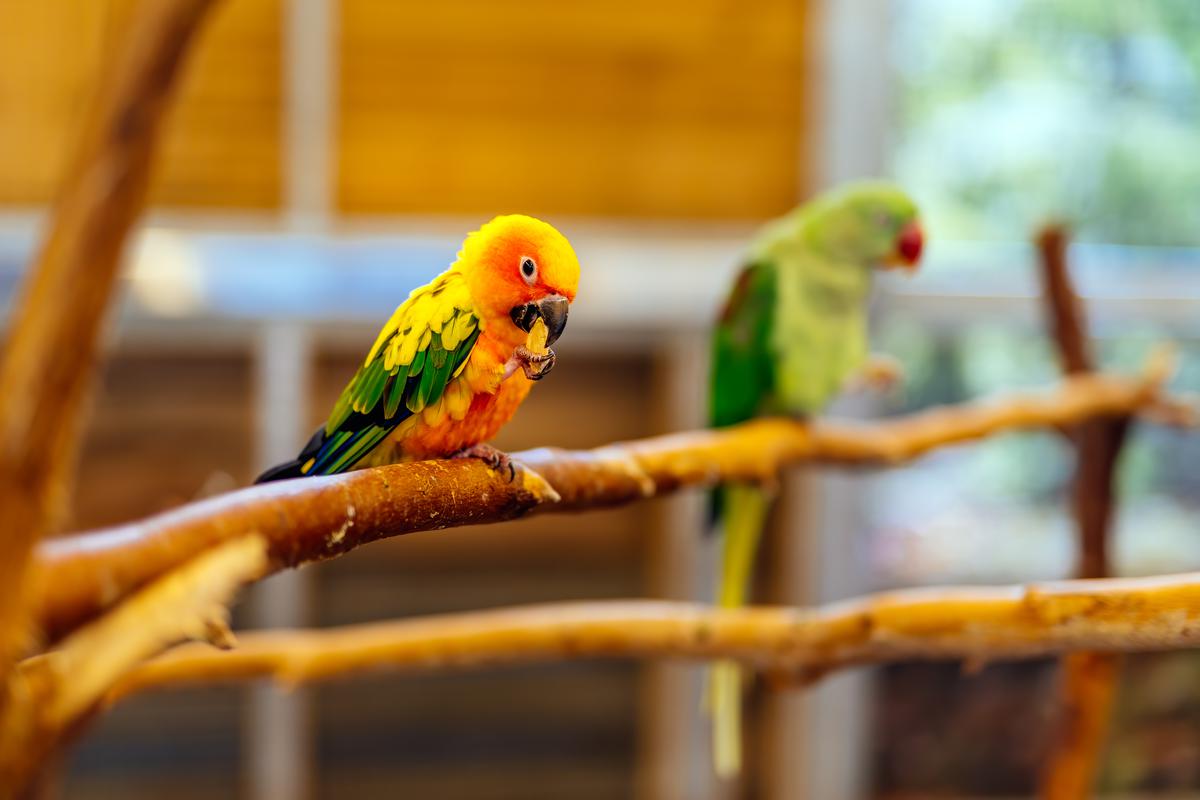
Aviaries are undeniably better than store-bought cages as they significantly improve a bird’s quality of life. With a bit of effort, planning, and extra space to spare, you can build your very own aviary.

Note: Another way to set up an aviary is by allocating an entire small room for it. Although a dedicated aviary room has its advantages, it may not be possible for everyone. 

Making Room for the Aviary

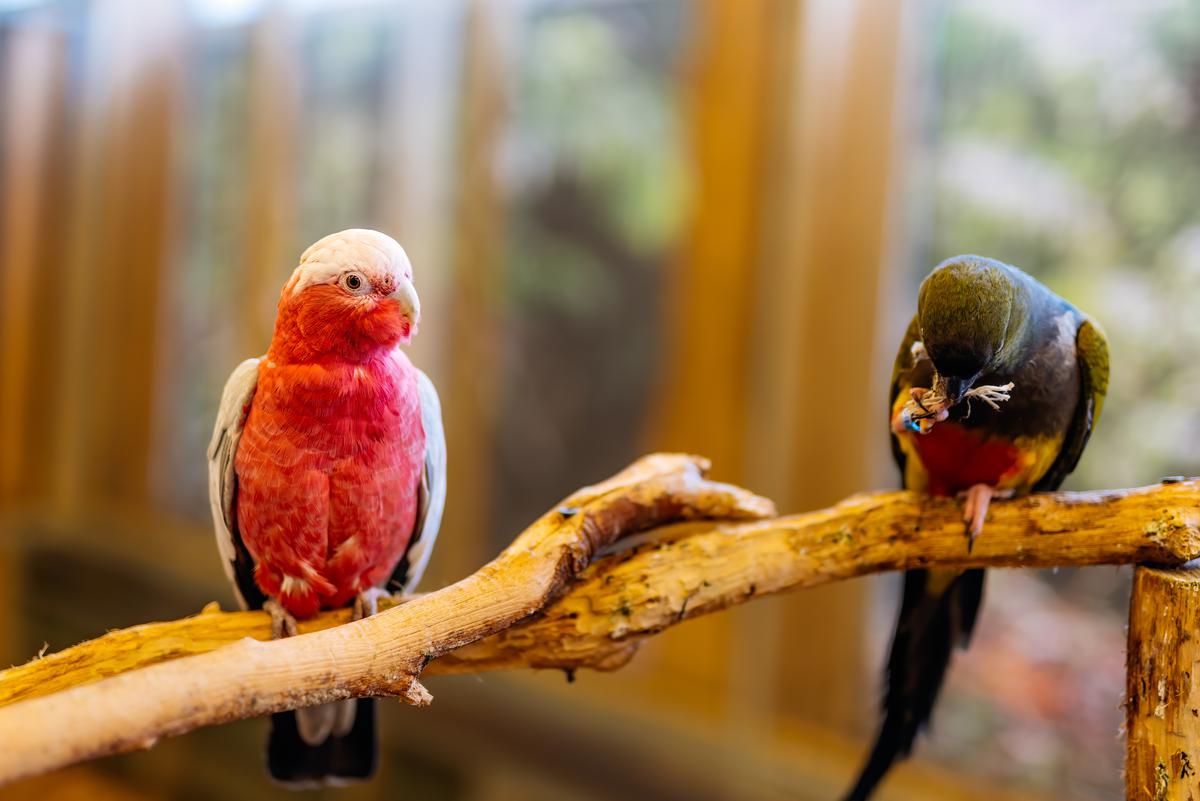
First, you’ll need to decide on a suitable location for your aviary. Essentially, it needs to be somewhere with adequate natural lighting yet protected from outdoor elements. A sunroom, for instance, can be an ideal space for an aviary. The area will also need to be relatively calm. Constant noise is known to stress out the winged companions.

Once you’ve allocated a spot for the aviary, remove any furniture from that area. Bear in mind that you will be seeing a good deal of food and other debris on the floor in and around the aviary. Covering the ground with linoleum will make cleaning considerably easier.

Constructing the Walls of the Aviary

The Number of Frames You'll Need Depends on Size of the Aviary

The Number of Frames You'll Need Depends on Size of the Aviary

Using your circular saw, cut the pieces of wood to make four-foot by eight-foot frames. The frames will then be filled with wire mesh attached using a heavy-duty staple gun. While you could use angle brackets for the joints of the framework, a more stable and less expensive option involves using a plumber’s tape reinforced with nails or screws.

The number of frames you should build essentially depends on how big you want your indoor aviary to be. The size should normally depend on the types of birds you will be adding. Budgies and finches, for instance, can thrive in an aviary with a width of at least 20 inches, a depth of 24 inches, and a height of 24 inches.

You will also need to account for the number of birds you will be introducing. Note that many types of domestic birds, such as budgies, prefer to live in groups. A good rule of thumb is to multiply the number of birds by two times the amount needed for one. When in doubt, consider opting for the bigger size.

Larger Birds Such As Parakeets Require More Space

Larger Birds Such As Parakeets Require More Space

You could, for instance, have eight frames and divide them into three pieces per side, one end piece, and one roof piece — the remaining end piece being the door. Next, simply roll the wire mesh over the completed frame and staple it. Snip off the excess wire using tin snips — or wire cutters if you’re patient enough.

Building the Aviary Door

Before constructing the door, make sure all the measurements are precise. Bear in mind the door should have one-eighth of an inch gap all the way around it. This gap will ensure that the door comfortably opens and closes without rubbing on the surrounding frame. It might be a good idea to design the door so that it swings inwards. This way, you wouldn’t have to worry whether you’ll have adequate opening space should you place your aviary somewhere with obstructions.

Cover the entire frame section of the door with wire mesh and clip away certain places to allow for proper functionality. Finish it off with hinges, a latch, and a tensioning cable to prevent sagging.

Building the Roof

Once the door is ready, you can now move on to constructing the roof. Add crossbars into the 4x8 frame that you designated for the roof. Next, attach several hooks along the crossbar. You’ll use the hooks to hang perches, toys, dishes, and other accessories. Consider building a bird tree by inserting a series of Dowling wood pieces of different sizes into a 2x2 board. You would later bolt this to the roof and suspend it an inch or two off the floor. 

Drilling Bolt Holes

Now that the sections are ready, you can start drilling the holes for the bolts. Go around each section and measure the points where the frames will be bolted together. Once you start drilling the holes, make sure they’re one size larger than the bolt diameters for easy entry.

Tip: You might want to buy your bolts from a bulk construction store rather than a hardware shop. The latter may charge per piece whereas the former will sell you the bolts, washers, and other materials by weight. Basically, you might be paying about 75 cents per piece at a hardware store, totaling up to $50 while opting for a construction store won’t cost you more than $10.

Assembling the Pieces Together

Once you’ve drilled the bolt holes, assemble the sections together and try hanging a few accessories from the hooks along with the aviary ceiling. Consider inserting a few more pieces of Dowling wood into the wall posts and examine the rest of the aviary for any necessary tweaks and adjustments. This step will prevent you from having to drill more holes later on. Next bolt 4-foot long pieces of 2x2 boards on each end of the roof. You will then use this to assemble the door and the backside. 

Final Touches and Introducing Your Feathered Friends

Before adding the flying fauna to the aviary, you’ll need to set up all the accessories. These include perches, food and water dispensers, mineral blocks, nesting boxes, and a shallow place for the birds to bathe in. A few bird toys will also offer mental stimulation; budgies, for instance, are intelligent creatures and may get bored without something to keep busy with.

With the aviary up and ready, it’s time for the step you’ve probably been waiting for throughout the whole process: introducing the birds. Consider starting with five or six birds if you’re going for sociable species. You can always add more later on. If you do, make sure to first quarantine them in a separate cage for a month before introducing them to the rest of the flock.

How to Introduce Birds to Your Aviary

How to Introduce Birds to Your Aviary

Maintaining Your Indoor Aviary

Besides the daily feeding, changing the water, cleaning the aviary floor, and other routine tasks, it is crucial that you carry out a full maintenance procedure on a quarterly basis. This includes replacing perches, cleaning nests, providing fresh nesting material, and disinfecting the aviary.

Replacing or Cleaning Perches

Perches can be the perfect platform for the transmission of diseases and parasites. This is because the birds sometimes poop on them, and later use them to wipe their beaks. Should you be using natural perches instead of Dowling wood, consider throwing them out and getting fresh ones from a tree. If you prefer to keep the perches — whether Dowling or natural — make sure to clean them more frequently using warm water and mild dish soap. 

Cleaning Nests

If you tend to keep the nesting boxes in the aviary all year round, you will need to clean them out between breeding periods. Get rid of old nesting material, clean off any droppings from external surfaces, and spray the box with a solution of water and white vinegar.  If you prefer removing the nests during the winter to prevent winter breeding, consider placing them back once the temperatures start rising again.

Providing Fresh Material for Nesting

If your winged buddies prefer to make their own nest, make sure to provide new nesting material every time you clean out the nesting boxes. Get rid of any old material left around the aviary and offer fresh ones. Note that the type of nesting material depends on the type of birds you keep. Finches, for instance, build their nest using fine dried grass, cottonwood down, and large feathers. Small kinds of parrots, on the other hand, prefer straw and palm fronds.

Disinfecting Your Aviary

Insects and other pests can wreak havoc in an aviary. Besides spreading diseases and parasites, they can spoil the food and pose a serious danger to hatchlings. An effective way to protect your birds from pests involves spraying the aviary surfaces with a homemade solution of water and white vinegar. Unlike many commercial products, vinegar is perfectly safe to use around your feathered little friends — just make sure not to spray it directly at them.

How to Maintain the Well-Being of Your Birds

How to Maintain the Well-Being of Your Birds

DS

Written by
Dikran Seferian

Written by Dikran Seferian

comments