9 Common Bathroom Issues and How to Handle Them

9 Common Bathroom Issues and How to Handle Them

Plumbing
Small Projects and Repairs
By Dikran Seferian October 28, 2021

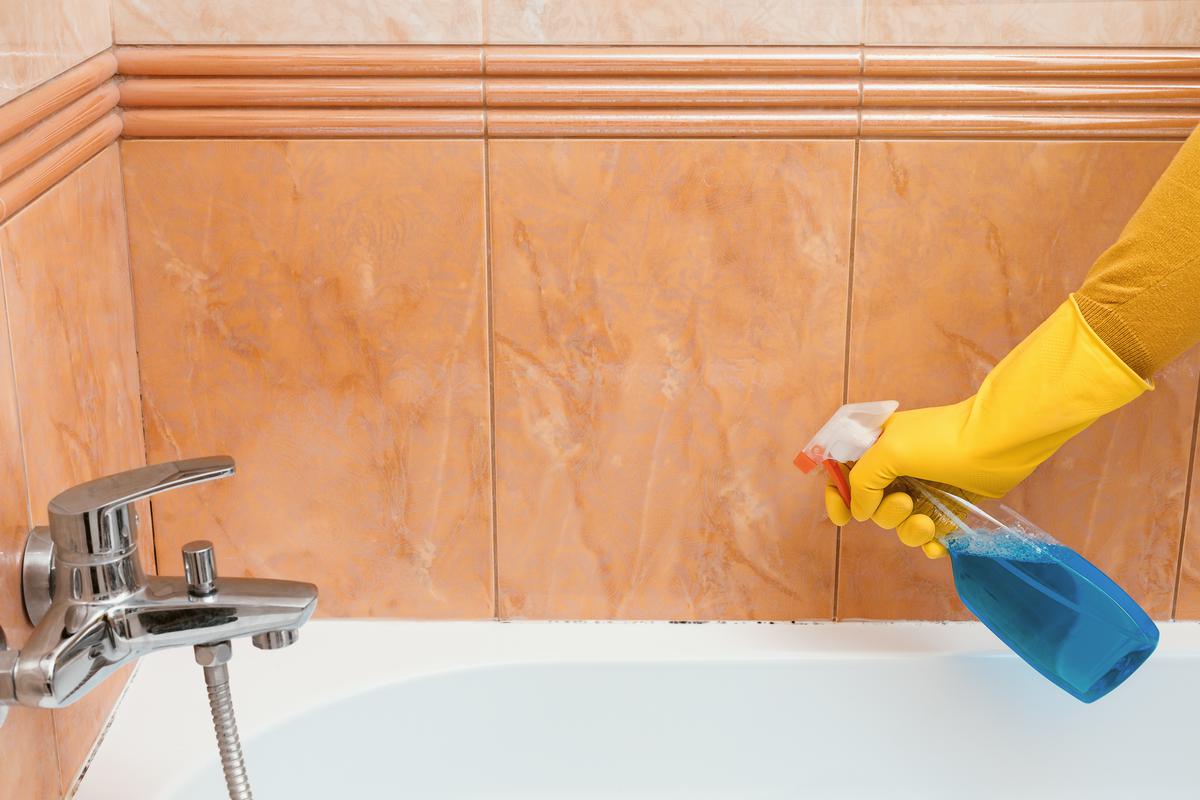
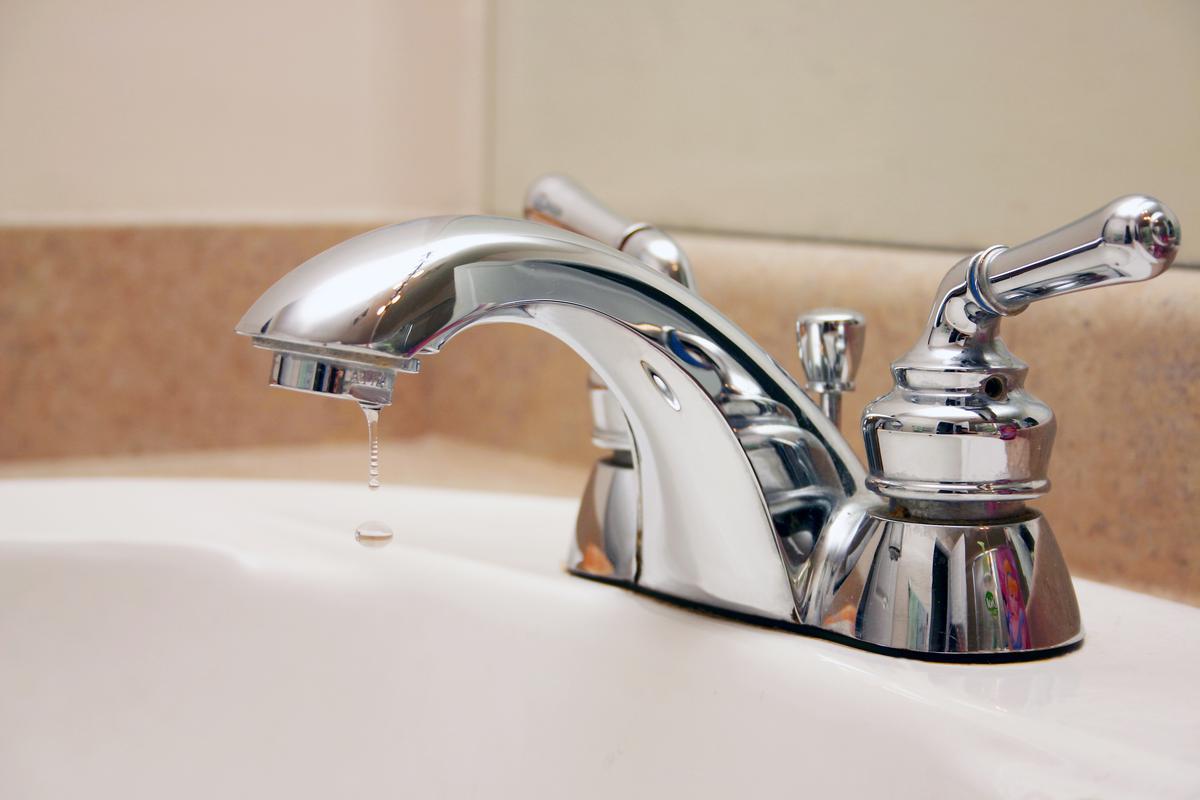
With all the components that go into plumbing, any of them can eventually fail or cause an issue. Combine that possibility with external factors such as debris and you get all sorts of problems. While many bathroom predicaments mostly have to do with plumbing, you may come across a cabinet door that doesn’t close properly or perhaps a buildup of unsightly substances in the shower. Whether it’s a leaking faucet, a weakened showerhead, or a faulty storage unit, these issues are sure to come up in almost every household. With a couple of basic tools and household ingredients, however, you can be well-equipped to carry out the fix in a matter of minutes.

Toilet Not Flushing 

If your toilet is not flushing correctly — or not flushing at all — it probably involves a rather simple fix. The culprit could be anything from the lift chain, the flapper, the tank’s water level, to even a clogged toilet. In the latter case, your first course of action will be to shut off the water supply valve in order to prevent overflow. Otherwise, consider inspecting the tank for any faulty components or an insufficient water level.

How to Fix a Flushing Issue
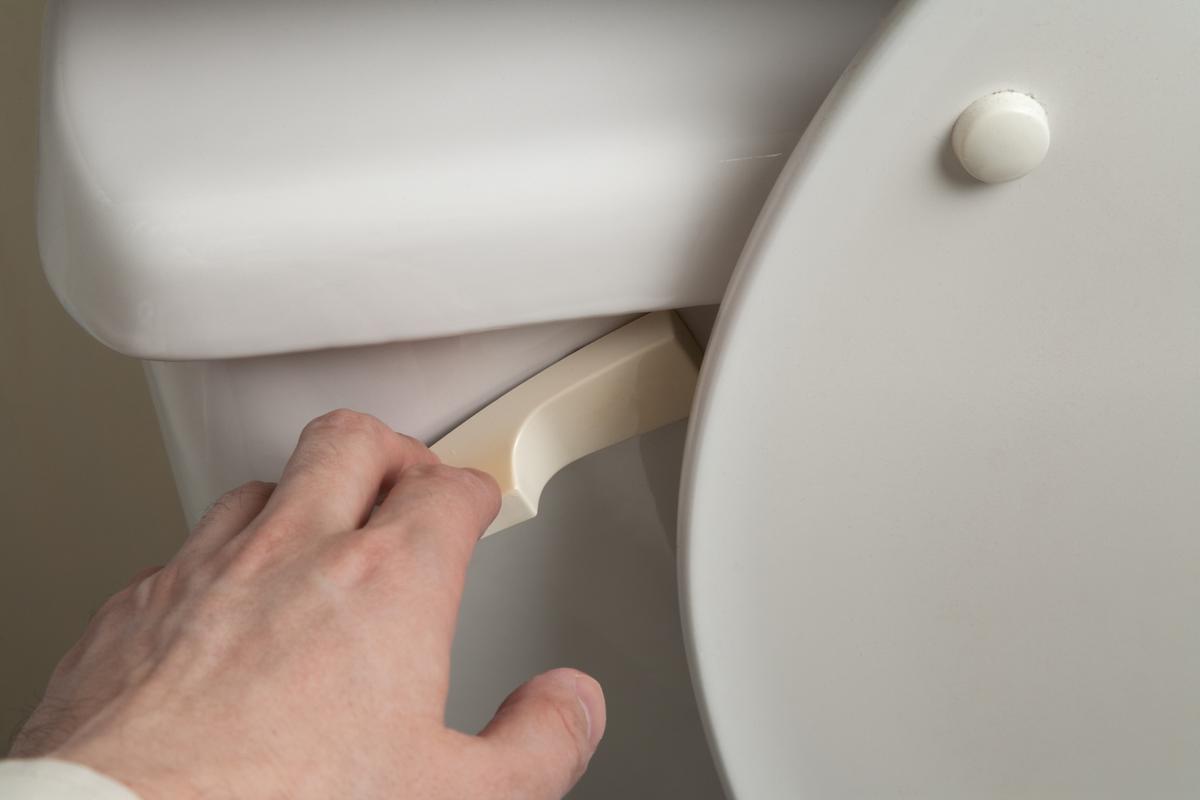
Lift Chain is Loose

If a loose lift chain is causing the toilet not to flush, then all you need to do is to shorten it by a few links. The lift chain connects the flapper to the flush handle. Adjusting its length will allow it to pull the flapper so that the water flows adequately.

Flapper is Warped

When you flush the toilet, the lift chain pulls the rubber flapper thereby releasing water into the bowl. Then, the flapper closes the intake hole to retain water in the tank. If the flapper is warped or deteriorated, you may have to replace it. To swap the old flapper for a new one ($5 to $10 on average), shut off the water and drain your tank. Carry out the replacement according to the instructions provided by the manufacturer. Turn the water back on and flush the toilet to make sure the issue is solved.

Low Water Level

The tank’s water level should be about an inch below the top of the overflow tube. If the water level is lower than that, the water valve may have been turned off by accident — or perhaps you may have forgotten to turn it back on after finishing up a recent fix. If that’s the case, turn the valve back on and the water should return to the right level.
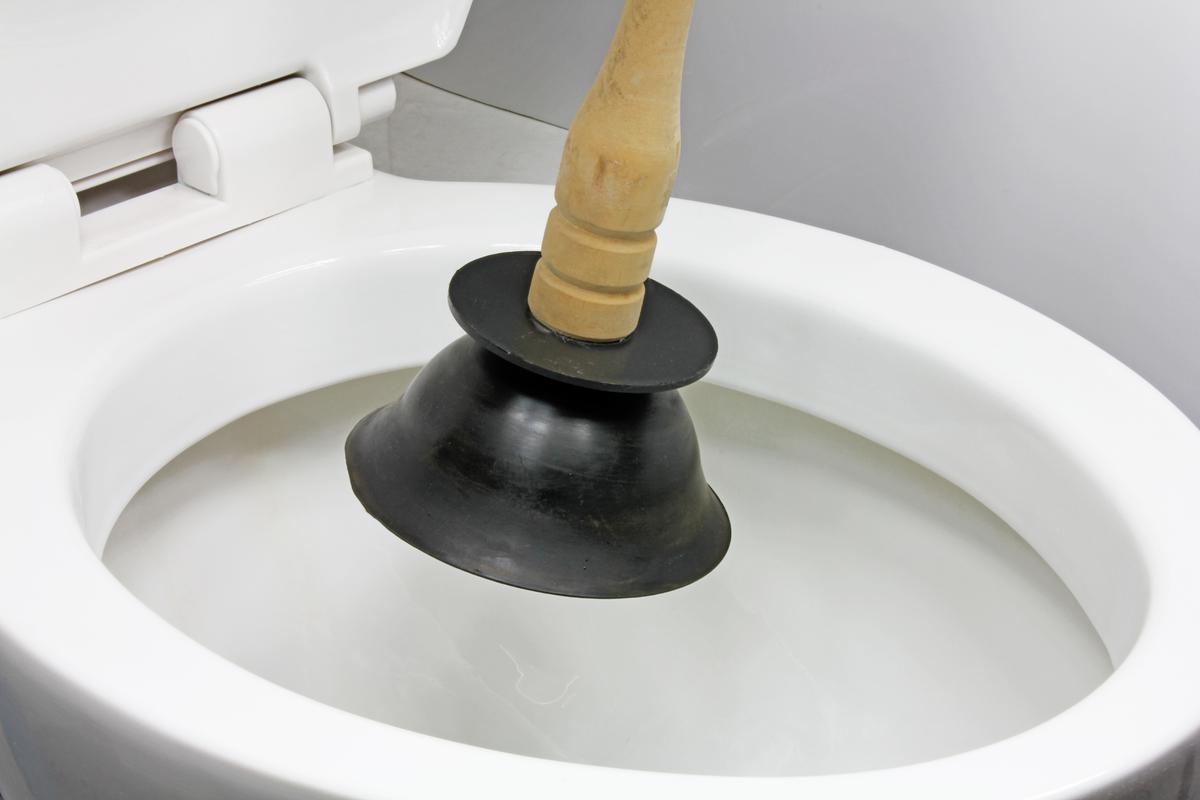
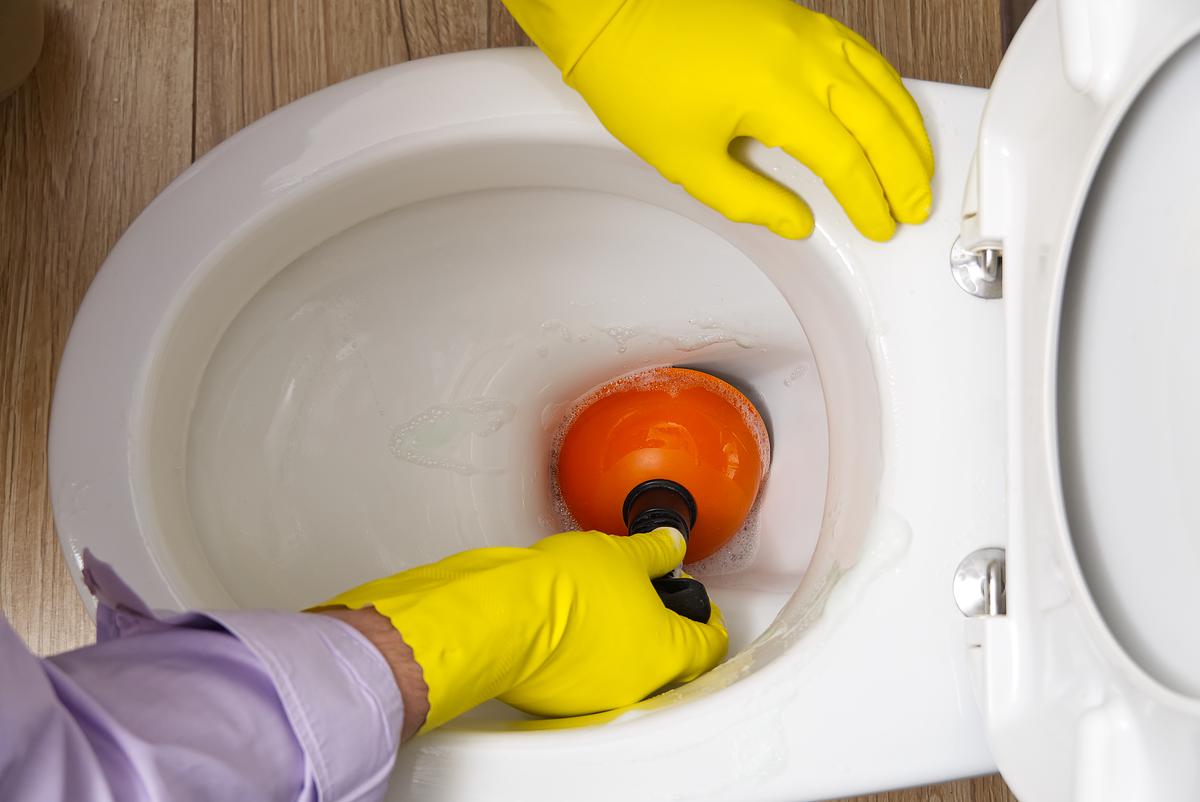
Clogged Toilet

If you’re flushing down a lot of toilet papers, wet wipes, and other rubbish, you’re eventually bound to come across a clog. Thanks to a toilet plunger, you can fix this common issue in no time. Cover the flush hole with the plunger and work your way up and down for about half a minute. Check if the water is draining; if it is not, try again until the clog is freed. Once you unclog the toilet, turn the water supply valve back on and flush to get rid of the clog’s remnants.

Clogged Toilets Are a Very Common Problem

Clogged Toilets Are a Very Common Problem

Low Water Pressure From Showerhead

If that massaging showerhead you bought last year doesn’t quite have the same water pressure anymore, you may be dealing with blocked pores. This is mainly due to hard water containing minerals which gradually build up on the showerhead, weakening its flow as a result.

How to Restore Showerhead Pressure 

To open the pores of the showerhead, consider placing it in a plastic bag filled with white vinegar. Fasten the bag around the head with a rubber band and leave it for a few hours. Remove the plastic bag and turn on the water to wash away the vinegar. 

Restoring the Pressure of Your Showerhead Is Important

Restoring the Pressure of Your Showerhead Is Important

Faucet is Leaking at the Base

If you notice a puddle of water coming from the base of the faucet every time you turn it on, identifying the culprit depends on the type of faucet you have. Before getting to the root of the problem, determine whether the leak is coming from the faucet base or the handle. If it’s the former, then you have two possible solutions.

How to Fix a Leaking Faucet 

If your faucet is single-handle or a two-handle centerset, remove the aerator and clean it. Then, rethread it back onto the faucet. If the leakage does not stop, you may have to replace the cartridge. To do so, pry off the handle cap, remove the screw, and pull the handle off. Next, pull the cartridge out and replace it with an identical one — this may also solve a leaking handle issue. In the case of a double-handle widespread faucet, it’s the O-rings that are most likely deteriorated. First, turn off the water supply to the faucet. To replace the O-rings, disconnect the hex screw with a wrench and remove the handle from the valve. Pull the expired O-ring off the valve and throw it away. Before attaching the new one, wipe it with silicone grease and slip it onto the valve. Reassemble everything and turn the water supply back on. 

There Are Simple Ways to Fix a Leaky Faucet

There Are Simple Ways to Fix a Leaky Faucet

Cabinet Door is Loose

With frequent opening and closing, your bathroom’s cabinet door may eventually become loose from the hinges. To find out how to fix the cabinet hinges, consider identifying the root of the problem. Cabinet doors may loosen due to either the hinge screws being slackened over time, hinge holes becoming stripped, or simply the door being too heavy for the hinge assembly. 

How to Repair a Loose Cabinet Door

Loose Hinge Screws

Using a screwdriver, tighten the hinge screws on the inside of the cabinet. Test the alignment and tension by closing and opening the door, making adjustments as needed.

Stripped Hinge Holes

Remove the cabinet door together with the hinges and set it aside. Coat a few toothpicks with PVA glue and insert them into the hinge holes of the cabinet. Break off the protruding part of the toothpicks, wait for the glue to dry, and reassemble the door.

Door Too Heavy

If the cabinet door is too heavy that it’s sagging, you could try the aforementioned toothpick solution. Should it not work, you may have to replace the hinges with more compatible ones.

Bathroom Cabinet Doors Often Tend to Sag

Bathroom Cabinet Doors Often Tend to Sag

Mold in Shower Cabinet

Nothing can be more unnerving than a line of mold extending throughout the length of your shower cabinet’s caulking. The most common cause of this issue is excess humidity, which is quite normal in a bathroom. Fortunately, you can get rid of that unsightly mold with a few household ingredients. 

How to Get Rid of Mold

Mix an equal amount of water and vinegar in a spray bottle. Vinegar is widely used as a natural remedy for many issues regarding build-ups such as mineral sediments and, in this case, mold. Spray the solution at the spores and wait for 15 to 20 minutes. Afterward, rinse with water and, with a small brush, get rid of any remaining mold.

Tip: You could use a window cleaner as an alternative to vinegar. 

Getting Rid of Bathroom Mold and Mildew Should Be of Utmost Importance

Getting Rid of Bathroom Mold and Mildew Should Be of Utmost Importance

Toilet is Overflowing

An overflowing toilet is an issue that happens in many households, and the culprit is almost always a clogged drain. If you ever come across this issue, you should be able to fix it with only a couple of basic tools.

How to Fix an Overflowing Toilet 

First and foremost, turn off the water supply valve. If the overflow doesn't subside, you could be dealing with a sewage backup — which warrants immediate professional intervention. However, that's not very likely to happen. Try driving your plunger into the toilet drain and plunge away for around 20 seconds. If that doesn't solve the issue, then you’ll have to move on to the toilet auger. Insert the hook end of the auger into the toilet bowl and turn the crank clockwise to extend the cable into the drain. Keep going until the cable reaches a dead-end — that would be the clog. Once the blockage is hooked, turn the clank counter-clockwise and pull it back up. 

There Are a Set of Basic Tools You Need to Be Able to Fix a Toilet Overflow

There Are a Set of Basic Tools You Need to Be Able to Fix a Toilet Overflow

Water Not Draining Properly

If it's taking forever for the water in your sink to drain, you may be dealing with a buildup of substances. Anything from shaving foam, toothpaste, to hair gel could be accumulated in the drain hole. The most common solutions to this problem include cleaning the stopper, melting the buildup with baking soda, and lifting out the debris with a hair-clog tool. 

How to Unclog a Sink Drain

Your first line of attack will be to clean the stopper. This small metal component tends to collect debris and slime, eventually blocking the drain. Simply remove the stopper and thoroughly clean it with a paper towel. Another solution involves baking soda and the ever-so-versatile white vinegar. Empty a few tablespoons of baking soda into the drain. following it up with half a cup of white vinegar. Keep the chemical reaction from bubbling out by blocking the drain with a rag. After 15 minutes, empty a kettle of boiling water down the drain and turn on the hot water to flush away the remnants.

If that doesn't solve the problem, you could try fishing out a buildup of debris slightly further down the drain. Remove the stopper and run a hair-clog tool down the drain. Try wiggling it around and pulling it out occasionally to clean off anything you catch. Keep doing this until there's no blockage left. 

What Are Some Common Ways to Unblock a Sink Drain?

What Are Some Common Ways to Unblock a Sink Drain?

No Resistance in Flush Handle

If you get no resistance when you press the flush handle, the issue most likely has to do with a loosened connection in the tank. This would involve either the chain, the lift arm, or the flapper. 

How to Fix a Loose Flush Handle 

  1. Shut off the supply valve located beneath the tank.
  2. Remove the tank's lid and drain the water by pulling the chain connected to the flapper upward.
  3. If the chain is detached from the lift arm, reconnect it (or replace it if it's broken).
  4. Should the chain not be the problem, the nut holding the flush handle from the inside may have gotten loose. Using your fingers, retighten it and turn the water valve back on. 
Follow These Basic Steps to Repair a Flush Handle

Follow These Basic Steps to Repair a Flush Handle

Faucet is Dripping

A dripping tap can be quite a nuisance, especially if the bathroom is near your bedroom and you’re trying to get some sleep. Moreover, it’s simply a waste of water. With a few basic tools at hand, however, you can repair a dripping faucet in only five simple steps.

How to Stop a Faucet from Dripping 

  1. Turn off the Water Supply to the Sink.
  2. Detach the knobs using a flat-head screwdriver.
  3. Apply a lubricant to remove the faucet handle, and loosen the nut with a wrench to remove the stem.
  4. Inspect the components for damage or deterioration, including the O-ring and the washer. When replacing the faulty piece, make sure the new one is an exact match.
  5. Reassemble the components and your faucet should be drip-free.
You Can Stop a Faucet Drip in Five Simple Steps

You Can Stop a Faucet Drip in Five Simple Steps

DS

Written by
Dikran Seferian

Written by Dikran Seferian

comments