Your Guide to Fixing a Leaking Ceiling

Your Guide to Fixing a Leaking Ceiling

Ceiling
Small Projects and Repairs
By Dikran Seferian January 07, 2022

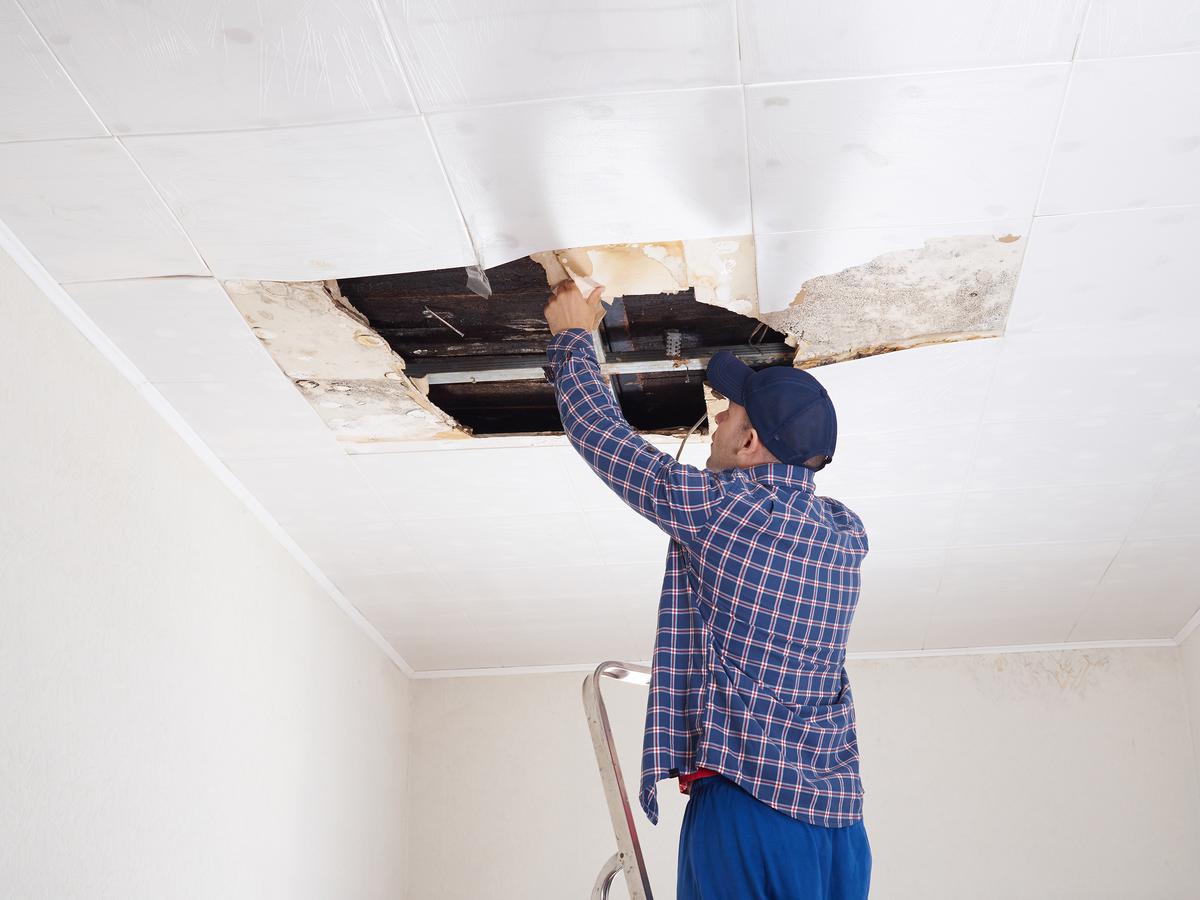
Having to deal with water seeping through the ceiling may seem rather tricky to many homeowners. A ceiling leak often indicates the presence of another issue coming from elsewhere. Whether the culprit is a component in the plumbing system or the roof, pinpointing and fixing it as soon as possible will prevent the issue from escalating. Once the source of the leak is repaired, you can tend to the damaged ceiling. Although getting to the root of the problem and solving it is usually the job of a trained professional, many common cases often involve an easy and straightforward fix. If you’re handy with tools, you can consider dealing with the situation yourself — and save a few bucks in the process.

Control the Situation

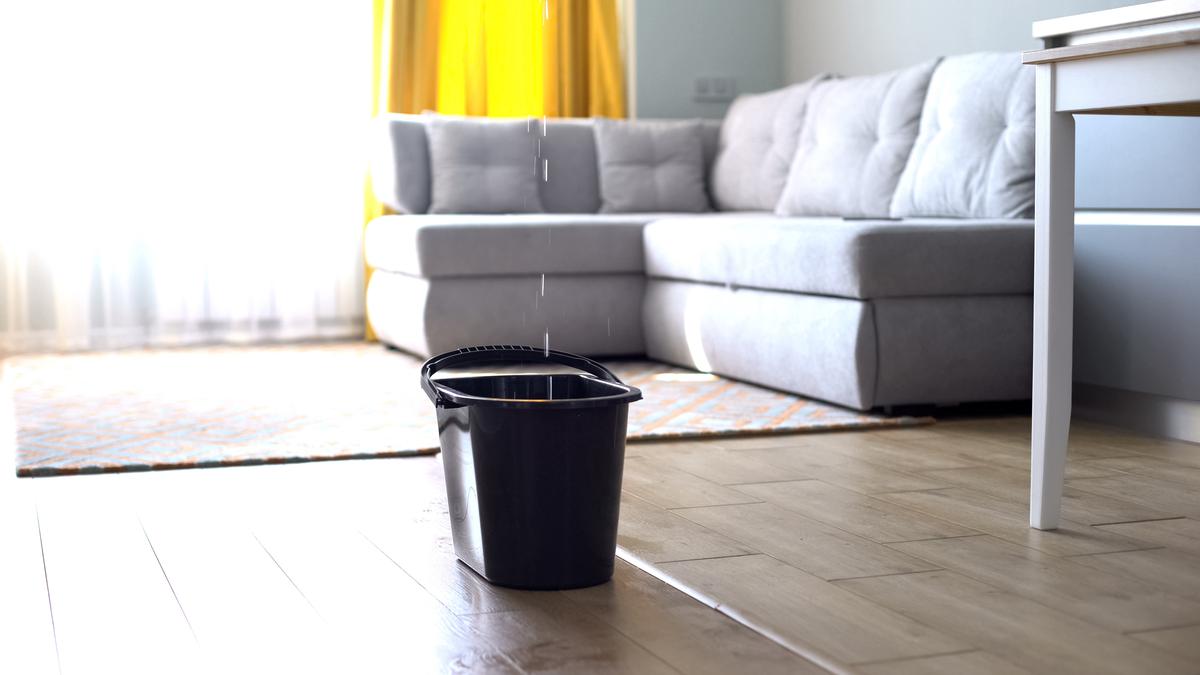
Your first course of action should be to stabilize the situation. Move any furniture and valuables out of the way to prevent them from possibly getting damaged by the dripping water. Next, place a bucket and tarp under the leaking spot. Your ceiling is most likely covered by drywall which tends to soak up the water or disperse it. In this case, it’s better to control where the water drips from. You can do this by opening up a small hole at the center of the leaking area using an awl or a screwdriver. This way, the water will drip through that hole and into the bucket.

Troubleshoot the Issue

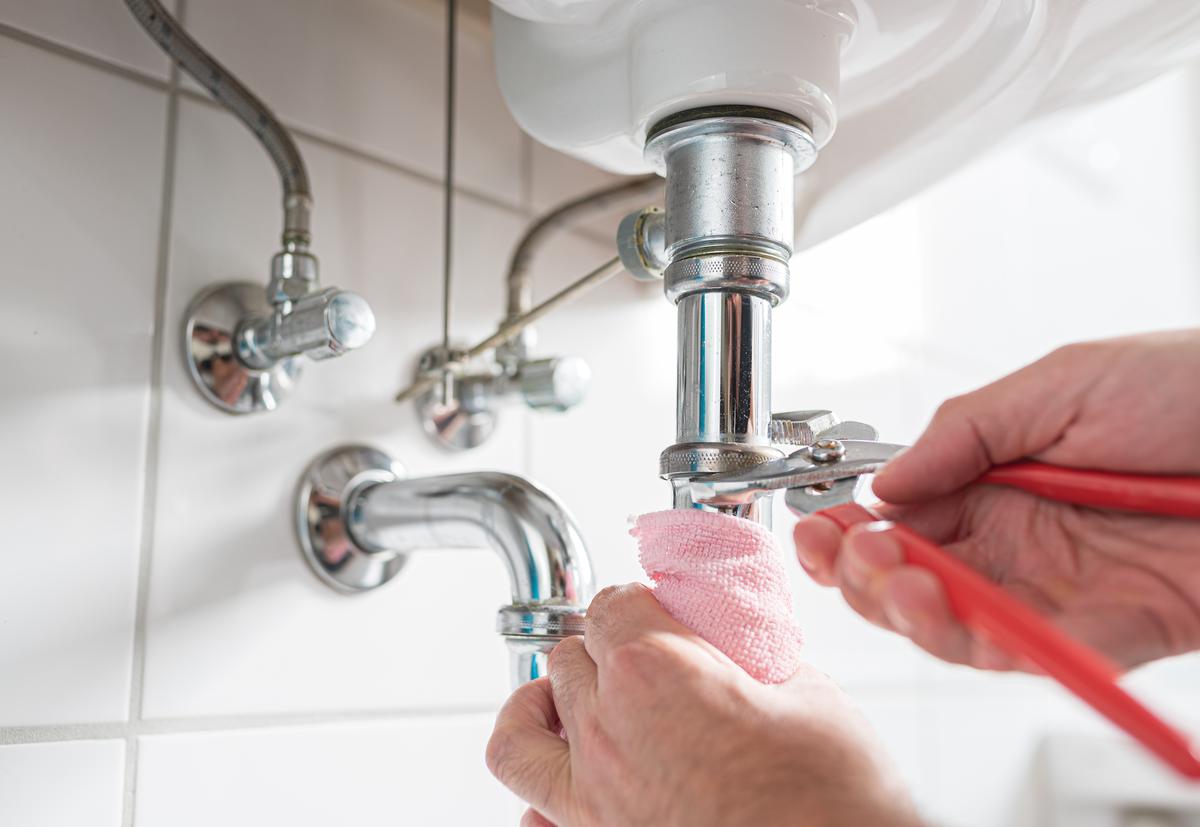
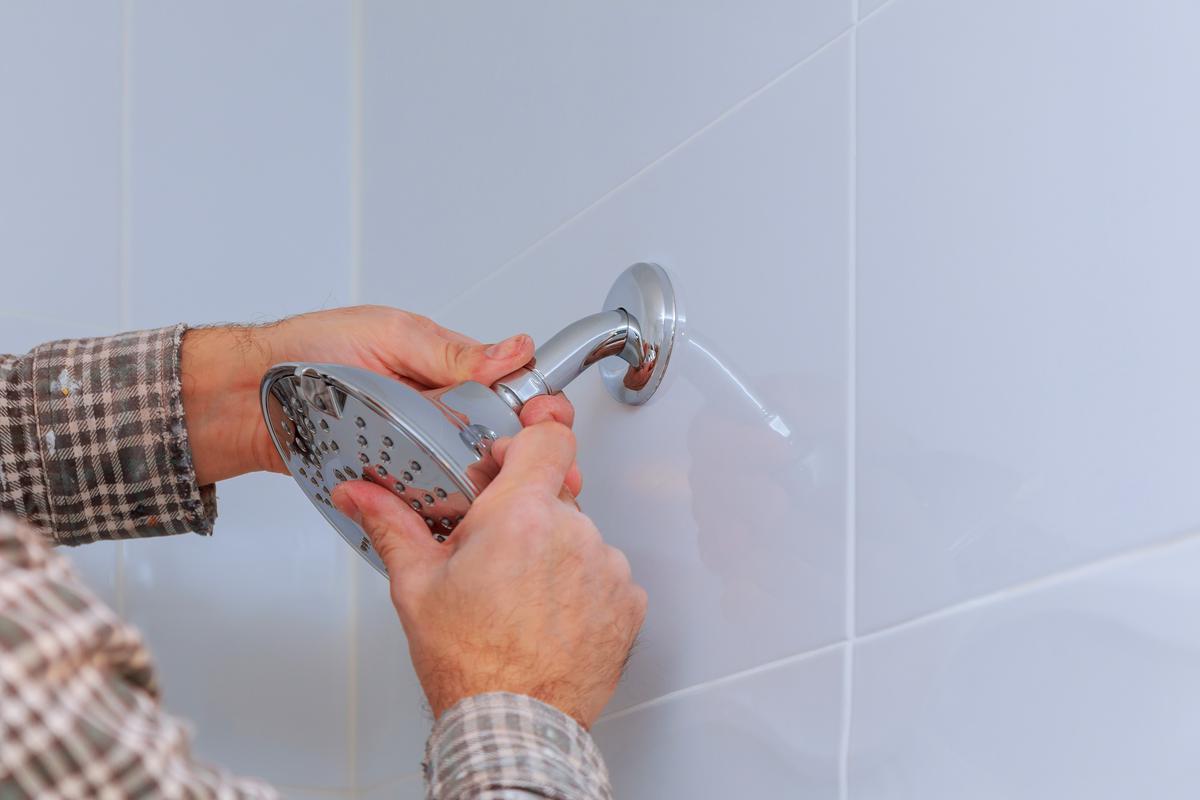
Once the situation is under control, you will need to find out where the leak is coming from. The distance between the source of the leak and the affected part of the ceiling can be quite surprising. Even if the bathroom is directly above the ceiling, for instance, the water can still be coming from anywhere. You could be dealing with a leaking drain, faulty caulking, or loose pipework. Consider cutting a larger hole in the ceiling to determine the source of the leak. One helpful technique involves laying toilet paper sheets along the pipes and joists. The toilet paper will absorb any moisture from a certain spot, narrowing down the source of the leak. Common sources include:

Leaking Toilet

A Leaking Toilet Can Lead to Ceiling Damage

A Leaking Toilet Can Lead to Ceiling Damage

While most toilet leaks come from the supply or water tank, more dangerous ones that make their way to a ceiling are due to a worn-out wax ring. Water passes through this component every time you flush and may then get behind walls, drip down pipework, and ultimately damage the ceiling. The wet spots on the ceiling indicate moistened drywall as a result of the leak.

Leaking Shower

Detecting a shower leak can be somewhat tricky since the plumbing is hidden behind a wall and covered by tiles. A ceiling leak can be coming from an upstairs shower if you notice that the flooring near the shower is peeling or curling. The culprit, in this case, is most likely worn-out caulking or faulty water supply lines.

Leaking Sink

In many cases, you won’t notice a sink leak until water starts gathering on the floor. By then, the cabinet doors underneath the sink are most likely damaged and covered in mold towards the bottom. The source of the sink leak can be:

  • A supply hose
  • Faulty caulking
  • Loosened P-trap connectors
  • A loose or faulty strainer

Leaking Roof

Your roof can be leaking due to one of several reasons. These can include but are not limited to gutter issues, damaged or missing shingles, as well as faulty ridge caps and valleys. In many cases, roof leaks lead to wider water spots on the ceiling. These spots can get brown and moldy rather quickly if not taken care of soon enough. They may also grow bigger every time it rains. Consider going up onto the roof to determine the source of the leak. 

Dry the Leakage

As you repair the source of the leak, let the affected parts dry completely. This will essentially prevent a buildup of mold behind the drywall. While minor leaks often dry up on their own, larger ones may require opening up a section of your ceiling and airing the moisture out with a fan.

Fix the Leak

Repairing a Faulty Plumbing Component Can Be a Straightforward Process

Repairing a Faulty Plumbing Component Can Be a Straightforward Process

While fixing a leak might sound like a plumber’s job, certain cases involve minor issues that can be easy enough to fix on your own. You may be able to handle the repair yourself if the source of the leak is the toilet, the shower, or the sink.

Repairing a Toilet Leak

Depending on the culprit, there are two easy ways of fixing a toilet leak. These include replacing a worn-out wax ring and changing a faulty supply tube or valve. In either case, the first step is to turn off the water supply before moving on with the procedure.

In the case of a damaged wax ring, you’ll need to drain the toilet, remove it, and carefully set it aside. Next, disconnect the deteriorated wax ring and attach a new one. Reposition the toilet and bolt it back to the floor. After reconnecting the toilet, try testing the new wax ring.

As for replacing a faulty supply tube, you’ll also need to empty the toilet. Then, use a wrench to loosen the nut that connects the supply line. Replace the damaged component and turn the valve back on. Make sure to check for leaks afterward.

Repairing a Shower Leak

How to Identify and Repair a Shower Leak

How to Identify and Repair a Shower Leak

If you reckon that there’s a shower leak behind the wall, consider cutting a window to check for any leaking pipes. Turning on the shower should reveal the source of the leak. Use a flashlight or a mirror to have a better look. Should the culprit be the shower arm, all you need to do is to disconnect the metal plate, unscrew the arm, and use a wire brush to clean the joint compound. Then, wrap plumbing tape along the threads and reassemble the shower arm back into the pipe joint.

If the leak is from the valve, however, fixing the leak will involve turning the water valve off and replacing the cartridge. A damaged valve body, on the other hand, may warrant the help of a professional plumber.

Repairing a Sink Leak

A sink leak that makes its way to a ceiling can either be from the water supply or the drain. Depending on the culprit, there are different ways to go about the repair.

Leaking Water Supply

  1. If you can’t see the leak, consider pinpointing it by wrapping the supply pipe with toilet paper.
  2. If there’s water leaking from the supply line connection, use a wrench to simply tighten the component.
  3. Should this not solve the problem, shut the supply valve off. Next, disconnect the nut, apply pipe compound inside the fixture and along the threads, and retighten the connection.
  4. If the leak still doesn’t subside, consider replacing the supply pipe.

Leaking Drain Pipe

  1. Remove the drain pipe and the outlet flange of the sink.
  2. Check the nut, gaskets, rubber sealing, and drain pipe for any cracks. The metal or plastic threads may also be stripped.
  3. Should any of these components show signs of damage, consider replacing them.
  4. If the items seem to be in good condition, you may be dealing with loose connections. In that case, try using a plumber’s tape or putty to make them water-tight.

What About a Roof Leak?

In the case of a roof leak, fixing the issue may involve repairs that are best handled by a skilled professional. These include:

  • Fixing or replacing gutters that may be sagging
  • Replacing roof shingles that are damaged or missing
  • Installing ice dam protection
  • Replacing leaking vents or flashing

Repair the Ceiling

Repairing a Water-Damaged Ceiling

Repairing a Water-Damaged Ceiling

The scope of work involved in repairing a water-damaged ceiling depends on the leak. In the case of minor ceiling water damage, all you’d need to do is touch up the area with spackling paste and some paint. Major leaks, on the other hand, would involve replacing and repainting the whole ceiling. In most cases, however, it’s best to cut back damaged drywall to the nearest joists (including undamaged parts). Once the joists are exposed, it will be easy to hang new patches of drywall. After lifting the panel into place, drill it onto the joists with a spacing of seven to eight inches along the edges and 12 inches in the center. Finish up by repainting the newly patched area.

When to Contact a Professional

If you can’t seem to pinpoint the cause of the ceiling leak, you may want to consider reaching out to a licensed contractor. The expert will help in locating the source of the leak in addition to conducting the necessary repairs. A roofing professional, for instance, can trace and take care of leaks coming from step flashing, vents, and shingles. Other cases that may warrant a trained expert include severe leaks and extensive damage to the ceiling.

DS

Written by
Dikran Seferian

Written by Dikran Seferian

comments