Disclaimer: Contractors.com is not receiving any type of compensation for reviewing any of the products mentioned in this article.
DIY
Small Projects and Repairs
How To
By
Mateos Glen Hayes
August 27, 2022
Level: Beginner
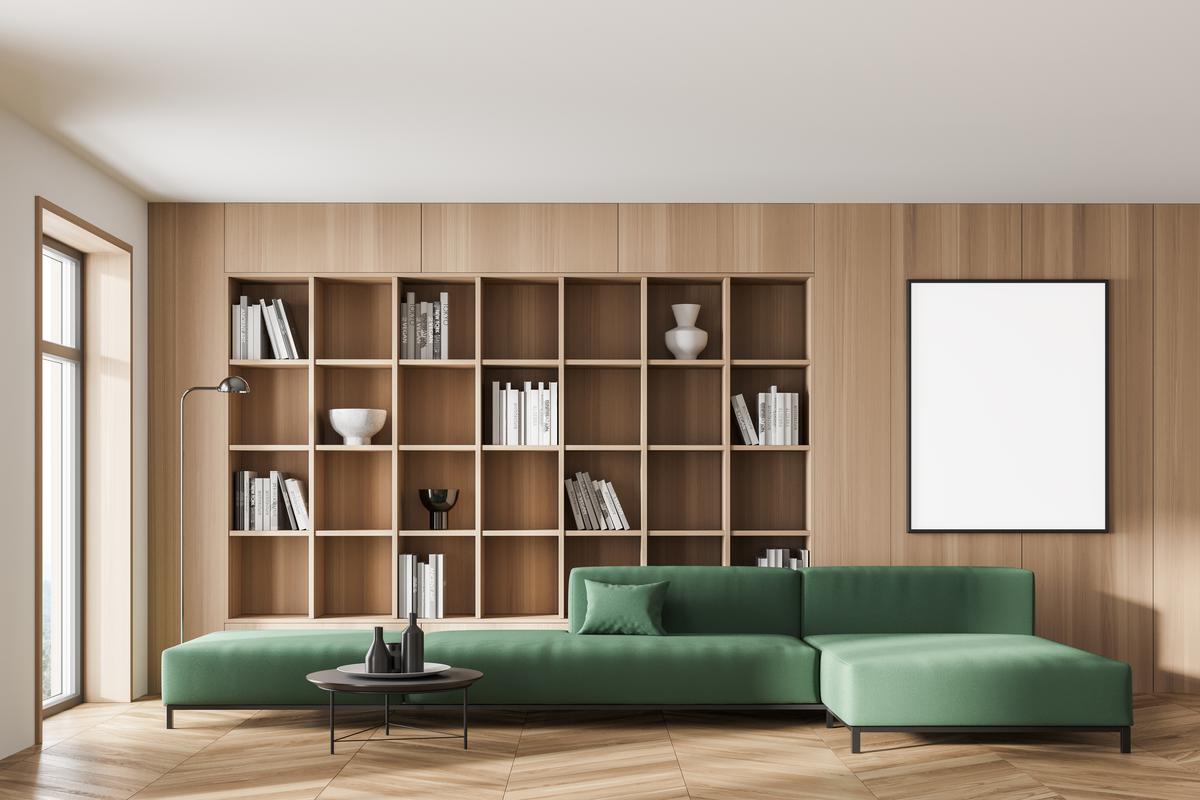
Why settle for something boring or standard when you have more interesting options at hand? If you aspire to have your own reading nook or are just a fan of smart and stylish storage, the built-in bookshelf is for you. A built-in bookshelf is a perfect storage solution for a plethora of reasons. This easy project does not require specialized skills to complete and can be a beautiful upgrade to your home office or reading area. You can be a pure beginner and still produce some really nifty built-in bookshelves in a matter of days.
Plus, these built-in bookshelves can serve a lot of different purposes all at once. They can of course store your books for easy access, but you can also keep vinyl collections, photo albums, ledgers, or even decorative pieces on the shelving. Using the easy-to-find tools and inexpensive materials listed above you can make your built-in bookshelf a reality with just a few easy steps.
Key Steps
Choosing the right thickness of wood for your built-in bookshelves is crucial to avoid bending and warping.
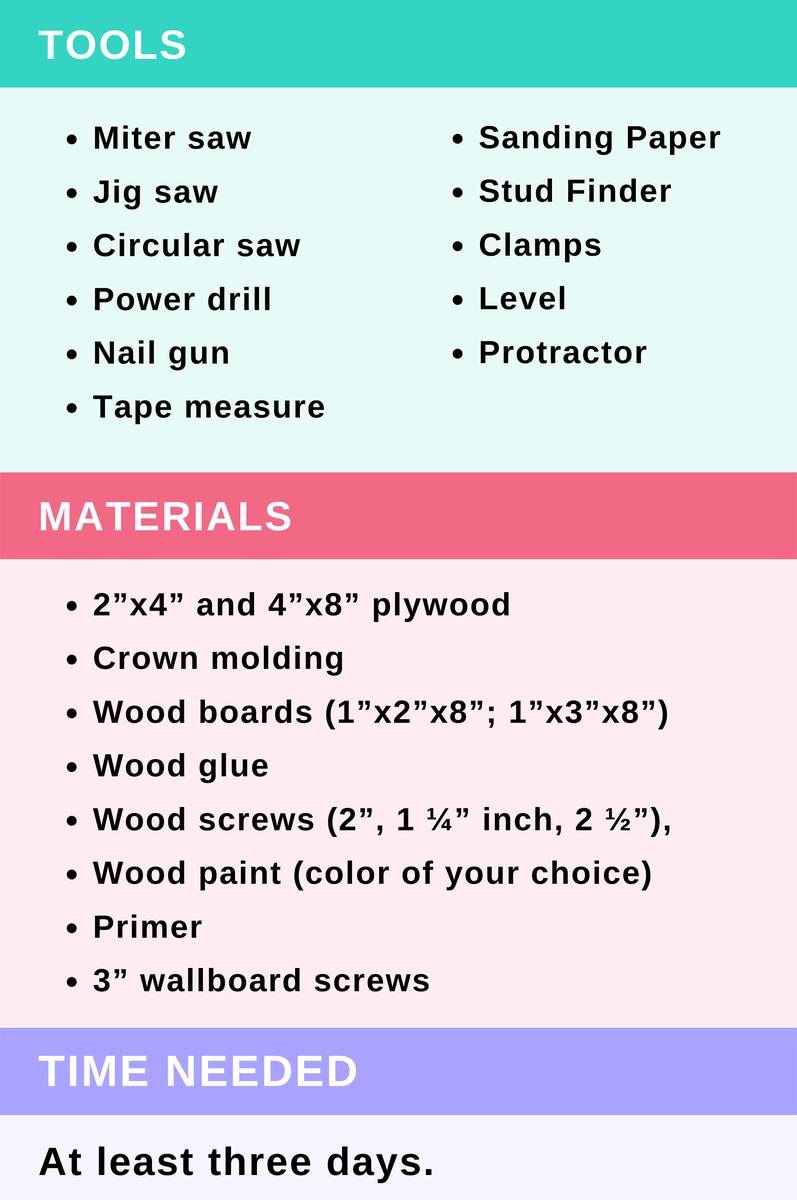
The Right Stuff
The most crucial detail when gathering the materials for your DIY built-in bookshelf is the wood you choose. Good quality wood makes this bookshelf both a stylish and durable addition to any hobby room or reading nook. Ideally, you want your bookshelves to be made of high-quality wood that is durable, sturdy, and feels good to the touch. After all, a built-in bookshelf needs to be able to support a lot of weight without cracking, bending, or warping.
To ensure you get the best quality lumber or composite materials consult a lumber specialist for expert advice. Typically, sturdy woods such as birch or pine will be ideal choices for any kind of shelving unit that will be expected to hold a lot of weight. If you’re in the market for something luxurious you can also consider getting some form of hardwood rather than composites. Hardwoods such as pine or oak are usually much sturdier than composites.
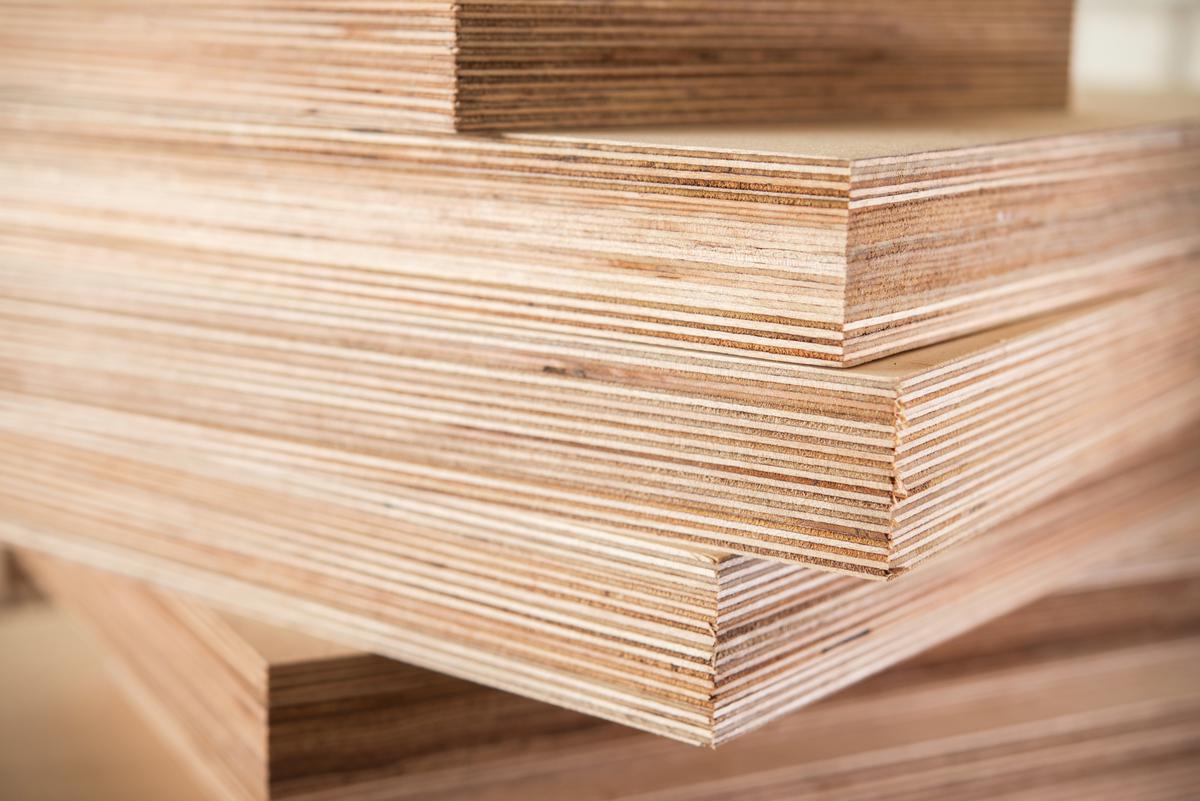
Cutting Things To Size
Once you have procured the wood of your choice, the next step is to cut it down to the sizes that you need for your shelving unit. The quickest way to do this is with a circular saw. You want to cut 2”x2” studs for the frame of the bookshelf that is 1 ½” thick. Next up, you will need some boards for the bookshelf paneling.
This will help smooth out the rough parts of the bookshelf and make your DIY job look professional. For floor-to-ceiling built-in bookshelves, ensure that these side panels are at least one inch short of the ceiling. Your ceiling may appear smooth, but it may be slightly uneven so it’s good to leave some tolerance for error. This way your floor-to-ceiling built-in bookshelves will fit perfectly. Finally, you will need to cut the shelves themselves.
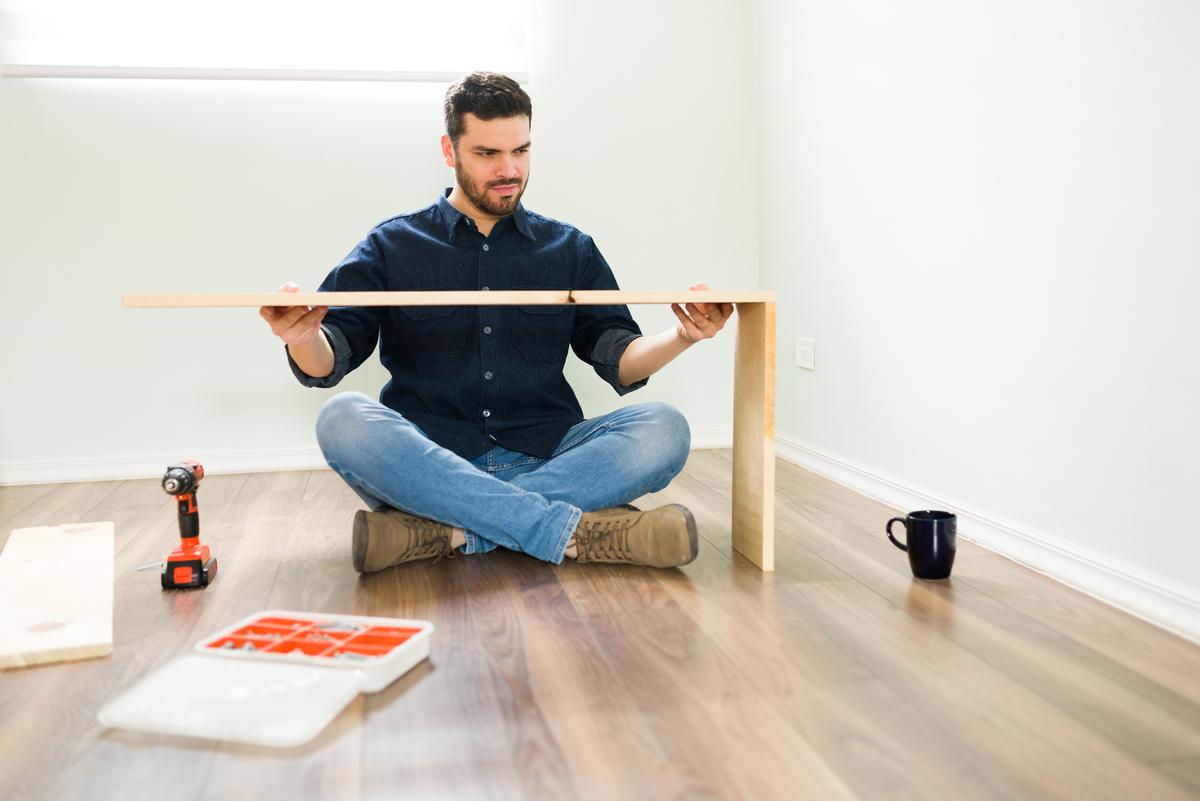
We recommend doing a few ‘practice runs’ before cutting your planks with a circular saw so you get a feel for how it works.
A straight edge will help you to draw precise lines for cutting. To ensure structural rigidity the shelves should be at least ¾” thick. Finally, the shelving panels will need to be at least an inch shorter so they will fit in the frame of the bookshelf. If you don’t have much experience with power tools, a circular saw will be quite intimidating.
To get a feel for the machine and how it works you can use it to cut some old plywood as practice. Use a regular handsaw if you are having trouble with the circular saw, although bear in mind this will take much longer.
Treating, Sanding, Painting
Your lumber of choice is likely to have some rough edges and will need some treatment before it can be used for your integrated bookshelf. First off, sand the edges of your recently cut boards to remove any splinters and smooth out the surfaces of the wooden panels.
Once this is done, you can start painting the panels and adding primer. The color you use is totally up to you although we do recommend using a color that matches the rest of your interior design to avoid any clashes. Avoid any outdoor wood treatment products as these may be fire hazards and won’t do your interior air quality any favors.
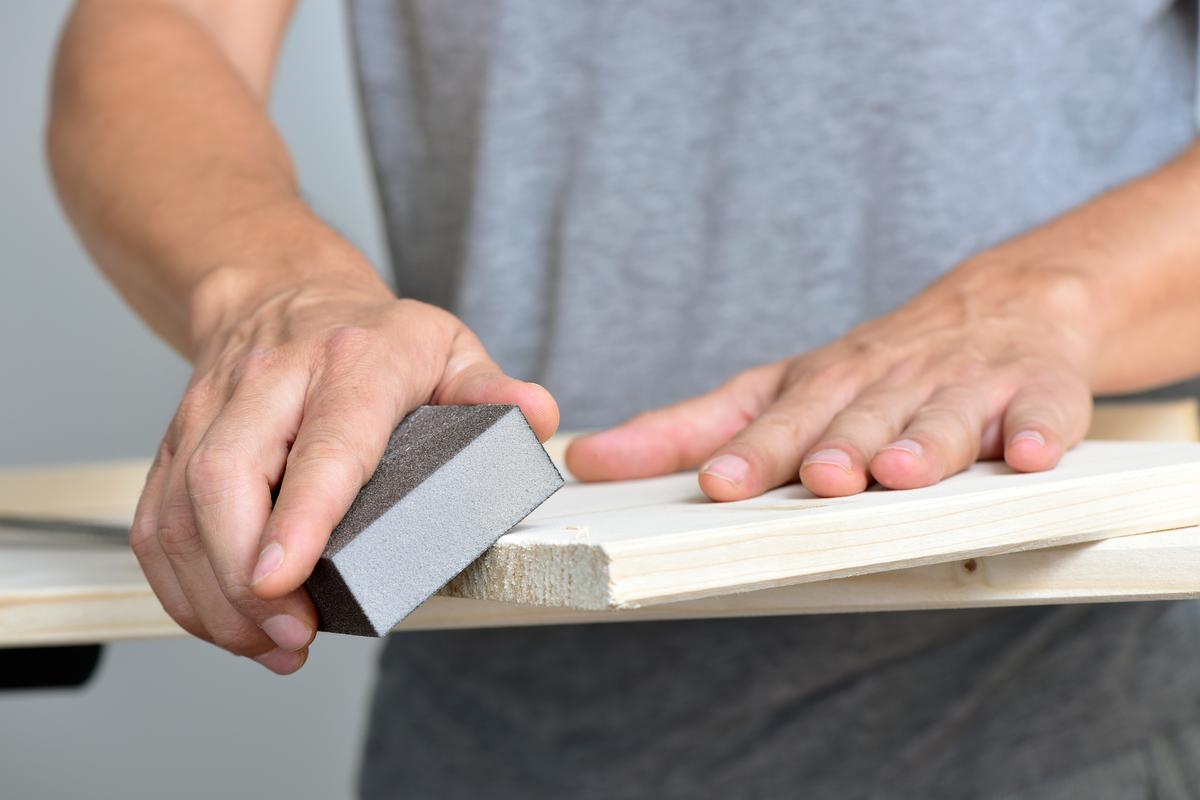
Sanding helps to remove rough edges and prepare the planks for treatment and painting.
Clamp Everything Together
Once all the wooden pieces have been cut to the required measurements the pieces will have to be assembled and clamped together like a 3d wooden jigsaw puzzle. This will help to keep all of the pieces in place so you can put in holes for screws later.
Basically, you are going to clamp the shelves to the frame and then use a power drill to put everything together. To avoid having to get lots of clamps for each and every shelf, we recommend doing this one shelf at a time. For the best results, you should use corner clamps as these will ensure a 90-degree angle between the shelf and the frame.
Start Drilling
Once a shelf is properly clamped into place, you can start drilling. You should aim to put two 2” wood screws on each side of each shelf. This should be enough to hold things nice and tight. Adding gorilla glue to the edges of the shelf panels is a good idea for extra structural rigidity although this step is not mandatory. Before putting them on the shelves it’s a good idea to double-check that there is enough clearance to fit all your books as this will make book organization easier.
Holding the pieces in place isn’t practical, therefore using clamps makes things far easier, especially when you’re drilling.
Designing And Installing The Back
A wooden backing will give your DIY built-in bookshelf a more professional and sleek appearance. The good thing to do is to measure the back of your recently assembled shelving and frames. This will allow you to cut a precisely measured wooden board that will fit onto the back of the bookshelf. Use wood screws to attach the backing to the bookshelf. You can also use gorilla glue to further reinforce the bond as necessary.
Securing The Bookshelf To The Wall
It is best to get another person to help you out with this step. The completed frame will have to be lifted into place and held in the position that it will occupy until it is properly secured. First, you will need to locate the wall studs, i.e. the wooden vertical planks hidden behind your drywall. Driving screws into these studs is not a good idea so you must know where they are to work around them.
This is where the stud finder comes in as this device will allow you to find and mark the location of the studs without having to remove drywall. Once you have the location of the studs marked you can proceed with driving in the wallboard screws using a power drill. For the sturdiest design, place several screws at the top of the rear panel and several at the bottom. This will keep the built-in bookshelf from shifting.
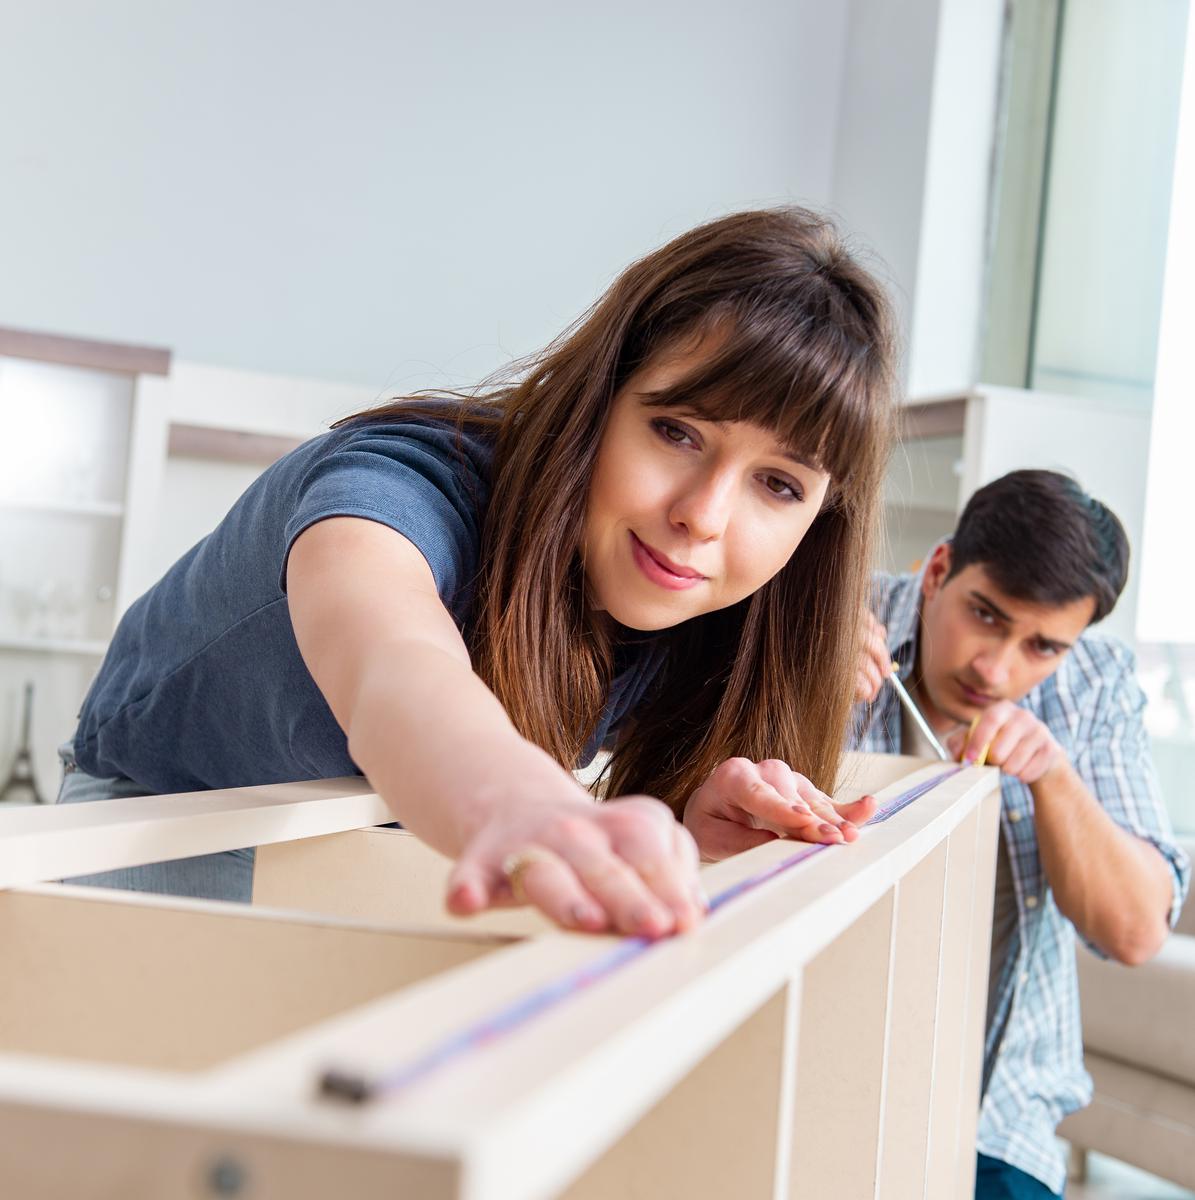
Have a second person help you lift the bookshelf into place.
The Baseboard
If your bookshelf unit is designed to stretch down to the floor you will likely have an awkward gap between the bottom-most shelf and the ground. For a more professional finish, fill this gap with a baseboard using wood screws and glue to secure it in place. This small detail makes a big difference as far as style is concerned.
Adding Fronts And Molding
This is the fun part. Now that the shelf has been assembled and secured to the wall you can get creative by adding some embellishments to your custom built-in bookshelf and thereby completing your private nook. What you do in this step is really up to you. As a general rule, you’ll want to make choices that help your bookshelves look visually integrated with the rest of your home design. Since these are built-in bookshelves they must look the part.
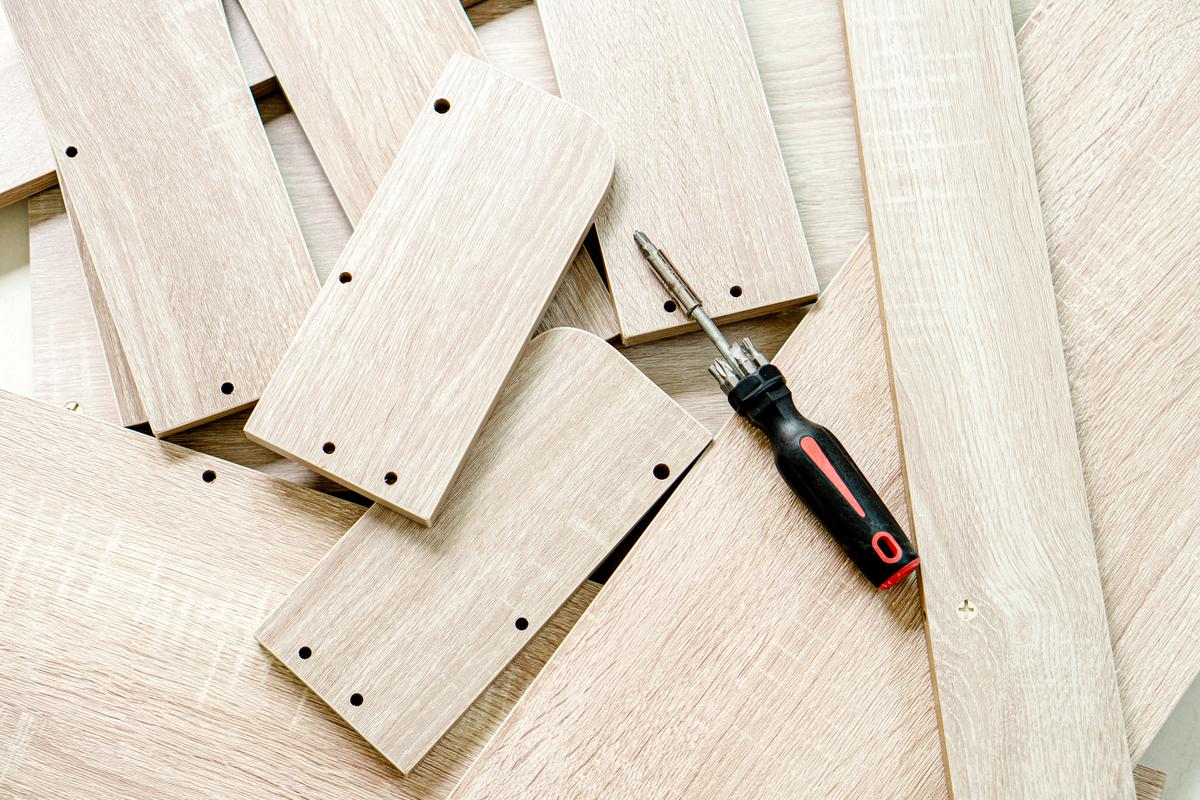
Small planks such as this can be used to add baseboards and fronting to your bookshelves.
As an example, you can install crown molding at the top of your bookshelf to preserve continuity with the rest of your home’s design. For the baseboard, ensure that it is the same color as the baseboard in the rest of the room. Painting the backing of your custom built-in bookshelf to match the color of your walls will further help preserve continuity.
Fronting - meaning wooden panels are laid horizontally and vertically over the frame of the bookshelf - is another good option as they hide unsightly seams and can also be painted to match interior colors. Finally, your new bookshelf is a great place to display beautiful decorative items so be sure to find some tasteful objects d’art to complete the look.
Should I Paint Before Or Paint After Assembly?
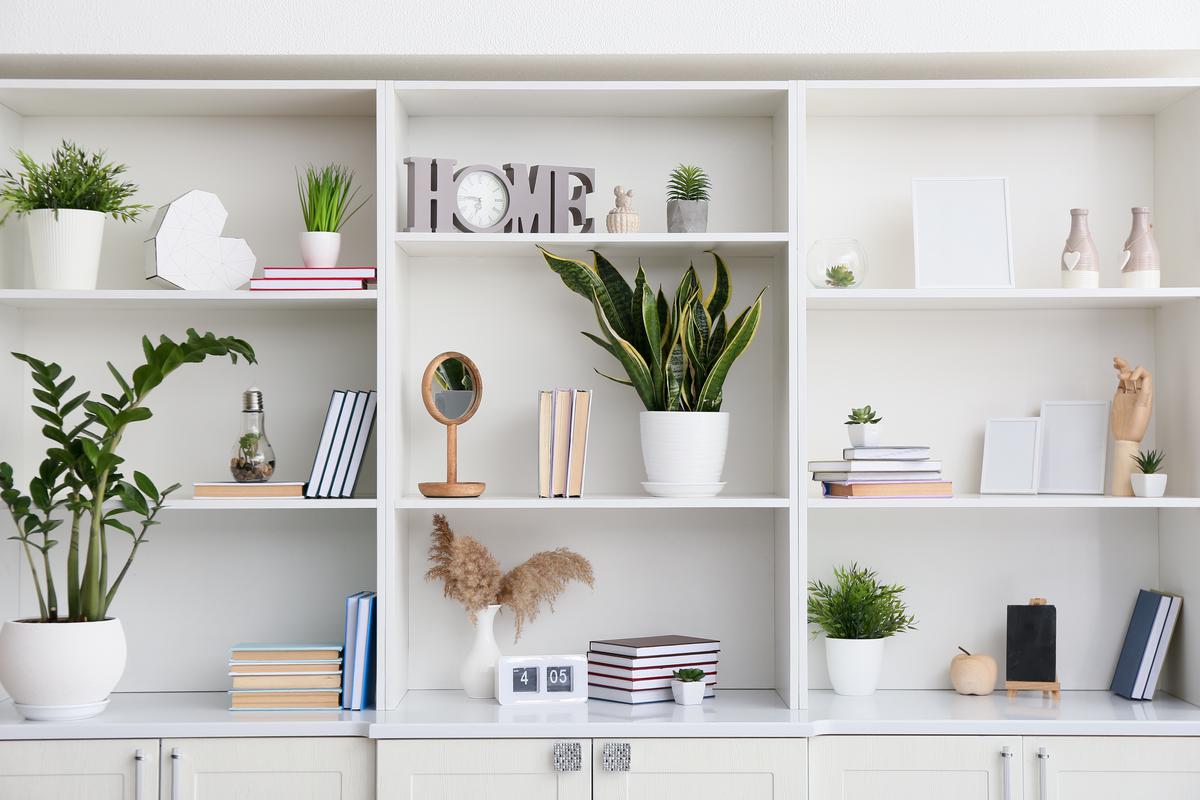
Painting DIY built-in bookshelves using the same color scheme of the room helps to integrate them better.
Opinions are divided on what is the best answer to this question. Some DIYers paint the panels before assembly, whilst other handy homeowners prefer to paint the shelving after it has been completed. It should be noted that while more time-consuming, painting the separate components prior to assembly will give you a lot more leeway when it comes to choosing.


comments