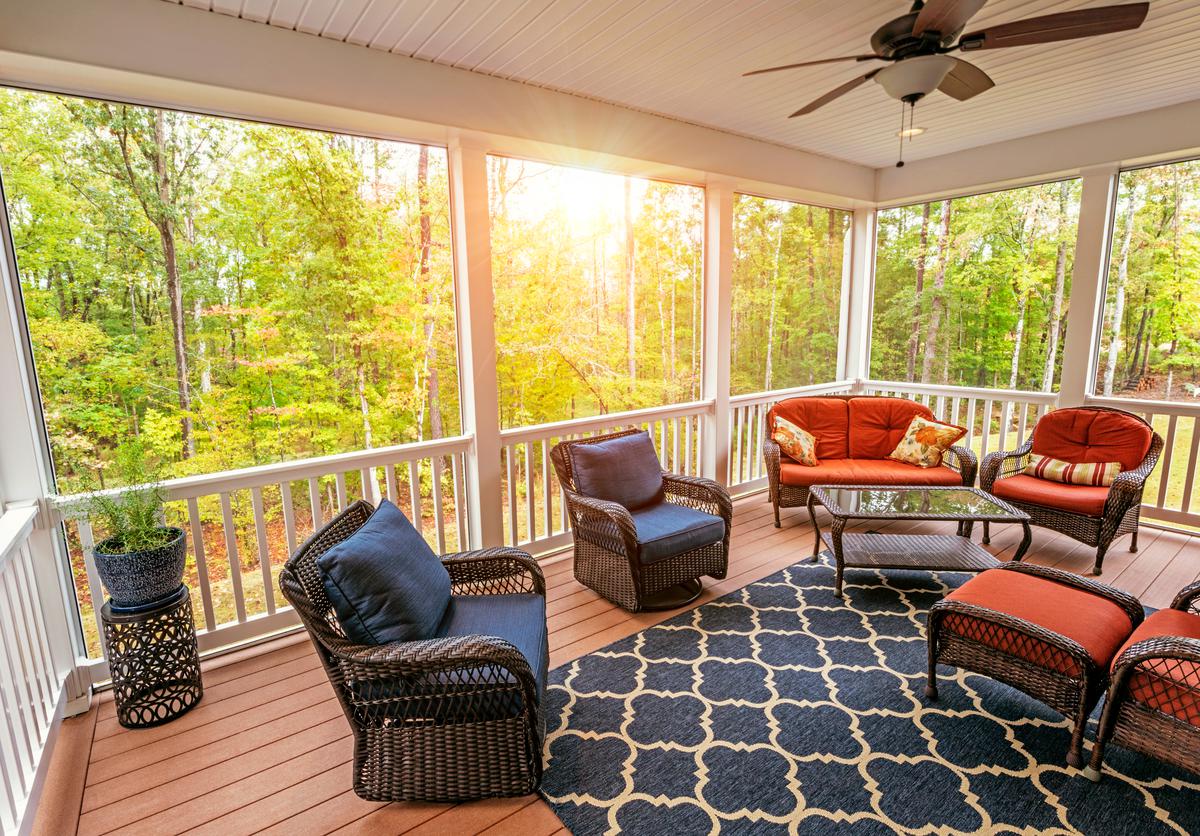
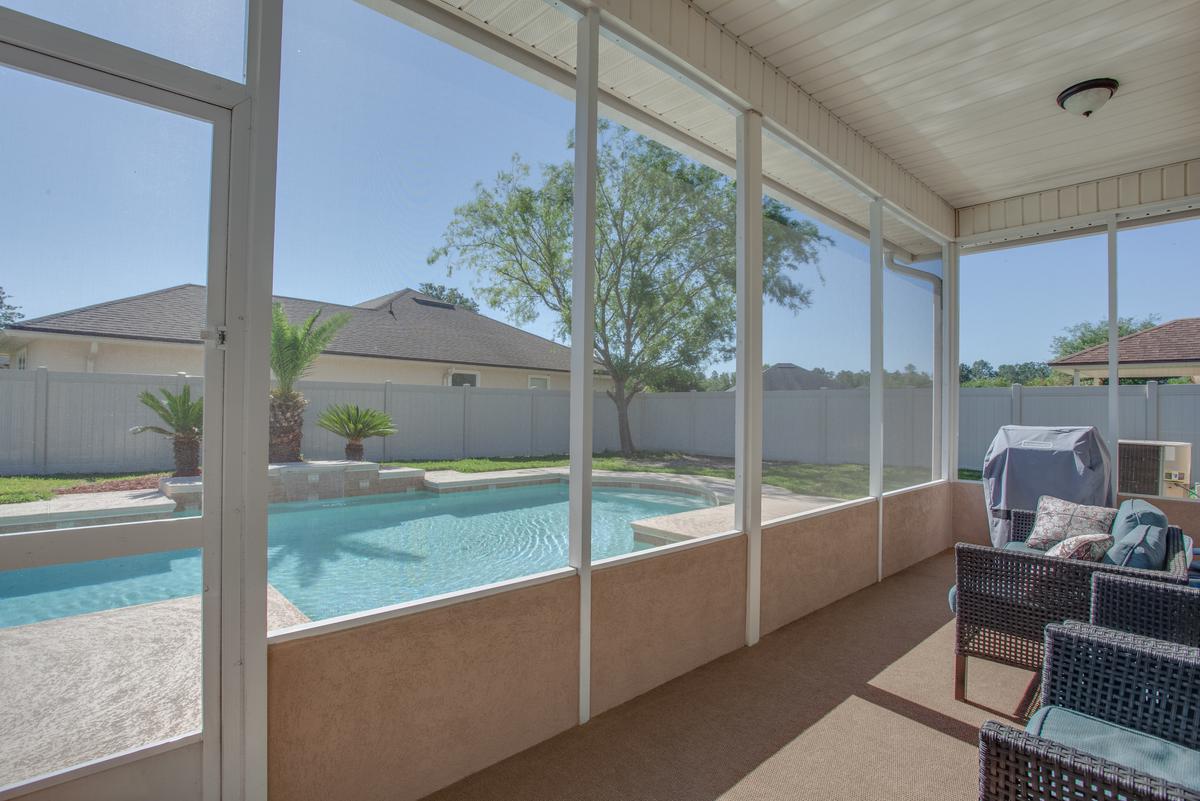
Your screen porch enclosure is now almost complete. All that’s left is to make it look good. Any excess spline should be trimmed with a box cutter. Likewise, any excess screen that goes over the base strip groove should be cut away. Finally, covering the frames of your covered porch with cap strips will help it blend in with your home’s aesthetic. You can buy cap strips at any major hardware store, and they usually go for around $4 for 96 inches. If you bought a framing kit, it should already come with cap strips. Cap strips are a practical way to make your screened-in porch look especially classy. They can be snapped into place with a rubber mallet, and if your privacy screens need maintenance in the future, cap strips are easy to take off with a screwdriver.
How Much Will It Cost?
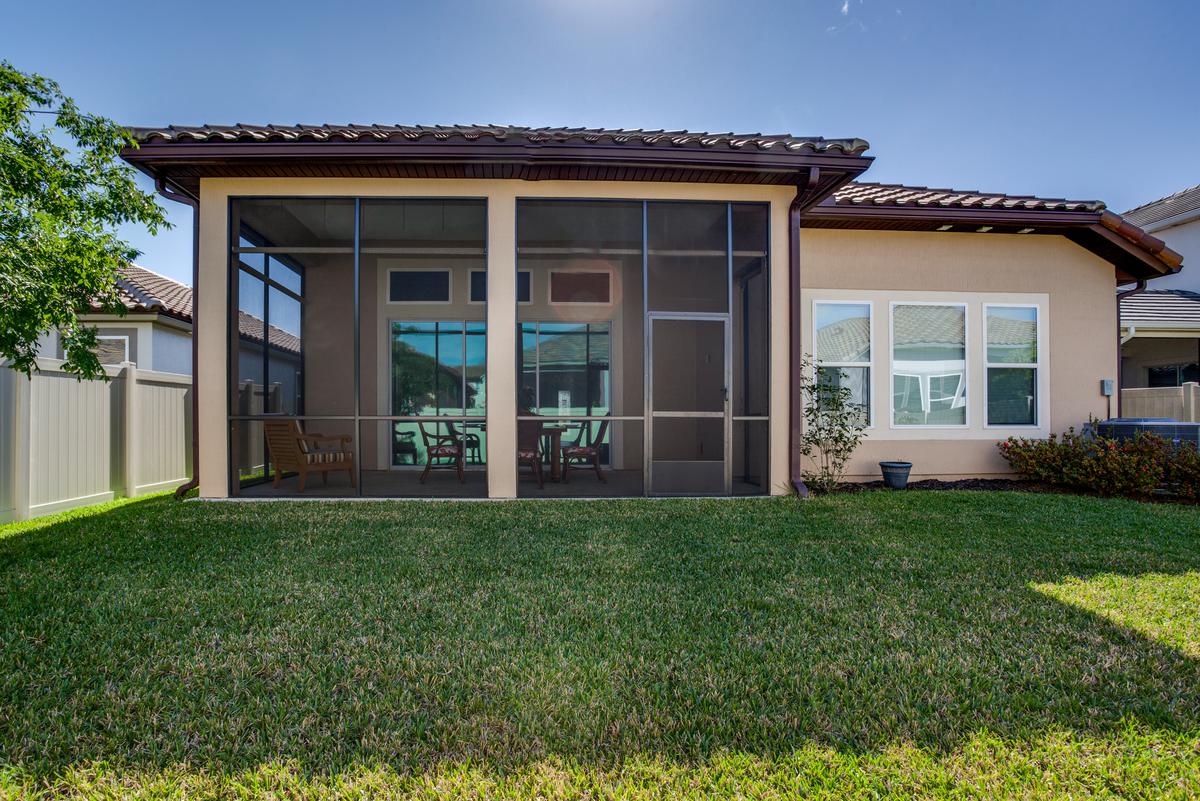
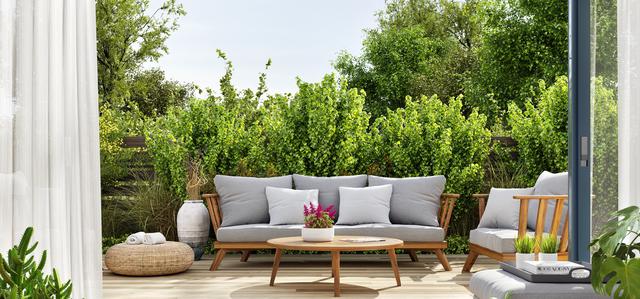
If you plan to convert your existing porch into a covered porch using fiberglass or aluminum screens and wood frames, the cost of your screened-in porch will be around $685 for a 100 sq. ft. porch. More durable materials can run you up to $5,000, even for a similarly sized porch. However, with whichever screen you choose, building a screened-in front porch without professional help can save you several hundreds of dollars in labor costs.
Am I Stuck With the Screen Forever?
In a word, no. If you want to take them down in the winter to have a less obstructed view, you can. You can remove the screens completely with relatively little hassle by stripping out the spline. Removing base strips and framing may be more time-consuming, but is also relatively easy to do. In most cases, you can completely remove screening in a matter of days. If you end up not liking how your screened-in porch turned out, there are some things you can do to change it. An easy way to change how it looks is to simply put in new cap strips. These can be found with a variety of different colors and finishes and will allow you to quickly change up the look of your porch.
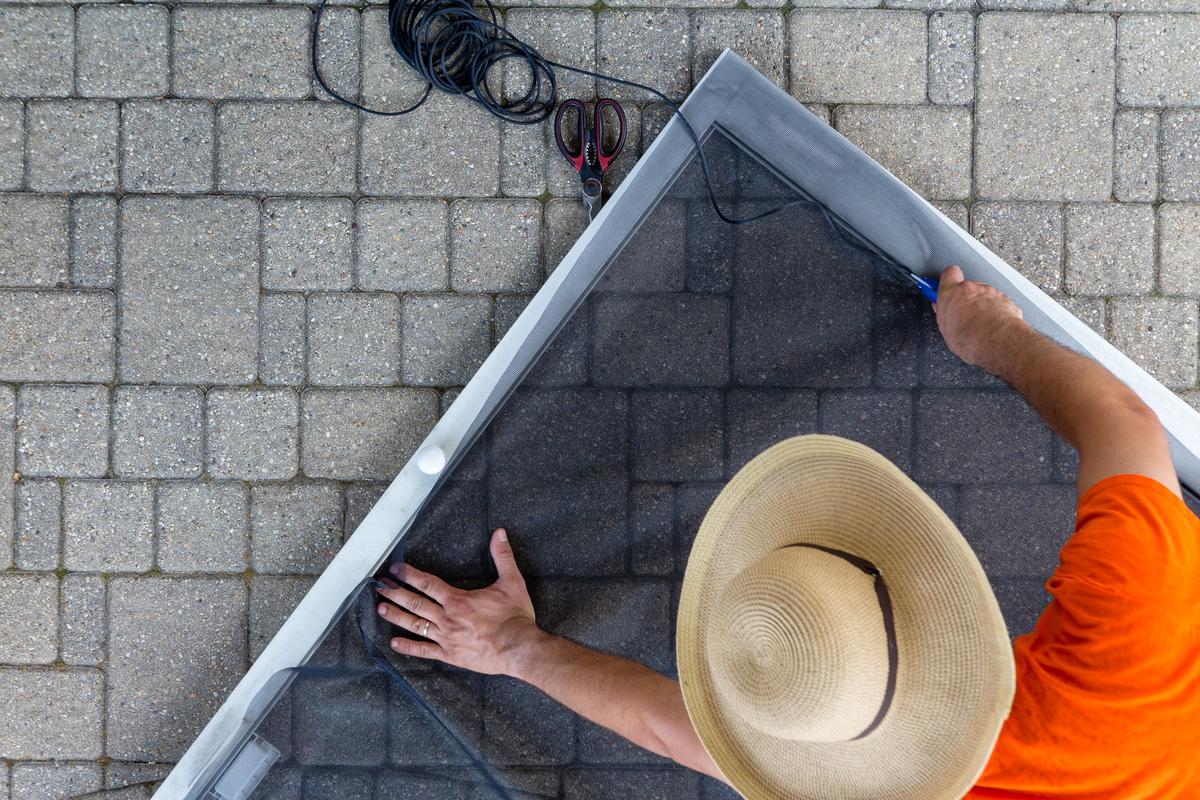
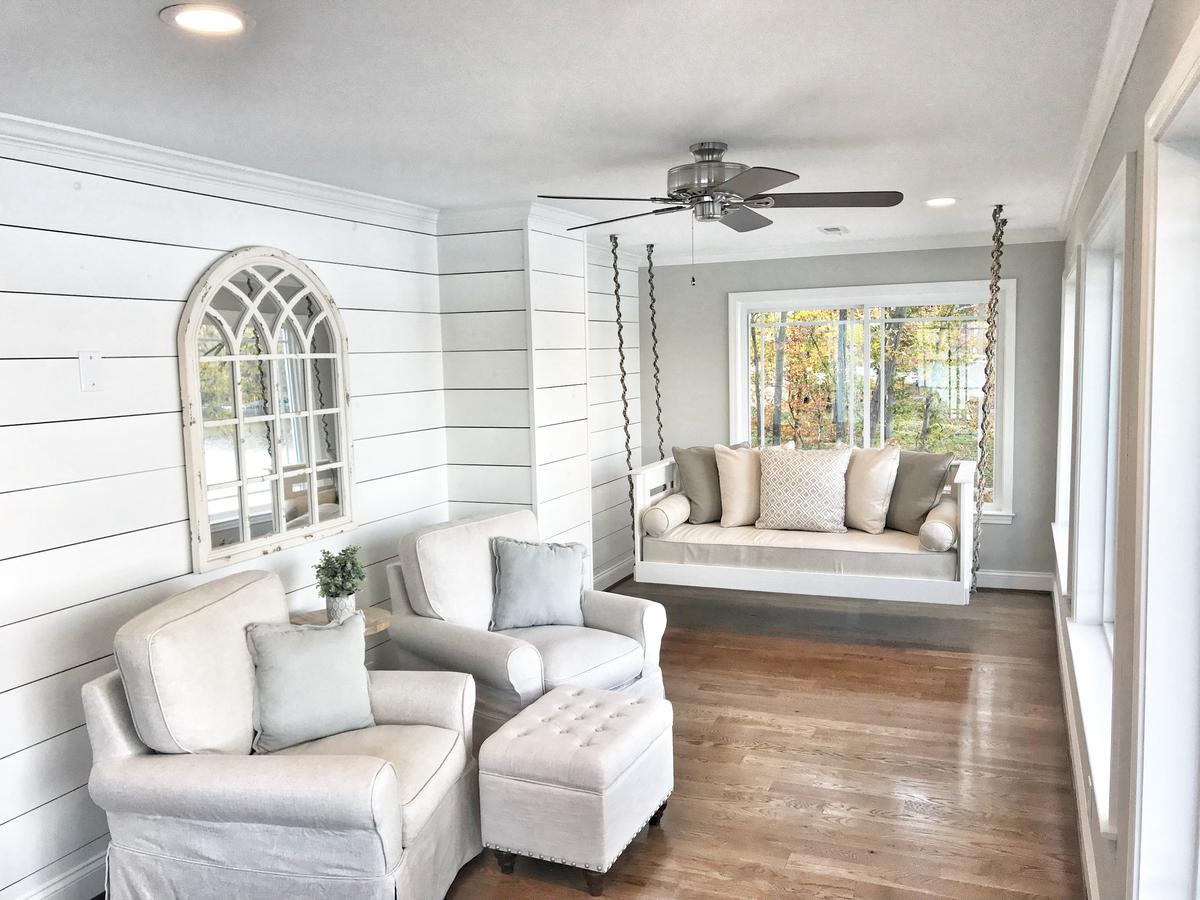
DIY Screen Porch Panels
If your porch doesn’t have existing panels to work with, you can build them with relative ease. All you need are some wooden planks (4x4s for example) and some basic hand tools. Measure the spaces for your panels and get to hammering. The most budget-friendly DIY porch panel project will cost around $300, but prices vary depending on the materials you use. More expensive materials can increase the cost to $3,000 or more.


comments