How to Install Your Own DIY Drop Ceiling

How to Install Your Own DIY Drop Ceiling

Ceiling
DIY
By Alex Mikayelyan December 01, 2021

Suspended or drop ceilings are a common sight in many offices, classrooms, and public buildings. However, this does not mean that they are not worthy to make their way into your home. Some of the most common residential rooms that incorporate suspended ceilings are basements, walk-in closets, laundry rooms, and garages.

When it comes to practicality few things come close to the dropped ceiling. Other ceilings may be more luxurious or stylish, but not all of them come with the myriad of conveniences that dropped ceilings have. While to some individuals out there they may seem a little kitsch, suspended ceilings do have a set of benefits that make them the perfect installation for your next basement or garage remodel

Benefits of Installing a Drop Ceiling

On the surface, a suspended ceiling may seem like nothing particularly special — after all a drop ceiling is just a metal grid with panels in between. But this design gives it certain advantages over other conventional ceiling types. 
Get An Additions and Remodels Quote

Low-Effort Rearrangement 

Calculate The Payout Of Wires

Calculate The Payout Of Wires

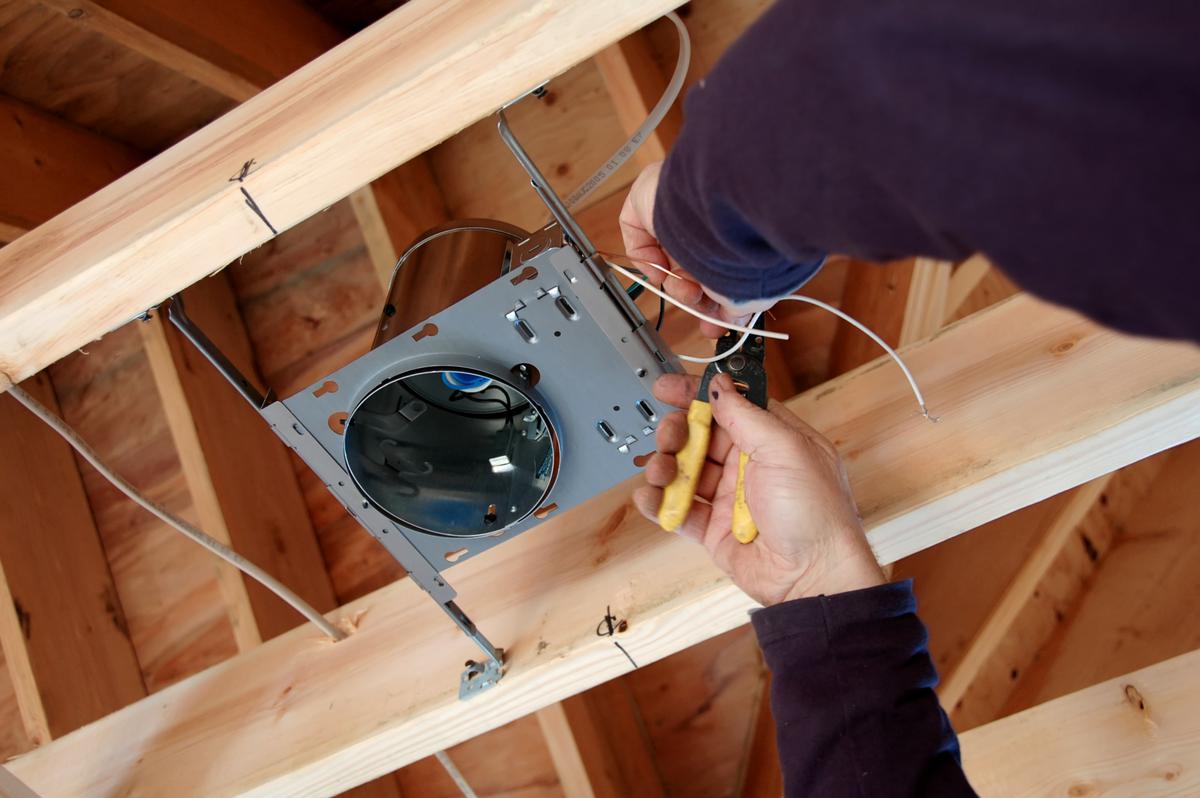
When installing plumbing and electrical wires the task of boring through surfaces like ceilings and walls requires a lot of effort. You have to calculate the exact layout of the wires, their path along the surface, and which sockets they should go into. If at any point you change your mind about any of the vent, plumbing, or outlet placements, you have to call in a plumber, electrician, HVAC specialist, and a general contractor to change them around. This is much easier to do with a drop ceiling as you can just lift the panels and rearrange them however you like as long as the wires are long enough to reach your desired location.

Better Insulation

How to Insulate Your Rooms with Suspended Ceilings

How to Insulate Your Rooms with Suspended Ceilings

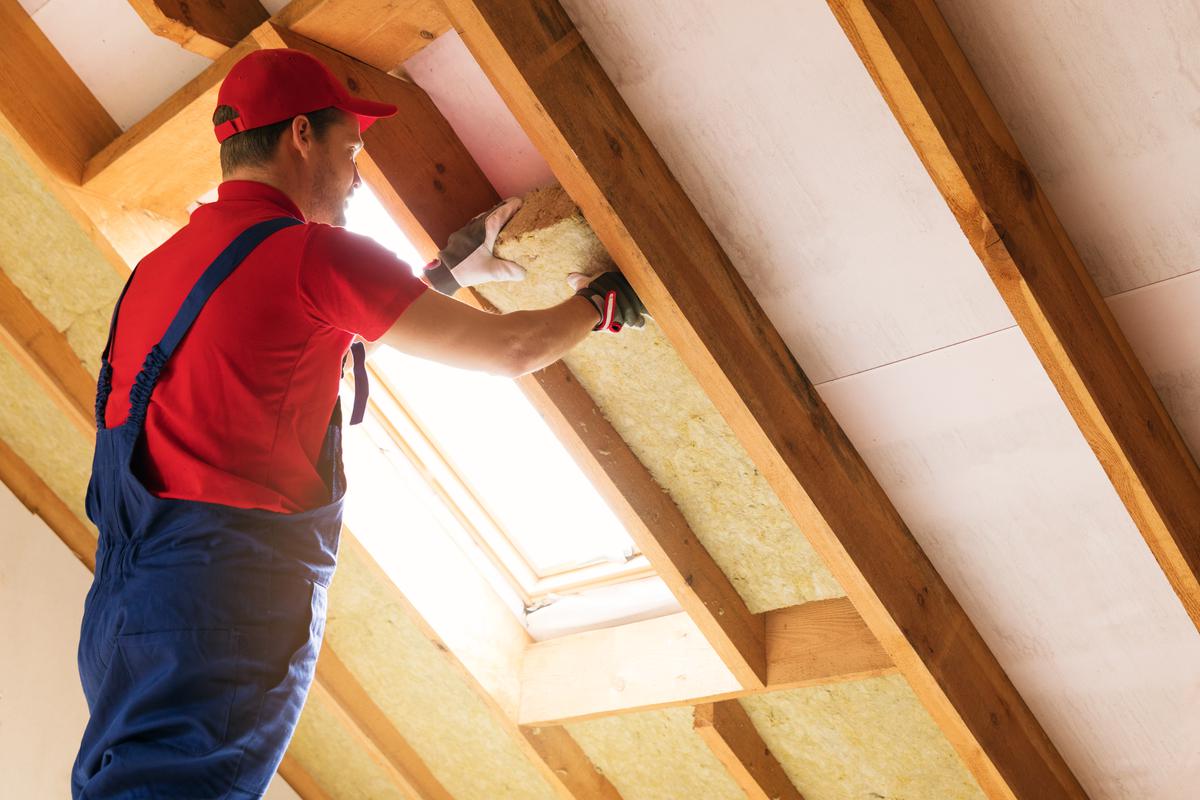
Another major advantage of suspended ceilings is the extra insulation. Higher ceilings are very attractive and offer a lot more headroom which can open up the room’s atmosphere. Unfortunately, this comes at the cost of making it harder to heat a room and keep it warm. Heating is made easier with a suspended ceiling thanks to an extra layer of insulation and increasing heat retention throughout the room. 

Easy Maintenance

Why Suspended Ceiling Maintenance Is So Convenient

Why Suspended Ceiling Maintenance Is So Convenient

Ceilings can get damaged from time to time. Whether it is a leaky pipe, cracks, or paint chips there are a set of common problems that many homeowners have had to deal with. What is even more problematic is trying to fix these issues. With drop ceilings, maintenance is very easy since the surface is segmented into panels. When one gets damaged you can simply replace it without having to fix up the rest of the ceiling.

DIY Drop Ceiling

The Steps to Installing Your Own Drop Ceiling

The Steps to Installing Your Own Drop Ceiling

While by no means an easy project, installing a drop ceiling yourself is still quite doable. It is also rewarding as it tests several of your DIY skills and abilities, such as taking accurate measurements, leveling, drilling, and understanding the fundamentals of structural support. By the end of your DIY suspended ceiling project, you will have learned new skills and honed in on others that will come in handy for a variety of future DIY projects.

Measurements and Markings

What Measurements Are Needed for a Suspended Ceiling

What Measurements Are Needed for a Suspended Ceiling

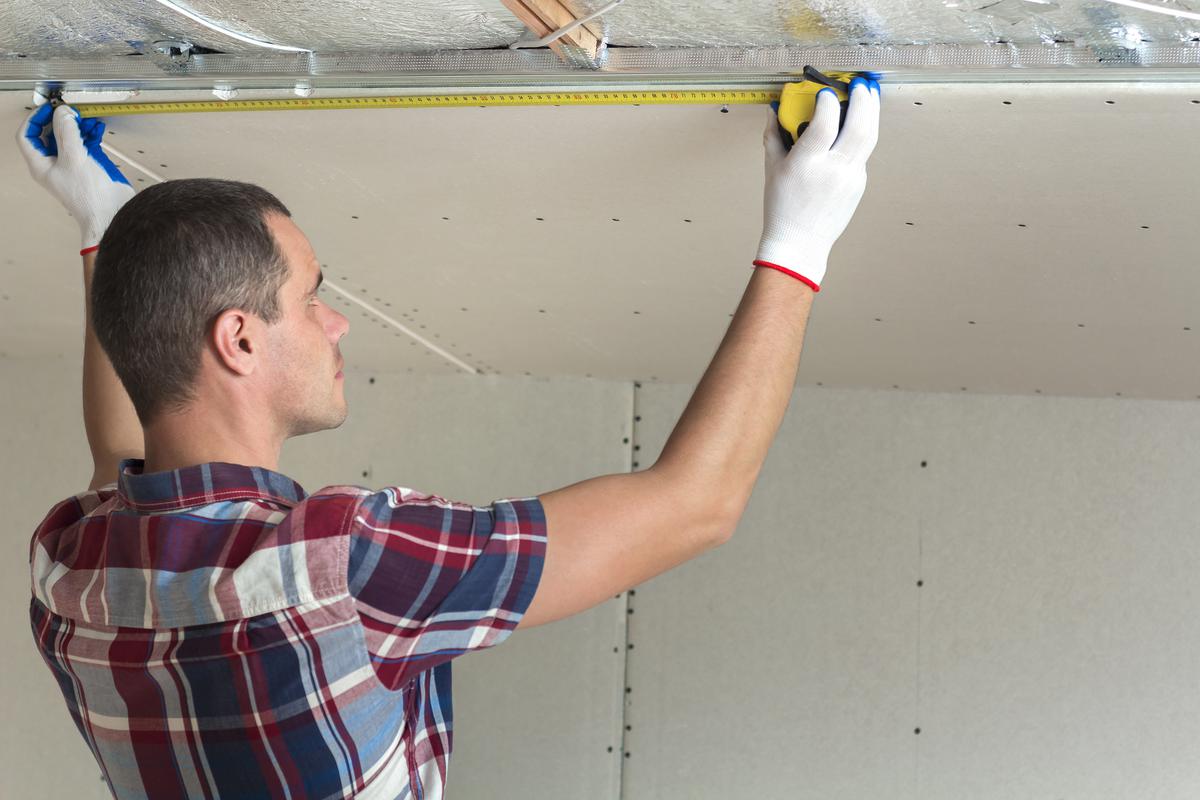
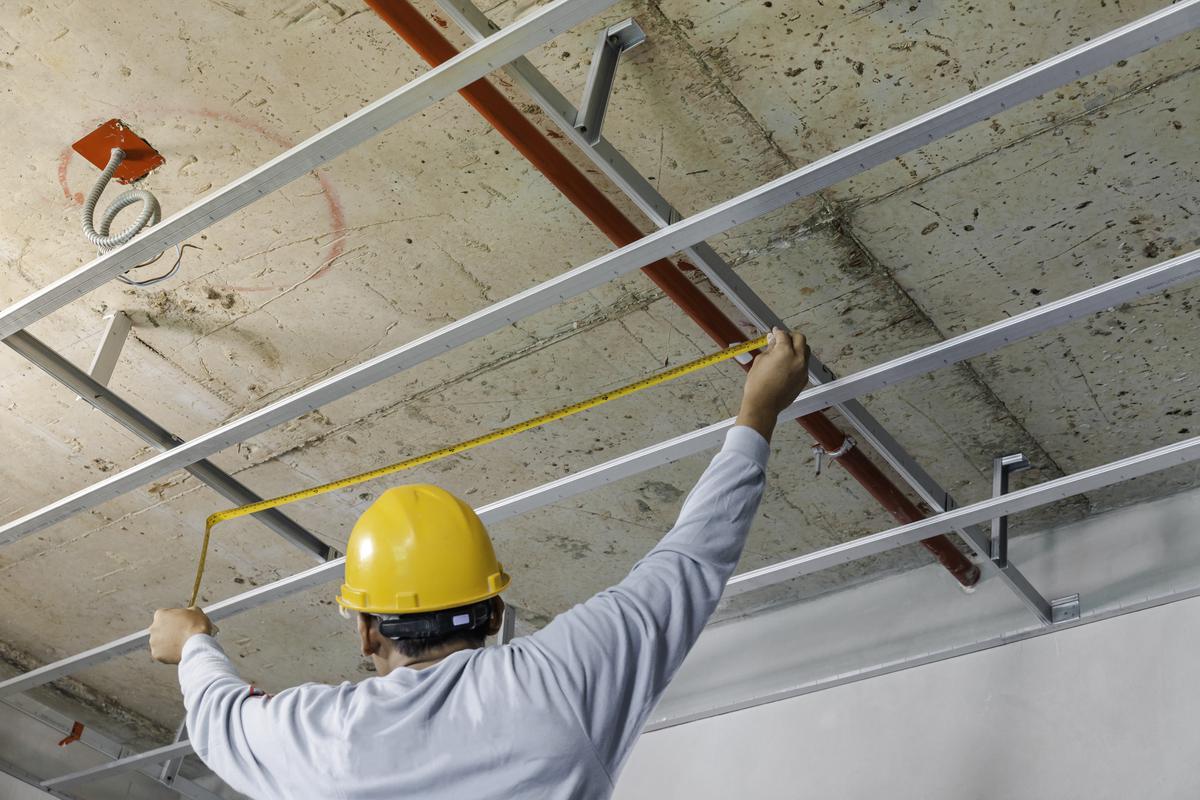
Step 1 - Get all the necessary measurements of the room. It is crucial to know the exact measurements because even if they are just a bit off the ceiling will look visibly uneven. The width or length of the room should also not exceed 12 feet, as this is the maximum length of a residential grade drop ceiling grid. Any longer than that and you would have to invest in sturdier office-grade tees which are thicker drop ceiling grids that can hold more weight, making them perfect for bigger rooms.

Step 2 - Mark the height of the ceiling to determine how low you need the suspended ceiling to be. The minimum clearance you need to install a drop ceiling is seven and a half feet. Do not measure the drop ceiling height relative to the ceiling itself as there is a possibility of it being uneven. Instead, measure it using a level to get the most accurate results.

Calculating the Spacing of Your Drop Ceiling

Calculating the Spacing of Your Drop Ceiling

Step 3 - Calculate the space between the ceiling and drop ceiling which should be anywhere from three to eight inches. This depends on what you want to fit in that area between the primary and secondary ceiling. If you only need to run a few wires for lighting, then you do not need the drop-down ceiling to be particularly low. However, if you are going to have HVAC connections to the ceiling you should opt for a lower drop ceiling that can accommodate the extra piping.

Step 4 - Mark the height of the drop ceiling using a writing utensil or a rotary laser system. Use a leveling tool to ensure that the lines are straight as you are marking them.

Get An Additions and Remodels Quote

Assembling the Grid

How the Drop Ceiling Grid Works

How the Drop Ceiling Grid Works

Step 5 - Choose between two-foot squares or 2x4 rectangular panels for the drop ceiling. There is no practical advantage to either of them other than the fact that with the rectangular panels you will need to install less of them since they take up more surface area.

Step 6 - Attach the wall angles. These will be part of the suspended ceiling grid that is fastened to the wall itself. Drill holes along the lines and insert the fixings for the wall angle screws according to the holes made in the wall angles themselves. Once the fixings are in the walls and are sturdy, install the wall angles by screwing them in.

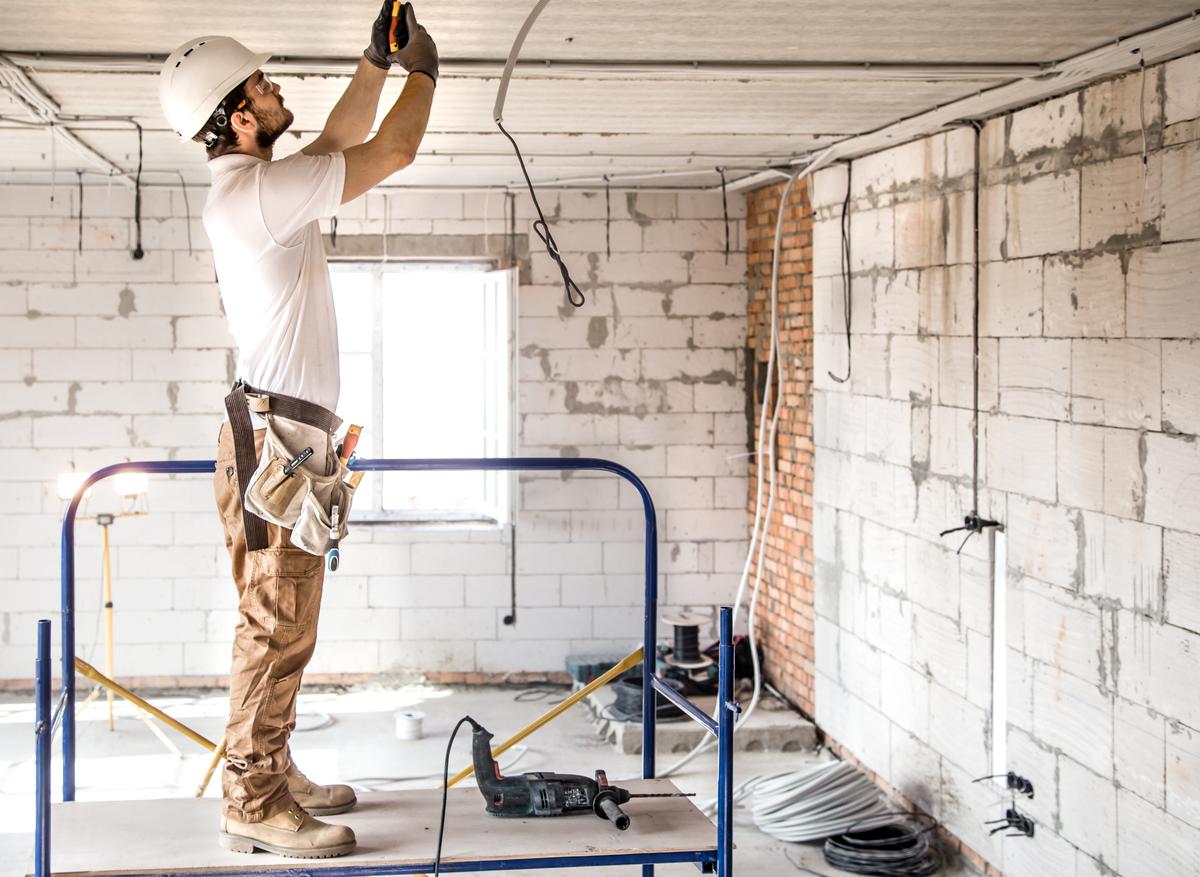
Step 7 - Install the grid wiring into the joists making them at least 12 inches longer than the height difference between the suspended and primary ceiling. This is so that the wire has enough length to be tied when the grid is attached.

Installing a Drop Ceiling Grid

Installing a Drop Ceiling Grid

Step 8 - Install the main tees of the grid perpendicular to the ceiling joists. Run the grid wires through the designated holes in the tees and tighten them using pliers. Make sure that the space between them is two inches apart and regularly check that they are leveled using a level measure.

Step 9 - Run the cross tees through the main tees. The cross tees should be parallel to the joists and perpendicular to the main tees. Follow the manufacturer’s instructions when running the cross tees through the main tees. The main tees will have a designated slot for the thinner cross tees. You can find which slot is meant for which part in the guidelines provided by the manufacturer.

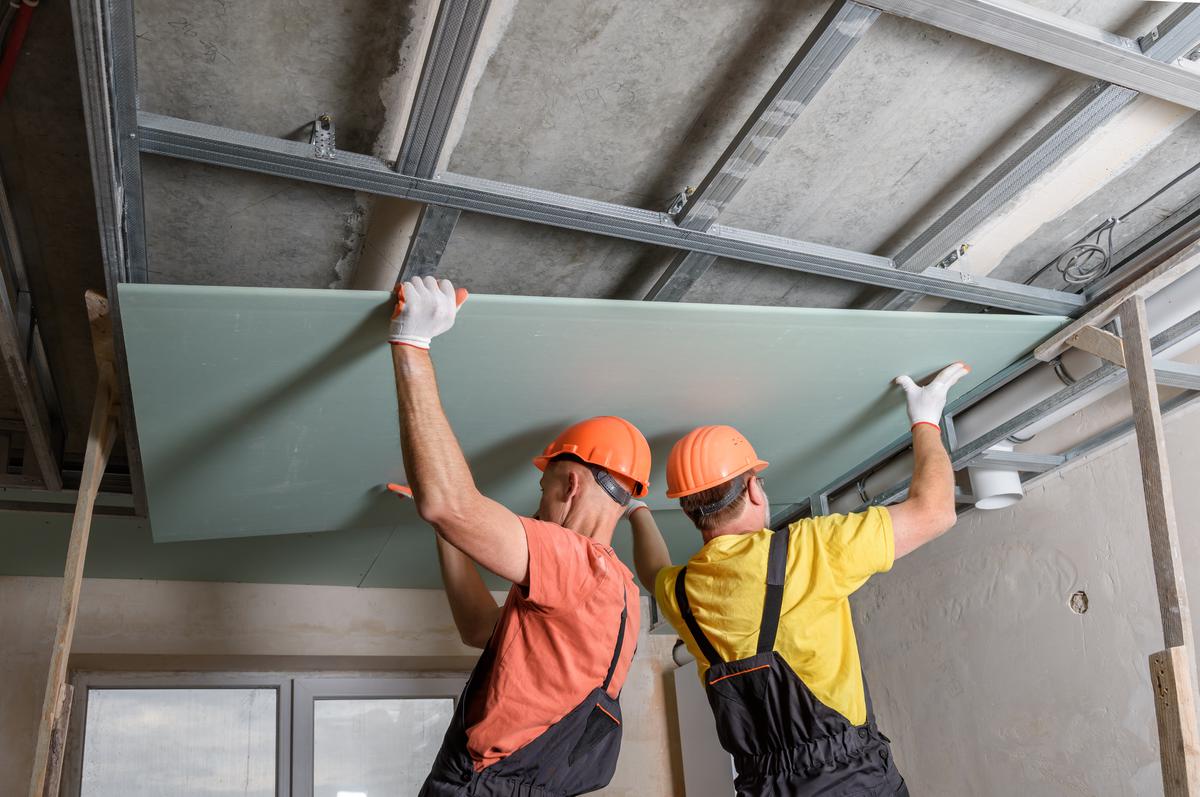
Step 10 - Install the panels by inserting them slightly tilted through the grid opening and then arranging them into place. If a panel does not fit because the slot is lopsided or the wrong size, check the corners of the cross tees using a carpenter’s square corner. Adjust accordingly if the panel slot is not evenly spaced.

How to Install Suspended Ceiling Panels

How to Install Suspended Ceiling Panels

Drop Ceiling Installation Tips

Tip 1 - Make a ceiling grid on some paper to calculate the grid spacing. This will give you an understanding of what the floor or rather ceiling plan of the room looks like and give you a much better idea of how to space out the drop ceiling panels to make them symmetrical and even.

Pro Tips On Installing a Drop Ceiling

Pro Tips On Installing a Drop Ceiling

Tip 2 - Check the lights before installing the surrounding panels. If you install a LED panel and install all the surrounding panels as well if the light does not work there is no way to check the lighting without having to remove one of the adjacent panels. By installing and checking the light panels before the adjacent panels are installed, you can easily fix any faulty wiring without having to backtrack on your work.

Tip 3 - Support the inner areas of the grid with some extra suspended ceiling wiring. If the tees do not have any holes that reach that particular wire, use a grid punch to make the incision. It is generally recommended to use as much support as possible for the inner areas of the drop ceiling which are the farthest away from the wall angles.

Tip 4 - Use suspended ceiling hooks if you do not think the wires are strong enough to hold up the grid. These are slightly sturdier as they do not rely on your ability to tighten grid wires. The more solid the center is the sturdier the entire drop ceiling track is going to be.

Get An Additions and Remodels Quote

AM

Written by
Alex Mikayelyan

Written by Alex Mikayelyan

None

comments