How to Build the Perfect Porch Swing for Charming Curb Appeal

How to Build the Perfect Porch Swing for Charming Curb Appeal

Outdoor Additions
Decks and Porches
By Contractors.com Team June 17, 2021

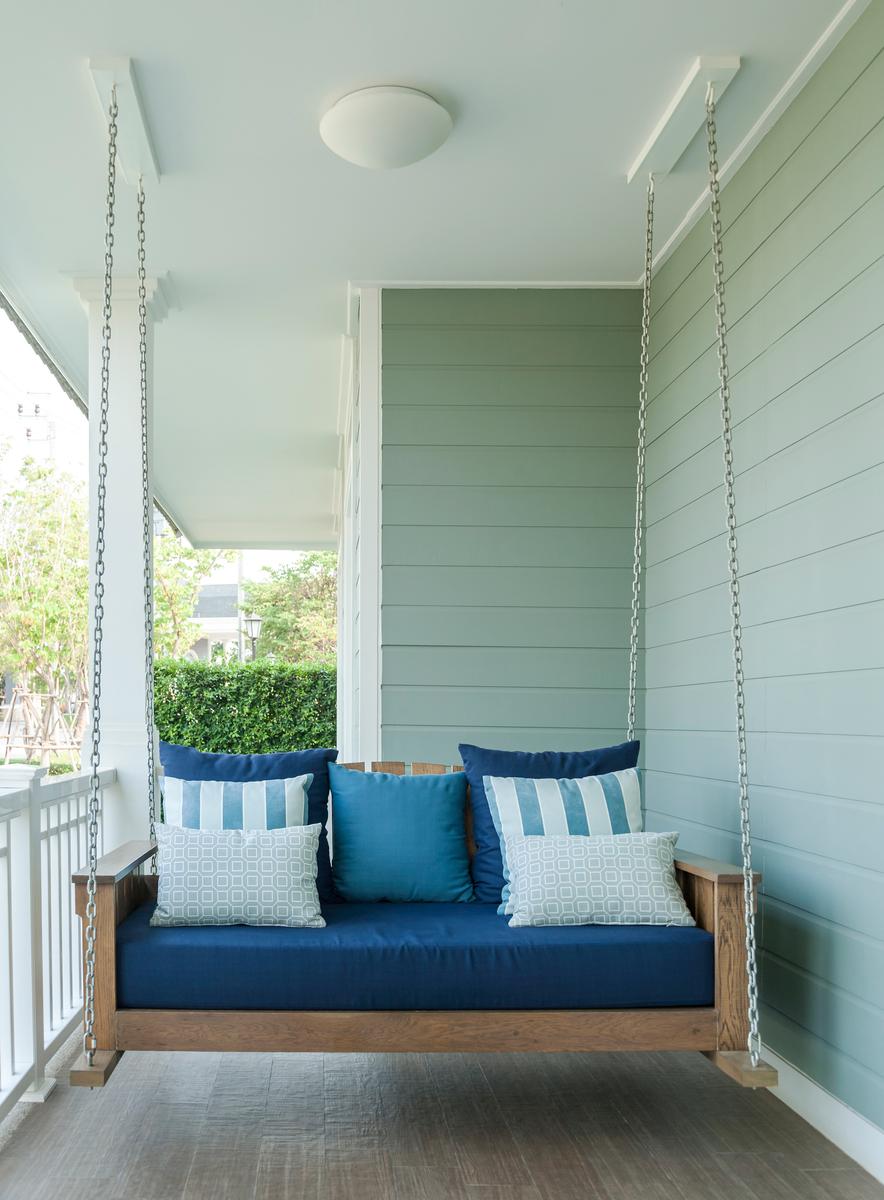
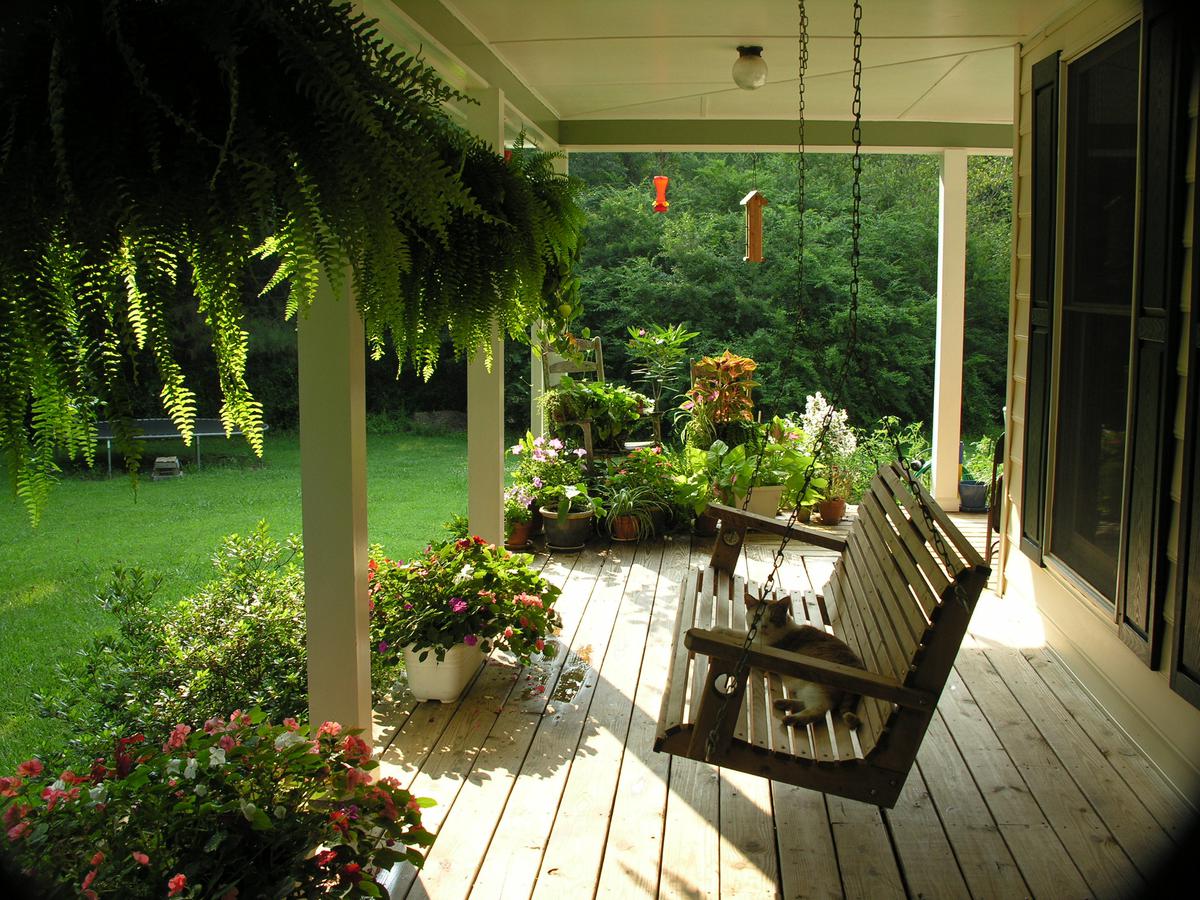
When it comes to curb appeal, there are few things as charming and inviting as a porch swing. A porch on its own can be a great exterior addition to any house, where you can spend time with your family in the fresh air, having a glass of lemonade, or enjoying a quiet read.

But throw in a daybed swing, and your standard porch comes alive with fun for the kids and anyone looking for a bit of extra comfort. One of the best parts of building a DIY porch swing is how it is a relatively easy outdoor project to do. 

The Many Reasons Why It's a Great Idea to Have a Porch Swing

The Many Reasons Why It's a Great Idea to Have a Porch Swing

Planning

Before building the wooden porch swing, you ought to plan out the various details of its placement, attachment, and dimensions. 

Step 1.

Take Measurements for Your Porch. The measurements of the porch are a very important factor in building a swing that fits well with an existing porch. Measuring out the depth of the porch will help determine the width of the swing seat. A typical daybed swing is around 4 feet wide, so ensure that your porch is deep enough to accommodate this dimension. If this is not the case, consider making a narrower seat or possibly a one-seater swing.

Step 2.

Determine the attachment locations of the swing hardware on your porch ceiling. It is advisable to have a home inspector or contractor take a look at the porch and its roofing to make sure that the frame and joists are strong enough to carry the swing load. If they are deemed to be a bit feeble, you may need a roofing contractor to strengthen the roof before installing the swing.

Cutting the Boards

Before building the swing frame and base, you should cut your boards in the various sizes you’re going to need them in later.

Building Your Own Porch Swing Is Simpler than You Think

Building Your Own Porch Swing Is Simpler than You Think

Step 3.

Cut the boards into the following dimensions for a standard 4-foot porch swing. 

  1. Two 50-inch pieces of 2x6 
  2. Two 27- to 30-inch pieces of 2x6
  3. Ten 25-inch pieces of 2x4
  4. Two 30-inch pieces of 2x4 boards for the backside rails (this will determine the height of the backrest)
  5. Three 45-inch pieces of 2x4 
  6. One 50-inch piece of 2x4 to act as the topmost piece of the backrest
  7. Two 27-inch pieces of 2x4 that will act as the armrests
  8. For the armrest’s vertical support cute two 12- to 15-inch (depending on how high you want them to be) pieces of 2x4 

The Base and Frame

The base of the porch is what the cushion will be placed on, and it will also serve as the base for all the rest of the pieces (such as the backrest and armrests). The dimensions of the base should be around 50-inches in length and around 30-inches in width.

Building the Base and Frame of Your Porch Swing

Building the Base and Frame of Your Porch Swing

Step 4.

Assembling the frame for your porch swing requires two 50-inch pieces of 2x6 boards and two 3-inch pieces of 2x6 boards. Drill the 2x6 boards using the pocket holes created by the manufacturer. Have the two 50-inch boards parallel to each other and fasten the two 30-inch boards to the sides, also parallel. 

Step 5.

Before installing the 2x4 support beams, check the space on the interior of the frame. Using a spacing calculator (you can find these online) determine the space needed for the 2x4 support beams. You can also do this by using a measuring tape or placing a wooden block between the beams for support as you drill them in.

The base is ready when the frame is sturdy and all the 2x4 support beams are attached to the 2x6 frame. 

The Backrest

Being able to lean back comfortably on your porch swing plays a big role in how often you’re going to want to use it. So make sure to be precise with the measurements and have a solid backrest.

How to Build the Backrest of Your Daybed

How to Build the Backrest of Your Daybed

Step 6.

Align the backrest’s vertical support beams by placing the two 30-inch 2x4 boards parallel to each other on a flat surface.

Step 7.

Fasten the backrest’s horizontal support beams by drilling the 50-inch 2x4 boards meant for the headrest on top of the two vertical support beams, one 45-inch board at the base of the backrest (between the two 30-inch vertical supports), and one more 45-inch 2x4 board in the middle, between the base and headrest. 

Step 8.

Drill the backrest to the base of the swing along its length. Using a tape measure and a pencil, mark the alignment of the backrest to ensure that it is installed evenly on both sides and perfectly straight on the base. You can attach hand clamps to hold the backrest in place on the base as you drill it.

The Armrests

Armrests are a very important part of any bench. as not only do they add to the comfort, but also add structural integrity to the overall structure.

Step 9.

Create the armrest using the 15-inch 2x4 piece as the vertical support beam and the 27-inch 2x4 piece as the armrest. The armrest should overlap and sit on the vertical support piece, creating what is referred to by carpenters as a “butt joint”. 

Step 10.

Attach the horizontal support beams to the armrest corner. This requires two 25-inch 2x4s, with one attached directly below the armrest and the other drilled into the base of the vertical support. These two beams act as additional structural support for the armrests.

Step 11.

Install the armrests by drilling the vertical armrest support into the 2x6 frame of the swing. Drill the ends of the armrest and horizontal support beams to the backrest’s vertical support beam. The bottom-most horizontal support of the armrest should also be drilled into the 2x6 frame. 

Do the same for the other armrest using a tape measure to ensure that the two armrests are aligned.

Step 12.

Install the final 45-inch 2x4 between the vertical armrest supports and along the length of the 2x6 frame. This will give the armrests additional support and will also act as the front side of the square frame where the cushion is going to be placed. 

Paint, Varnish, and Final Touches

Before you can hang up your daybed swing, some finishing touches are needed for the swing bench. 

The Outdoor Addition that Will Turn Up the Charm

The Outdoor Addition that Will Turn Up the Charm

Step 13.

Paint your swing bench. You can choose to harmonize and go with the same color as the rest of your wooden porch or choose a contrasting color, which can work especially nicely if your porch isn’t all wood.  Do this in the workshop or garage to avoid getting paint on your porch. The paint will dry between six to eight hours, depending on the type of paint you use. For optimal results, leave the paint to dry for a whole day or overnight.

Step 14.

Apply a final coat of varnish once the paint is dry. Wood varnish, unlike paint, will require at least a full day to dry. Leave your freshly coated porch swing in a well-ventilated but enclosed area to let it dry without having dirt and other particles stick onto its surface — which would be especially unpleasant if you decide to opt for a classic white porch swing. 

The Swing Kit

The porch swing hanging kit comes with three components: the swing hardware, rope or a galvanized chain, and eyebolts. These are the mechanisms that hold the porch swing in the air and allow it to rock back and forth without a hitch.

Step 15.

Drill the swing hardware into the porch roofing. This is a component that is going to allow for smooth swinging. Most of the swing hardware you can buy from online stores can hold up to at least 1000lbs. A heavy-duty or metal porch swing can handle even higher numbers.

Step 16.

Install the two eye bolts to either side of the swing. To do so, drill a hole through the bottom 25-inches 2x4 horizontal support of each armrest. Make sure to put a washer through the nut to keep it from damaging the wood.

Step 17.

Hang up your porch swing. Hook one side of the bench by tying the rope to one eyebolt. Run it through the swing mechanism above and tie the end of the rope to the second eyebolt on the same side of the bench. Using a double bowline knot, tie the rope to the eyebolts and ensure that they are as tight as possible.

To tie the other side of the bench ensure that the side that’s already attached is secure and hovering above the floor. Tie the porch swing rope on one side, measure out the length of the rope, then tie the other side at the length of that same measurement. This will ensure that the swing rope is the same length on both sides, keeping it from being lopsided.

Dressing Your Porch Swing Up for Style and the Weather

Dressing Your Porch Swing Up for Style and the Weather

Step 18.

Place a seating cushion and an optional backrest cushion to bring in the cozy. A few pillows and a blanket you can stow away nearby are great accessories to have as well. You can also find plenty of waterproof options for your porch swing cushions

Step 19.

Sit back and relax as you admire your work and craftsmanship. This is the last but by far the most satisfying step in the whole process. Just make sure to be gentle when you sit down for the first couple of times, as the rope knots need time to tighten completely. But after a few days, they should be sturdy enough for you to plop down as you please. 

Mistakes to Avoid

Mistakes to Avoid When Installing Your Porch Swing

Mistakes to Avoid When Installing Your Porch Swing

Ignoring the manufacturer’s predetermined pocket hole marks.

If you do not have much experience as a woodworker, it is best to follow the instructions of the manufacturer and drill the screws into your wood beams in the places marked for them. By drilling into the wrong part of the 2x4 or 2x6 planks, you risk breaking or chipping the wood.

Not organizing all your wood pieces in advance.

Organizing your planks and boards by size and stacking or piling them separately will help you avoid drilling in the wrong piece. It’s best not to have to unscrew planks if you mistakenly use a 27-inch instead of a 25-inch. For more clarity, you can also use a pencil to mark each piece according to their lengths. 

Eyeballing the measurements.

Even the most experienced carpenters and furniture makers will measure their materials several times before installation. Keep a tape measure close to measure as you work along.

Too much varnish on the wood.

Your varnish should be a layer just thick enough that it protects the wood, but thin enough so it doesn’t chip and flake.

Using indoor furniture for your outdoor cushion.

If you are using a cushion that is made for interior furniture, remember to give it a plastic airtight cover. Some people disregard how outdoor patio swings and other pieces of furniture need to be waterproof. This will only result in a very short lifespan for your cushions.

Written by
Contractors.com Team

Written by Contractors.com Team

Welcome to the Contractors.com Team, a group of passionate individuals dedicated to helping homeowners achieve their dream home through the best-in-class service providers and inspiring content.


We believe that every homeowner deserves to have a home that they love, and we're committed to making that a reality. Whether you're looking to remodel your kitchen, renovate your bathroom, or build your dream home from scratch, we've got you covered.


When it comes to creating content, we take a multi-faceted approach. We gather insider tips from experts in the home service industry, and do our own thorough research to write informative and engaging articles that are tailored to our readers' needs. At the same time, we harness the power of A.I. and GPT-3 technologies to generate titles, headlines, and even entire articles that are optimized for SEO and designed to provide value to our readers.


We're committed to providing the best possible service to our readers, and we're always looking for ways to improve. Whether you're a homeowner looking for inspiration or a service provider looking to join our network, we're here to help you achieve your goals.

comments