The Most Basic Steps of DIY Bathtub Installation

The Most Basic Steps of DIY Bathtub Installation

DIY
Bathroom Remodeling
By Alex Mikayelyan February 07, 2022

As a homeowner, you need to know your way around certain tools and maintenance tasks in order to fix the most basic malfunctions in your home. This way you don’t have to call in a professional every time there’s a small problem in your home that can be fixed with minimal DIY knowledge and few tools or equipment. However, there are some tasks that are a little more complicated, but at the same time even more rewarding than the simpler DIY projects.

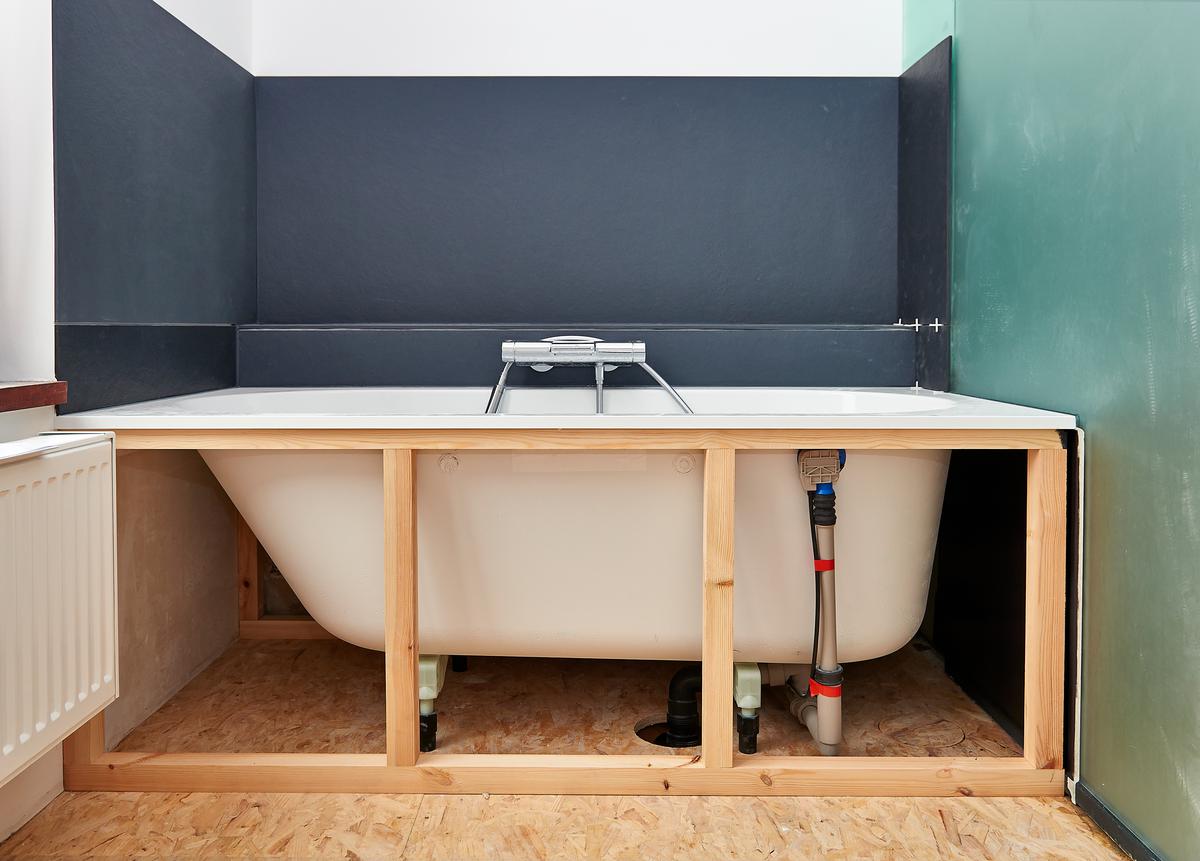
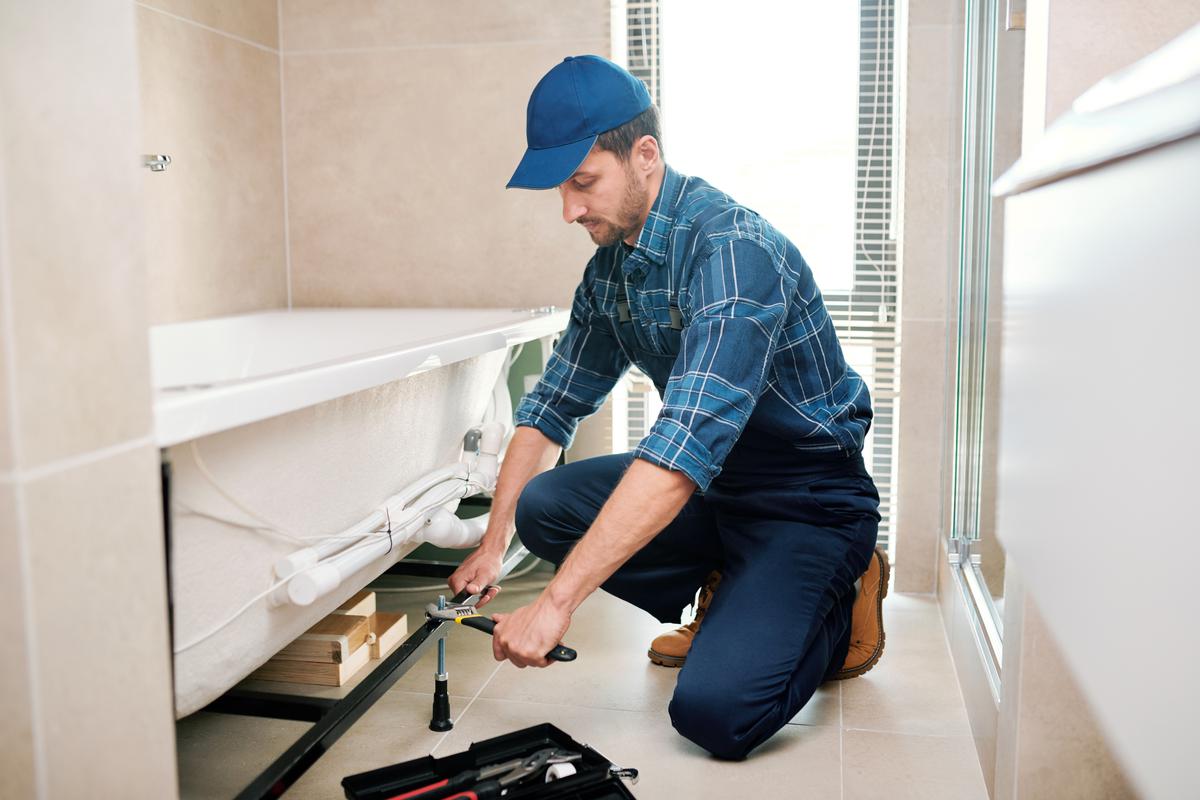
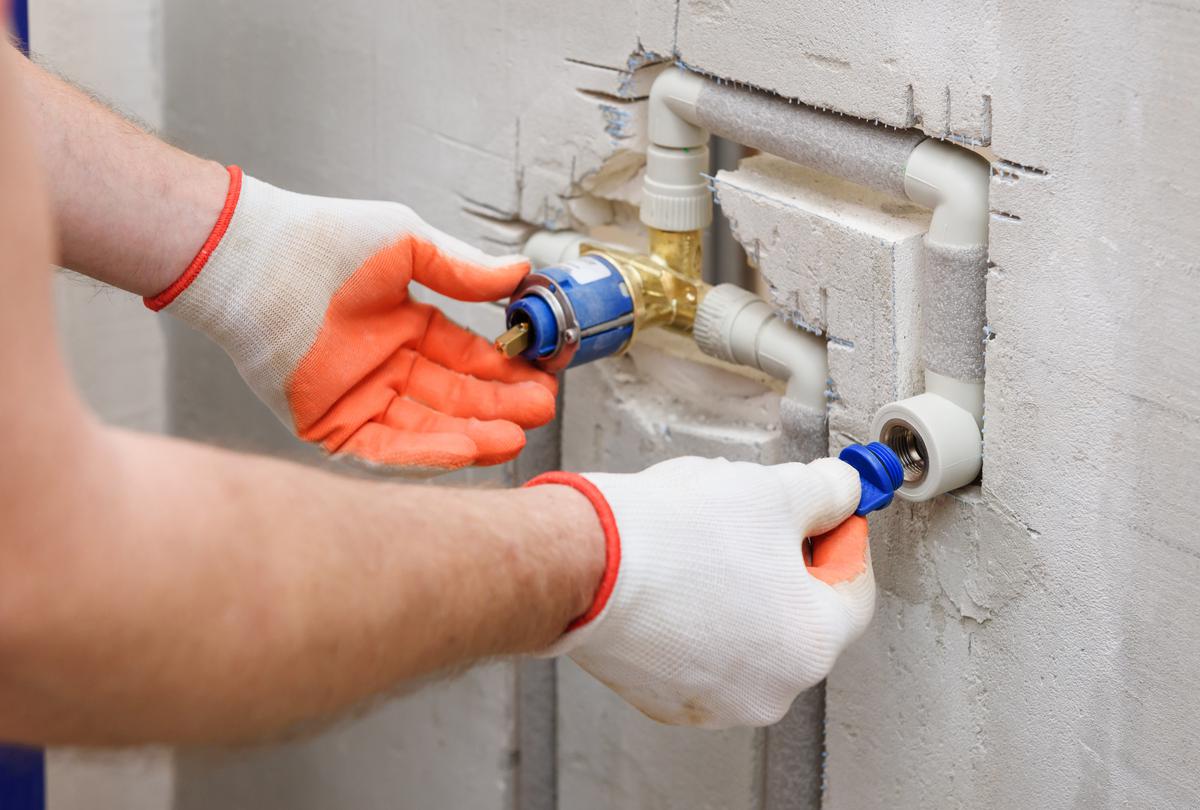
Installing your own bathtub, for example, is more complex than changing a light bulb or painting a fence. But once you learn how to install one, as well as what parts are involved and how the tub functions, you’ll be a more informed homeowner, and greater knowledge of this particular task should help you in future repairs and tweaks of your bathtub. While replacing a tub and shower does sound quite complicated at first, it is actually not as difficult as you might think.

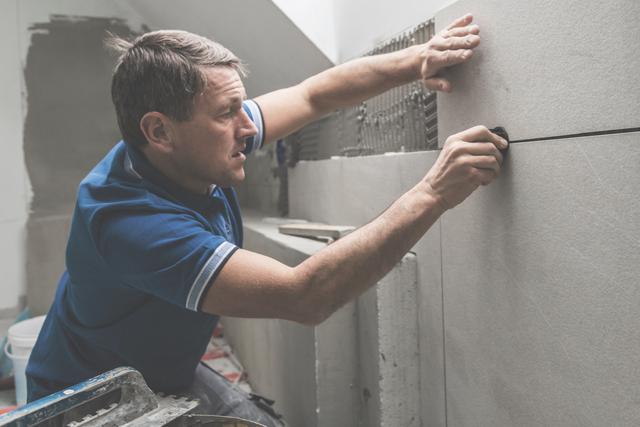
So, follow these most basic steps during your bathroom remodel and you should have no trouble updating your tub. 

1. Taking Measurements

How Measurements Are Important During Bathtub Replacement

How Measurements Are Important During Bathtub Replacement

As one would expect from any kind of DIY installation, the first step should always be to take measurements. Even if you know the measurements of your bathroom and the new tub by heart, it is always important to keep them up-to-date. Keep in mind, that houses are not as rigid as one would imagine. Over time, certain materials will shrink or expand, causing uneven or skewed surfaces.

One very common problem that many homeowners face when they replace an old tub is a slope. Over the years, it is very possible that your home may have tilted slightly due to changes in the landscape or even because of problems with the foundation. As a result, your bathroom may have developed a slope, so when you install the tub, water may end up pooling up in one end. You want your bathtub installed on a completely even floor, so make sure to check its level before proceeding.

Depending on the type of tub you have, yours may come with wooden legs that sit on the subflooring of your bathroom. If your flooring is uneven you can sew a bit of the surface to make it more leveled with the floor. Additional measurements include the area where your new tub is going to be installed. Your walls are also prone to shifting, so take accurate measurements of the area the tub is going to be installed. The measurements you may have used for the last tub you installed may no longer be accurate, so make sure to take new ones and see how much the area in your bathroom has changed. 

2. Setting Up the Subfloor and Surroundings

Getting the Floor Ready for Your New Tub

Getting the Floor Ready for Your New Tub

Tubs oftentimes stand on top of your bathroom’s subfloor, unless they are freestanding. Different homes have different kinds of subfloors, which also differ from room to room. Bathrooms usually have a plywood subfloor resting right below the tiled surface.

Before you install the tub there are a number of things you should take into account. First, there’s the faucet and drain plumbing, which are two pipes stitching out from under the subfloor and running up the wall. You may need to tighten the plumbing, though considering how these pipes are stationary, they are unlikely to have come loose. Also, if the new tub is of a different size, you may need to check if the plumbing lines up with the holes for the drain and faucet.

Finally, check the joists below the subfloor to see if they are in good condition. These are the support beams that run perpendicular to the plywood panels. As with the plumbing, they are unlikely to have come loose unless the foundation has shifted over the years, so you won’t need to worry about them 

3. Placing the Tub

Setting Up the New Tub In Its Place

Setting Up the New Tub In Its Place

Before you go about caulking the new tub in its place, it’s important to take a few more final measurements. See if the tub fits into the designated spot without leaving any big gaps between itself and the wall. These gaps may not seem like a big deal at first, since you may think that not having the tub flush against the wall may not make much of a visual difference.

However, it is crucial that your tub is flush with the walls. If any gap, even a microscopic one, is left between the tub and the wall, water is going to seep through it and the consequences will be quite unfortunate. From having water pooling up under the tub and leaking to the floor below, to the moisture causing a buildup of mold, there is a lot to worry about when water leaks uncontrollably. Hence why the tub placement needs to be impeccable, as this will minimize the gap and significantly reduce any chances of leaks damaging your bathroom.

If the new tub fits snuggly into the designated area and it sits flush against the wall, then you’re ready for the next step. 

4. Anchoring the Tub

How to Anchor Your Bathtub

How to Anchor Your Bathtub

Before you do any fastening, it is important to take into account how the apron of the tub lines up with the tiles. The apron is the side of the tub that is facing outwards which acts as the cover for the underside. Ideally, it should line up perfectly with the tiles and completely cover up the subflooring. It’s better to have more subfloor visible than tile in this case, as you can always fill in the empty area with extra bits of tile. However, if you have taken the measurements of your old and new tub into account and found a model that is relatively the same size, this should not be much of a hassle.

Anchoring the tub is done using the studs on the sides of the tub. These are manufactured into the tub itself and you simply have to follow the instructions on how to fasten the tub into place. Replace the tub caulk in the little gap between the rub and the wall with 100% silicon. If the new tub is of a similar model as the old one, then you shouldn’t need to drill any new holes into the walls to fasten the tub into place.

5. Connecting the Plumbing

What Plumbing You’ll Need to Take Care of During a Bathtub Replacement

What Plumbing You’ll Need to Take Care of During a Bathtub Replacement

Once the tub is fastened into place, you need to access your plumber’s maintenance hatch in order to connect the plumbing. The access hatch is a little panel that is either located in the adjacent room or in the apron of the bathtub itself. Opening it should give you a better understanding of what piping you’re working with and visualize the plumbing of your tub.

The two pipes you need to hook up are the overflow and the drain. The drain sits at the bottom of the tub and should be jutting out the subfloor. The overflow is vertically aligned with the tub and connects at the top. For both of these, you want to spread a little silicon on the bottom of their screw-on covers. Then, once the tub is aligned with each respective pipe opening, screw in the covers and this should tighten the piping into place. Give them a little tug to see if they’re in place and if they are not rattling around, then they are most likely tight in their positions.

AM

Written by
Alex Mikayelyan

Written by Alex Mikayelyan

None

comments