How to Test Low-Voltage Wiring: A Clear Guide

How to Test Low-Voltage Wiring: A Clear Guide

Electrical
By Contractors.com Team December 19, 2023

Testing low-voltage wiring is an essential part of maintaining a safe and functional electrical system in your home or workplace. Whether you're troubleshooting a problem or checking the wiring before starting a new project, knowing how to test the wiring is a valuable skill that can save you time and money in the long run.

To test low-voltage wiring, you'll need a multimeter, a device that can measure voltage, current, resistance, and continuity in electrical circuits. Before you start, make sure to turn off the power to the circuit you'll be testing and verify that the voltage is indeed low enough to be tested with your multimeter. Once you've taken these safety precautions, you can proceed with testing the wiring.

You can perform several tests to check the integrity of your wiring, including testing for voltage, continuity, and insulation resistance. By learning how to perform these tests, you can quickly identify any issues with your wiring and take steps to address them before they become more serious problems.

Test low-voltage wiring, ensuring both safety and efficiency in your electrical work.

Test low-voltage wiring, ensuring both safety and efficiency in your electrical work.

Understanding Low Voltage Wiring

Low voltage wiring is a type of electrical wiring that is commonly used in residential and commercial buildings to control lighting, heating, and other systems. Unlike high voltage wiring, which carries large amounts of electrical current, low voltage wiring carries a smaller amount of current, typically 30 volts or less. This makes it safer to work with and less likely to cause electrical shock or fire.

Safety Precautions

When working with low-voltage wiring, it is important to take certain safety precautions to avoid injury or damage to equipment. Here are some safety tips to keep in mind:

  • Always turn off the power before working on the wiring. Even though low-voltage wiring carries less current, it can still be dangerous if not handled properly.
  • Wear gloves and safety glasses to protect yourself from electrical shock and debris.
  • Use a voltage tester to check for live wires before touching them.
  • Avoid working in wet or damp conditions, as this can increase the risk of electrical shock.

Tools Required

To test low-voltage wiring, you will need a few basic tools. Here are some of the tools you may need:

  • Multimeter: A multimeter is a device that measures voltage, current, and resistance. It is used to test the voltage and continuity of low-voltage wiring.
  • Voltage Tester: A voltage tester is a device that detects the presence of voltage in an electrical circuit. It is used to check if a wire is live or not.
  • Wire Strippers: Wire strippers are used to remove the insulation from the ends of wires so that they can be connected to other wires or devices.
  • Screwdrivers: Screwdrivers are used to remove screws from electrical devices and to tighten them back in place.

Testing Procedures

Testing low-voltage wiring is an essential task that should be performed regularly to ensure the safety and reliability of electrical systems. In this section, we will discuss the three main testing procedures that you should follow when testing the wiring: Visual Inspection, Continuity Testing, and Voltage Measurement.

Meticulously follow wiring testing procedures, guaranteeing the reliability and safety of electrical systems.

Meticulously follow wiring testing procedures, guaranteeing the reliability and safety of electrical systems.

Visual Inspection

The first step in testing low-voltage wiring is to perform a visual inspection. During this inspection, you should look for physical damage to the wires, such as cuts, abrasions, or other signs of wear and tear. You should also check for signs of overheating, such as discoloration or melted insulation.

To perform a visual inspection, you should follow these steps:

  1. Turn off the power to the circuit that you will be testing.
  2. Inspect the wires and connections for any signs of physical damage or overheating.
  3. Check the wire routing to ensure the wires are properly secured and not in contact with sharp edges or moving parts.
  4. Record any observations on a test sheet.

Continuity Testing

Continuity testing is used to check the integrity of the wiring by verifying that there is a complete path for electrical current to flow. To perform a continuity test, you will need a multimeter.

To perform a continuity test, you should follow these steps:

  1. Turn off the power to the circuit that you will be testing.
  2. Set the multimeter to the continuity mode.
  3. Touch one probe of the multimeter to one end of the wire and the other probe to the other.
  4. If the multimeter beeps or shows a reading of zero ohms, then the wire has continuity. If there is no beep or a reading of infinite ohms, then the wire is broken or has a poor connection.

Voltage Measurement

Voltage measurement is used to verify that the voltage levels in the circuit are within the appropriate range. To perform a voltage measurement, you will need a multimeter.

  1. Turn on the power to the circuit that you will be testing.
  2. Set the multimeter to the voltage mode.
  3. Touch one probe of the multimeter to the positive terminal of the voltage source and touch the other probe to the negative terminal of the voltage source.
  4. Read the voltage measurement on the multimeter. If the voltage is within the appropriate range, the circuit functions properly. If the voltage is outside the appropriate range, the circuit may have a problem.

By following these testing procedures, you can ensure that your low-voltage wiring is safe and reliable. Remember always to turn off the power before testing and to record your observations on a test sheet for future reference.

Troubleshooting Common Issues

Learn how to troubleshoot common wiring issues, enhancing your skills and ensuring the safety of your home.

Learn how to troubleshoot common wiring issues, enhancing your skills and ensuring the safety of your home.

Identifying Faults

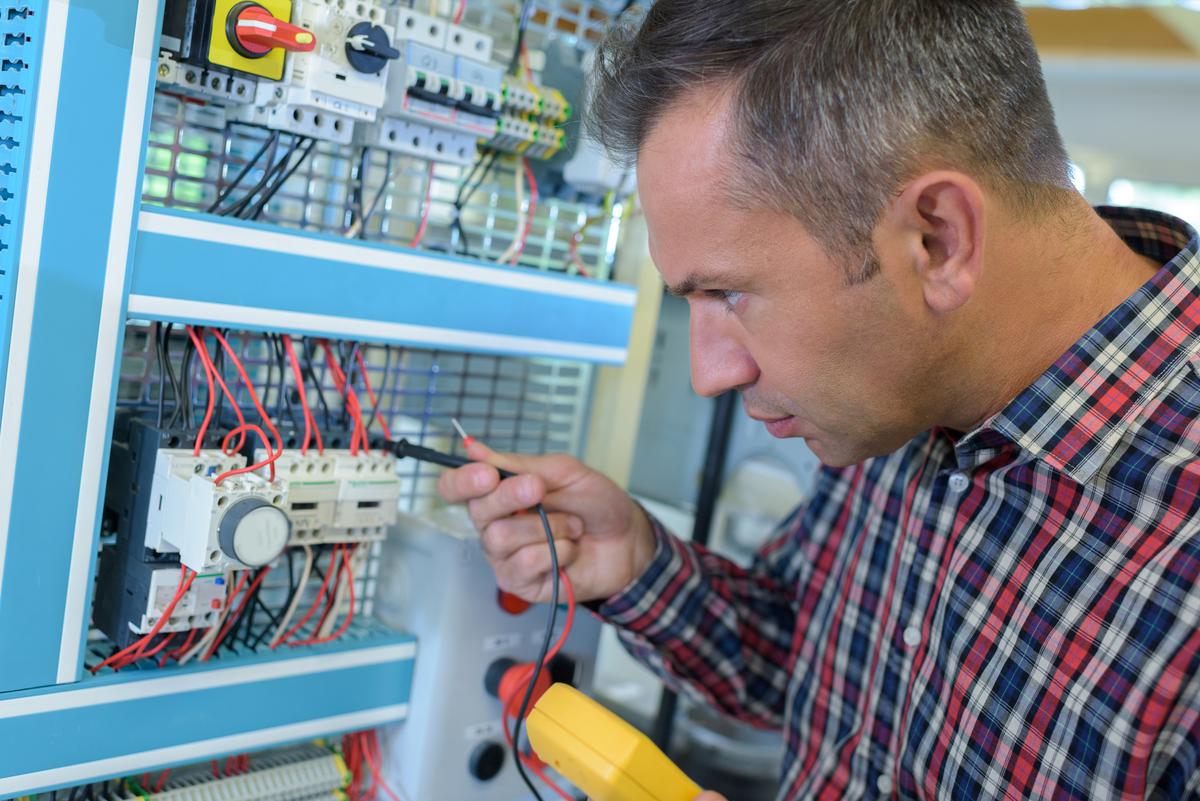
When testing low-voltage wiring, it is important first to identify any faults that may be present. One common issue is a short circuit, which occurs when a wire carrying current comes into contact with another wire or a conductive surface. This can cause a blown fuse or a tripped breaker. Another common issue is a loose or corroded connection, which can cause intermittent or complete loss of power.

To identify faults, use a multimeter to test for continuity between each wire and ground. If there is continuity, this indicates a short circuit. If there is no continuity but a low-voltage reading, this may indicate a loose or corroded connection. Check all connections and wires for signs of damage or corrosion, and repair or replace them as necessary.

Repairing Connections

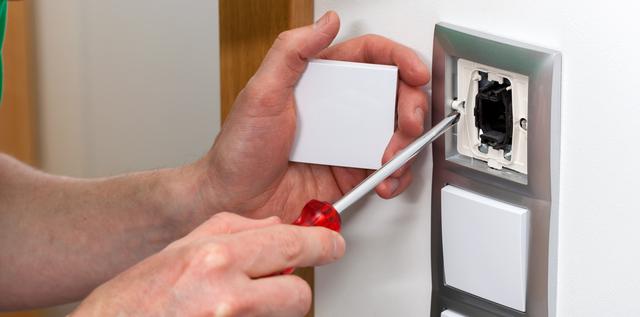
If a loose or corroded connection is identified, it is important to repair it as soon as possible to prevent further damage or loss of power. Begin by turning off power to the affected circuit and removing any damaged or corroded wires or connections.

Clean any corrosion from the affected area using a wire brush or sandpaper, and apply a small amount of electrical contact cleaner to the area. Replace any damaged wires or connections with new ones, making sure to tighten all screws and connections securely.

After repairing the connection, test the circuit again using a multimeter to ensure that the voltage reading is within the expected range. If the voltage reading is still low or there is no continuity, continue to troubleshoot the circuit until the issue is resolved.

Best Practices for Maintenance

Maintaining low-voltage wiring is essential to ensure its proper functioning. Here are some best practices for maintenance that you should follow.

1. Regular Inspection

It is important to inspect low-voltage wiring regularly for any physical damage, such as cuts, abrasions, or exposed wires. You should also check for any signs of overheating or discoloration, which could indicate a problem. Inspect the wiring thoroughly and look for any signs of wear and tear.

2. Keep Wiring Clean

Dirt and dust can accumulate on the wires over time, which can cause them to malfunction. To prevent this, keep the wiring clean by wiping it down with a dry cloth regularly. Avoid using water or any other liquid to clean the wiring, as this could cause damage.
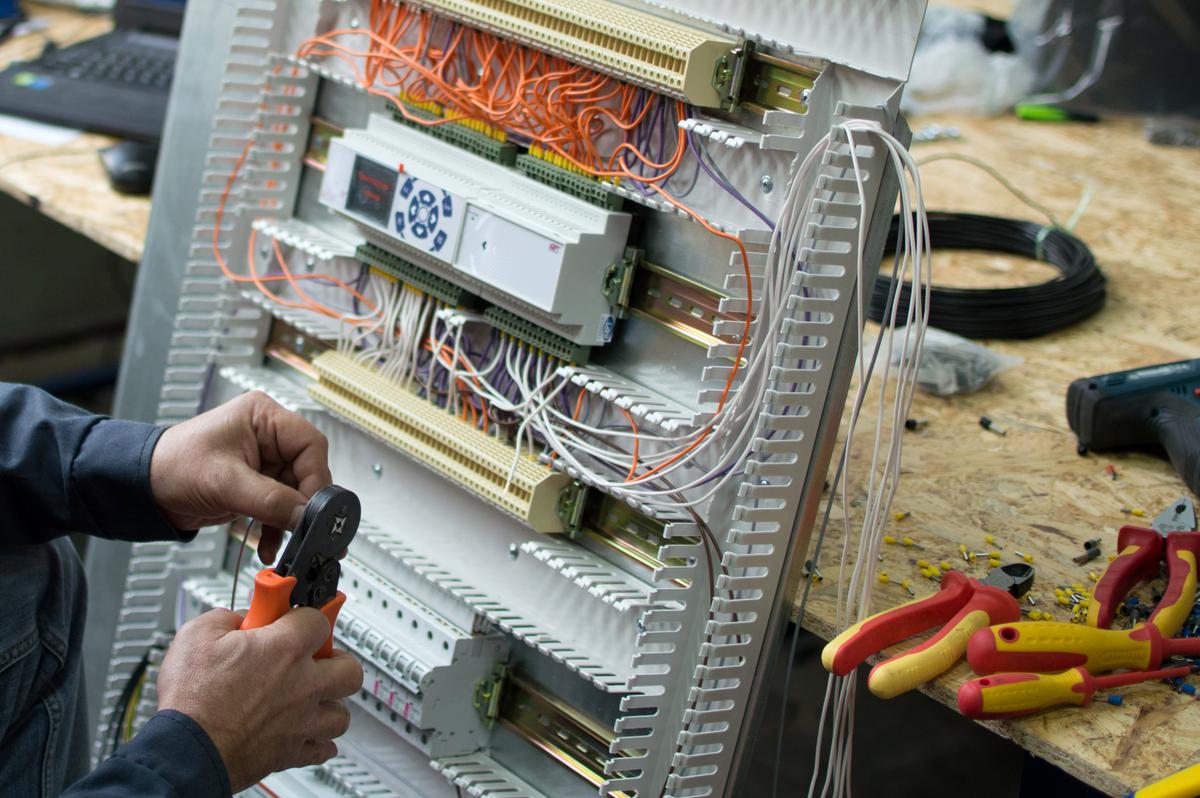
3. Use Proper Tools

Always use the right tools when working with low-voltage wiring. This includes wire strippers, crimpers, and cutters. Using the wrong tools can damage the wiring, which can lead to malfunctions or even electrical fires.

4. Follow Safety Procedures

When working with low-voltage wiring, always follow safety procedures to prevent accidents. This includes wearing protective gear, such as gloves and safety glasses. Ensure the power is turned off before working on the wiring, and never touch it with wet hands.

By following these best practices for maintenance, you can ensure that your low-voltage wiring functions properly and safely.

Written by
Contractors.com Team

Written by Contractors.com Team

Welcome to the Contractors.com Team, a group of passionate individuals dedicated to helping homeowners achieve their dream home through the best-in-class service providers and inspiring content.


We believe that every homeowner deserves to have a home that they love, and we're committed to making that a reality. Whether you're looking to remodel your kitchen, renovate your bathroom, or build your dream home from scratch, we've got you covered.


When it comes to creating content, we take a multi-faceted approach. We gather insider tips from experts in the home service industry, and do our own thorough research to write informative and engaging articles that are tailored to our readers' needs. At the same time, we harness the power of A.I. and GPT-3 technologies to generate titles, headlines, and even entire articles that are optimized for SEO and designed to provide value to our readers.


We're committed to providing the best possible service to our readers, and we're always looking for ways to improve. Whether you're a homeowner looking for inspiration or a service provider looking to join our network, we're here to help you achieve your goals.

comments