Swimming Pools
Tile Work
By
Dikran Seferian
June 10, 2022
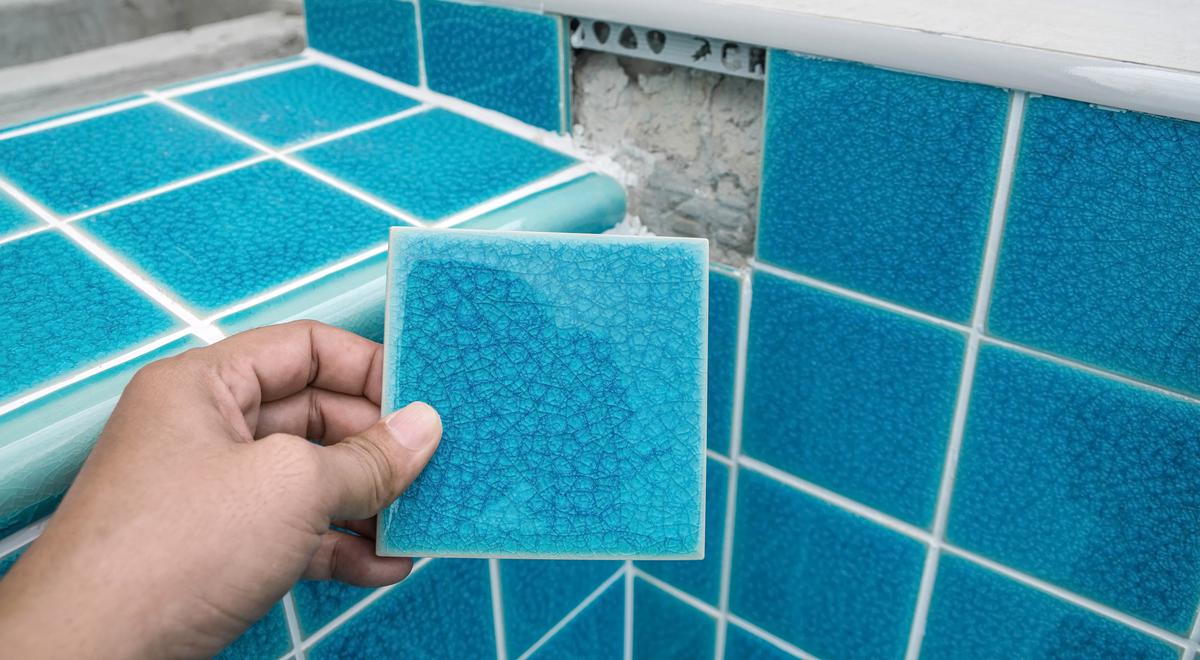
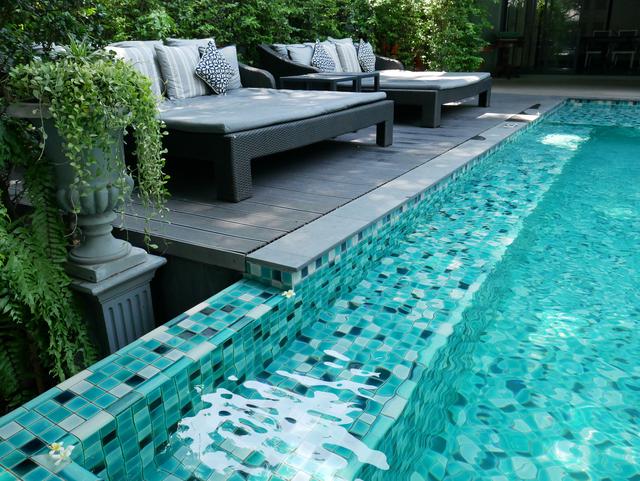
There’s no denying that having a backyard swimming pool is quite the privilege. Unless you live in a compound, however, maintaining the pool is most likely your responsibility. Of course, you can always hire the services of a professional, but certain outdoor summer maintenance tasks are easy enough to DIY. These can involve simple cleanups as well as minor repairs. One example of a repair that you should be able to handle yourself is pool tile replacement. It’s not uncommon for swimming pool tiles to come loose from the wall after a while, especially in the case of faulty installation.
Pool tile and coping replacement is a more or less common part of swimming pool maintenance, albeit not a regular one. Neglecting to fix a broken tile — or not fixing it properly — can lead to water damage or even pose a safety hazard. Fortunately, the reparation process is fairly straightforward and can be broken down into a few simple steps.
Prepping the Area
The first step in swimming pool tile repair is to prepare the area you’ll be working on. Whether or not you may need to drain the pool essentially depends on the location of the tile. Bear in mind that freshly applied grout shouldn’t come into contact with water until it fully dries. When in doubt, consider draining your pool — or at least just enough that the affected spot doesn’t get wet during the pool tile grout repair. You may also want to turn off the electrical system of your pool before you carry on with the process.
It can also be a good idea to determine the cause of the issue in order to prevent it from happening again. For instance, most cases that usually lead to a tile falling off are due to the wrong type of grout or thinset being used in the first place. Grout that’s not meant for swimming pool tiling will absorb moisture over time, eventually causing the tile to come loose. If you notice that the old grout is soft to the touch, then it’s most likely the unsuitable type that was initially used.
To prepare the area for tile repair, scrape away any remaining grout using a hammer and a chisel until the surface is flat and clean. The backside of the loose tile will normally have a bit of grout which you'll also need to get rid of. However, avoid using your hammer for this part as it can damage the tile. A scraper should instead do just fine. If the tile is chipped, however, then it’s best to replace it with a new one. This is why it’s always a good idea to buy a few extra tiles in the first place.
If the tile is partially chipped but hasn’t fallen off the wall, you’ll need to remove it using your hammer and a flathead screwdriver. Simply position the screwdriver along the grout line of the damaged tile and hammer your way around it. Then, use your chisel and the hammer to break what’s left of the tile from the top down.

Make sure to flatten the surface underneath the pool tile.
Mixing the Thinset
Once you’ve flattened out and cleaned the affected area, you can move on to preparing the thinset by mixing mortar with water. Make sure the consistency of the tile adhesive is thin enough that you can spread it onto the surface but thick enough not to drip down — think peanut butter. Using the drill with the mixer bit, combine the mortar with just enough water in a bucket. It’s best to start with a small amount of water and add more until the mixture is consistent enough. Bear in mind the amount of time it takes for your mortar to dry. This should normally be indicated on the bag. For instance, if the bag says two hours and you have over 20 tiles to repair, consider mixing small amounts at a time.
Applying the Thinset
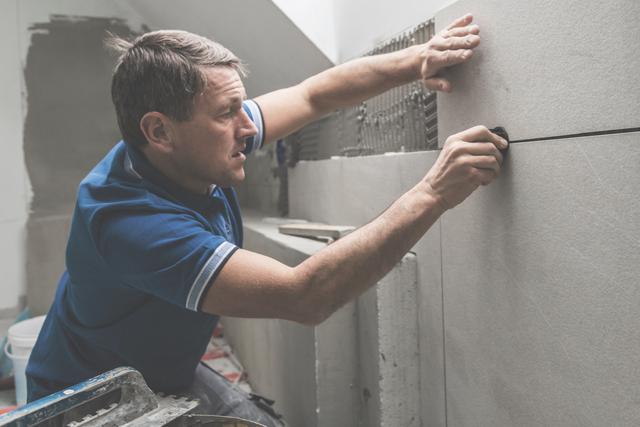
Now that the thinset is ready, you can apply it to the surface you prepared earlier. Simply use a scraper or a flat trowel to spread the mixture on the area and on the backside of the tiles. However, this only creates a flat layer of thinset which isn’t recommended as it makes the application rather weak — which brings us to the next step of ceramic tile replacement. What you’ll want to do is run the notched trowel along with the thinset layer, forming rows and gaps that not only allow the material to air and dry, but also allow the tiles to adhere properly; the same goes for the backside of the tiles.
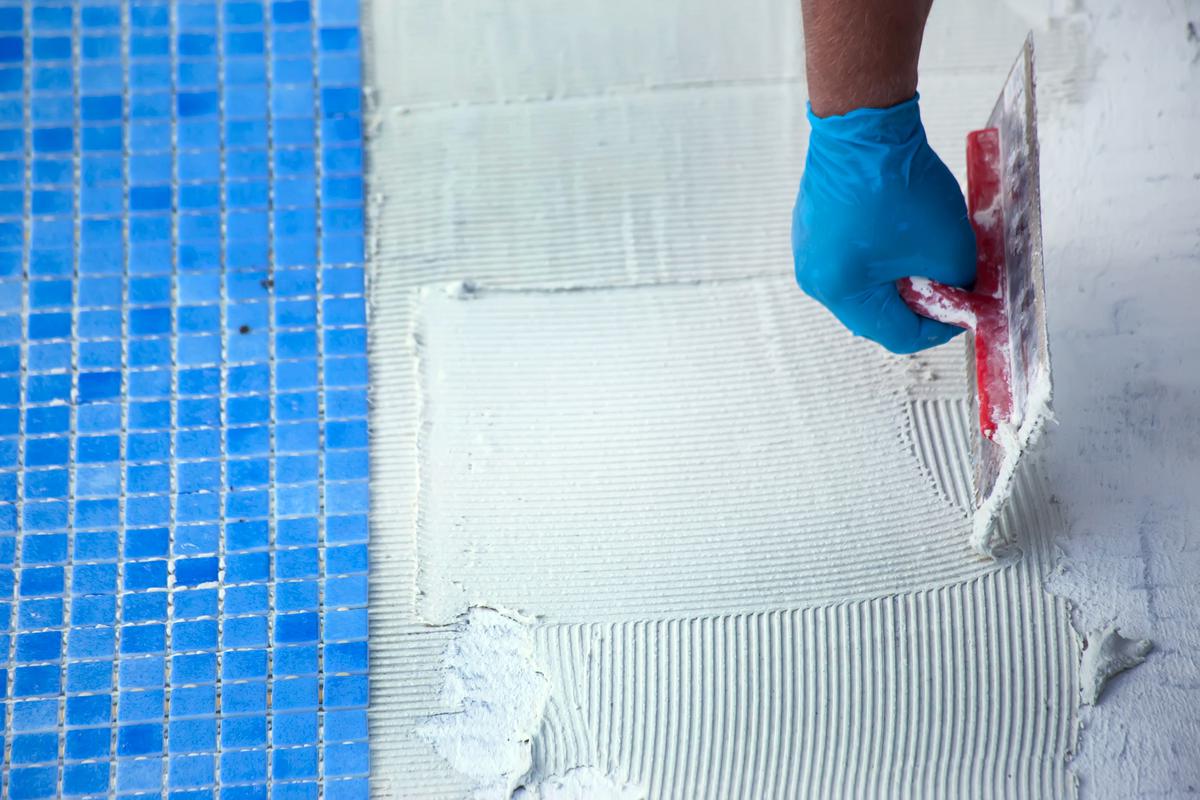
Use a notched trowel to form rows along the thinset.
Placing the New Tile
Immediately after applying the mortar, position the new tiles and gently yet firmly press them into place. Consider placing spacers in between the tiles to prevent them from shifting around. Once the thinset has dried and the tiles are sturdy, you should be able to remove the spacers. Next, use a slightly damp sponge to wipe any mortar smudges off the tiles and to remove any thinset that’s squeezed out from the edges. Make sure the newly placed tiles are evenly lined with the rest before moving on to the next step. You may also want to check on the tiles every 10 to 20 minutes for the first three to four hours to ensure that they’re not sliding down.
Mixing the Grout
Use the drill with the mixer bit to combine powder-based sanded grout with water in the bucket. The process is similar to that of mixing the thinset; the only difference is with the timing. Add enough powder and water and mix them in for at least five minutes. Let the mixture sit for ten minutes afterward before mixing it again until you get the right consistency — thick enough but not too dry.
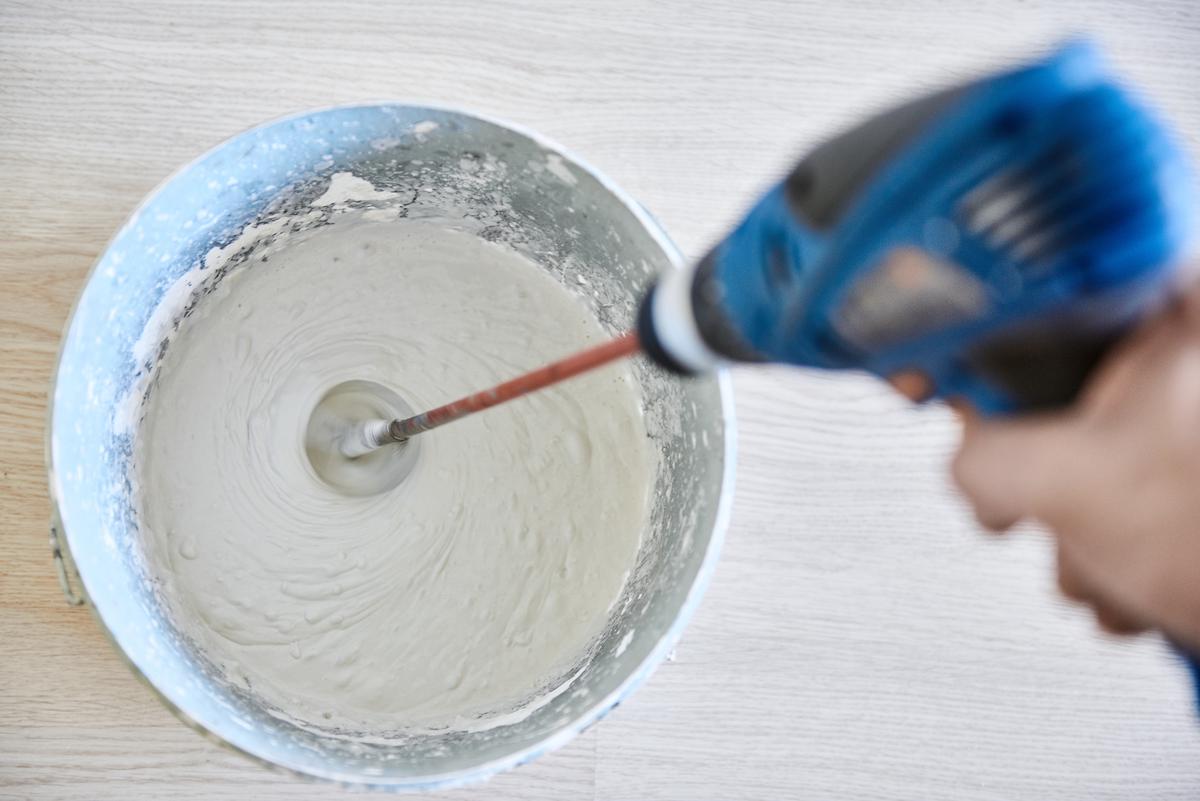
Preparing swimming pool tile grout requires your attention to achieve a perfect consistency.
Grouting the Tile
The next step in loose or cracked tile repair involves applying the grout in between the new tiles with a flat trowel or a scraper and letting it dry for at least 10 minutes. Make sure to apply enough grout so that it not only seals the gaps in between the tiles but only goes all the way in. It’s normal for the surface of the tile to look messy at this point. Once the grout has dried, you can use a damp sponge to wipe the tiles clean. After 20 minutes or so, wipe the surface again with a wet cloth to remove any residue left from the grout. Finish off by polishing the tiles the next day using a stiff brush.
How to Prevent Swimming Pool Tiles from Breaking
Constant exposure to heat and moisture will eventually take its toll on swimming pool tiles — mainly due to the mortar expanding and contracting. Draining your swimming pool exposes the tiles to direct sunlight, causing them to dry up and become prone to cracking. This also happens when water levels decrease as a result of evaporation, leaving the upper tiles exposed. Another reason is that the urethane bead and coping naturally wear out over time, causing the pool water to seep in. This results in pool tiles becoming delaminated, eventually loosening or cracking. Other common causes include faulty installation and using improper or low-quality materials.
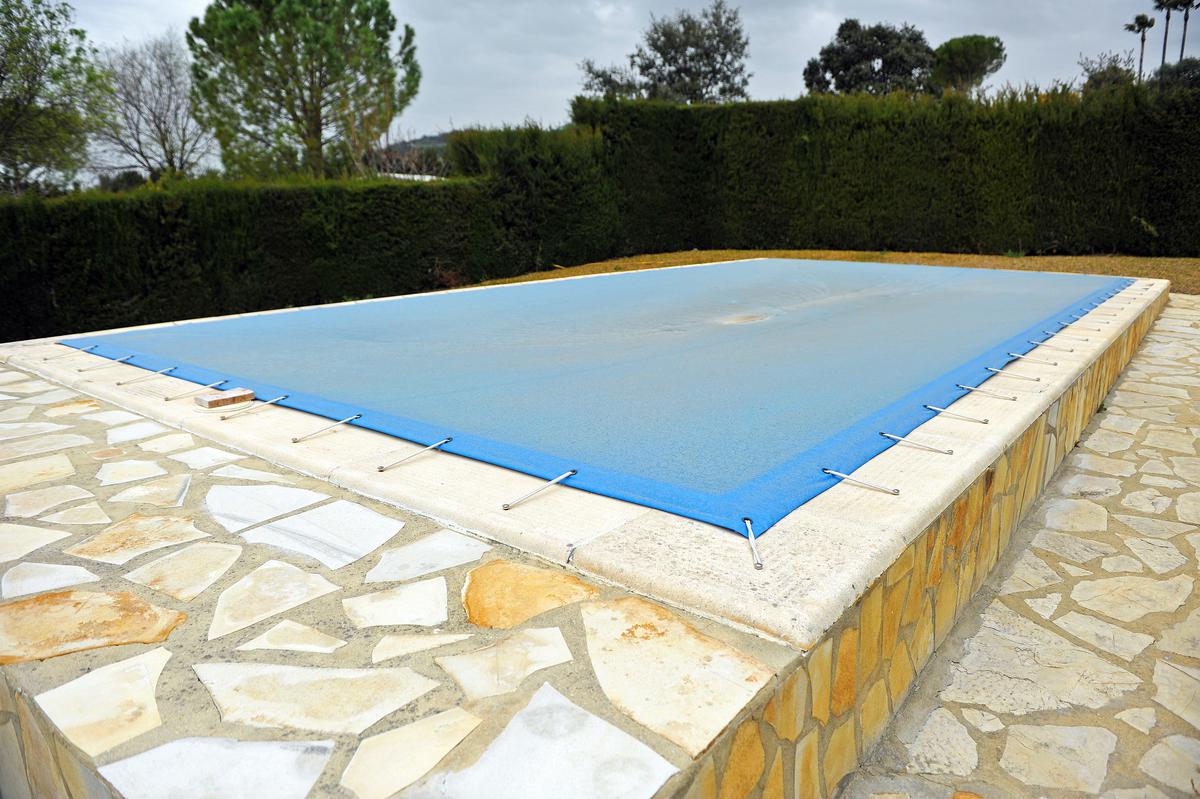
Covering your swimming pool with a tarp protects the tiles from sunlight.
To prevent your swimming pool tiles from cracking or coming loose, make sure to never leave the water levels low for long periods of time. The last thing you want is to have to deal with replacing pool tile and coping more frequently than necessary. Should you have to drain the pool, consider covering it with a tarp to protect the tiles from heat. It’s also a good idea to initially use high-quality materials and to have the tiles installed properly. Bear in mind that building a swimming pool is a long-term investment, so it only makes sense to go for the best materials and to hire the most skilled professional tilers in the first place.

comments