How to Insulate Your Garage Walls All By Yourself

How to Insulate Your Garage Walls All By Yourself

Insulation
Small Projects and Repairs
By Alex Mikayelyan November 24, 2021

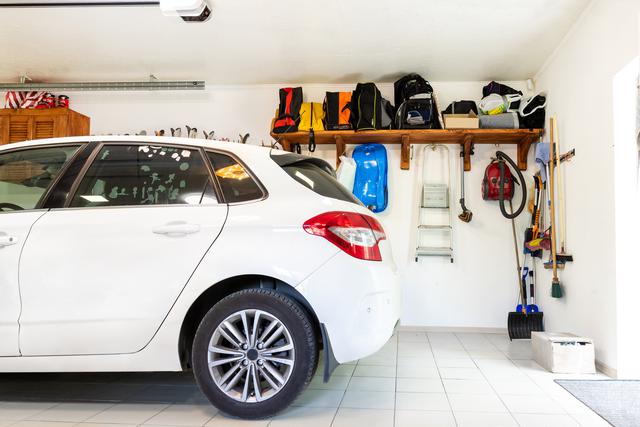
If you use your garage for more than just parking your car or storing old toys in, then it’s probably a bigger part of your life than you think. So, if you regularly find yourself spending time in the garage, whether because it also acts as your office, workshop, studio, or even as a general living space, you need to keep it liveable.

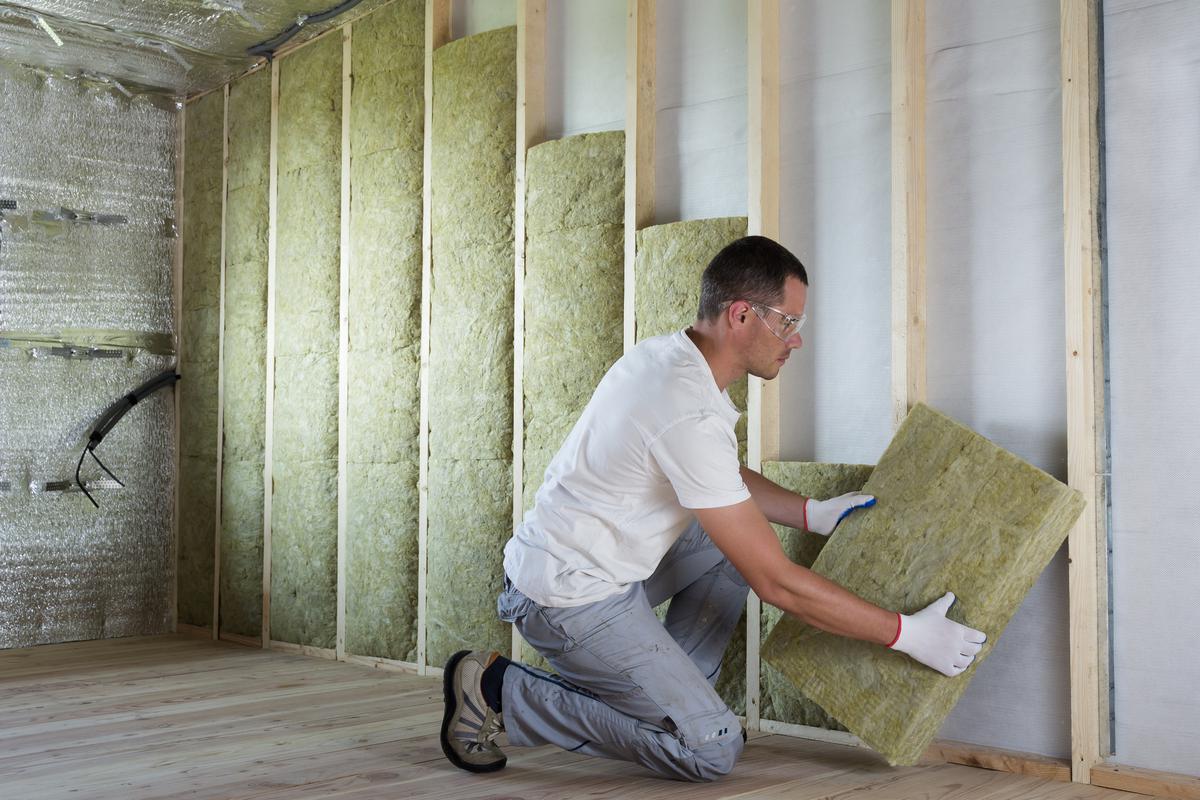
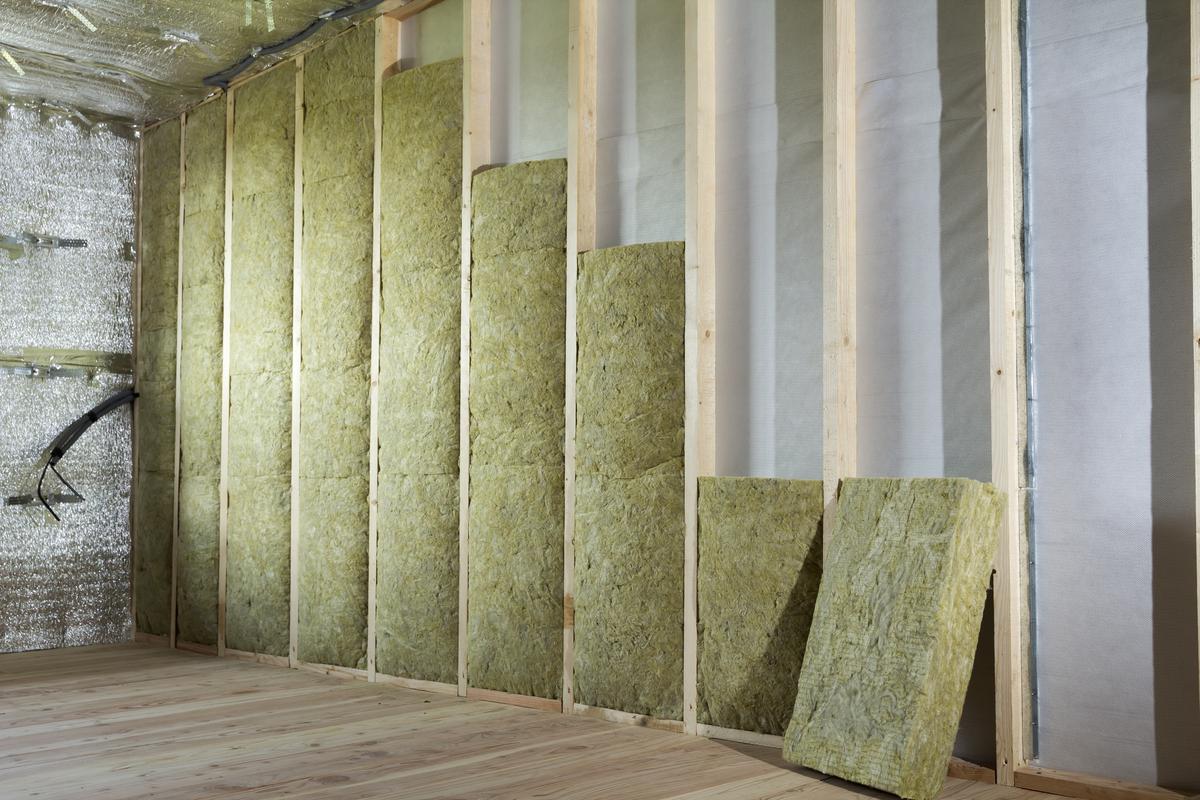
A cold space or one that does not match your temperature preferences at all is the antithesis of liveable spaces. Temperature is comfort, so if it is too hot or cold in your garage, spending time there is going to be quite a challenge. Fortunately, there are ways around this problem and you can make your garage more liveable by making a few additions to the interior — this addition being to insulate the space and to make it more heat retentive. Garage conversion wall insulation to turn the space into something more liveable is actually much easier than most people believe and a good place to start is to understand what insulation is and what it does.

Before Insulation

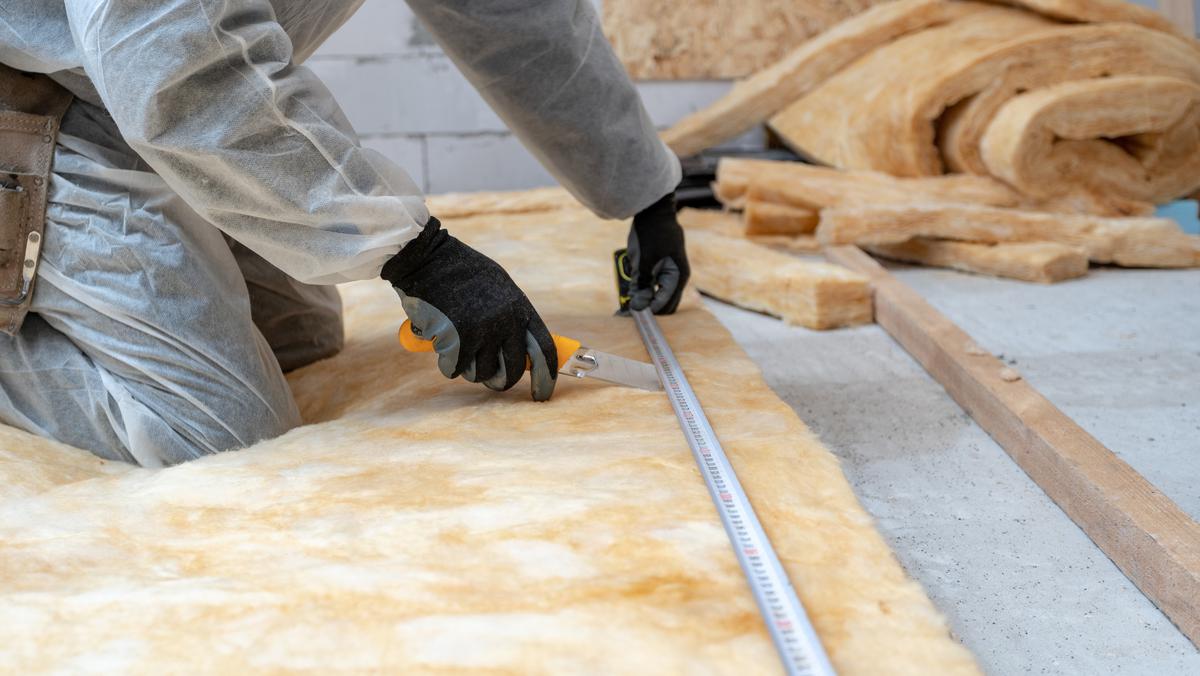
Before making any floor plans for insulation, there are certain factors you need to consider as this will determine how effective your insulation project is going to be. There are more reasons as to why your garage does not retain heat and gets cold. Keep in mind that insulation does not warm up the interior — it keeps it warm. So if your garage is cold by nature, insulation isn’t going to do much in the way of warming it up to liveable temperatures.

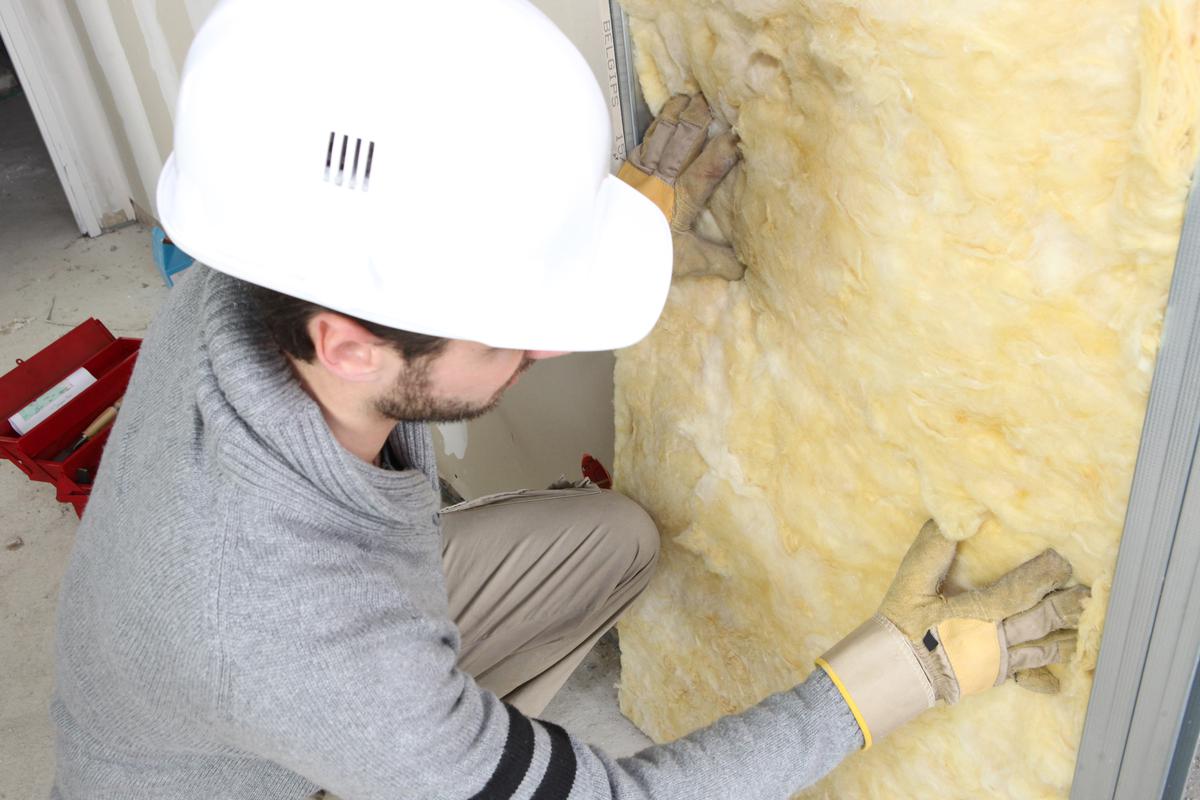
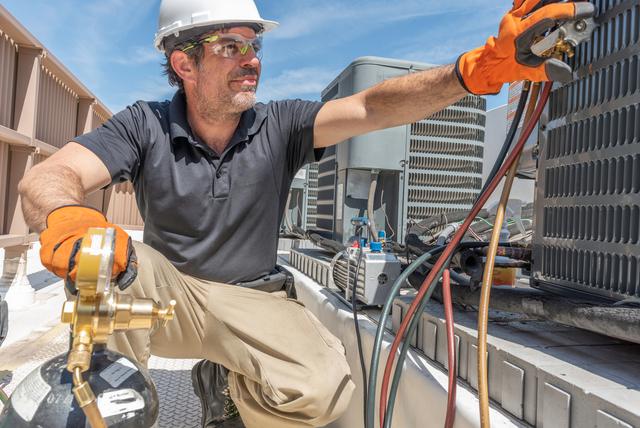
There are a lot of reasons why your garage gets very cold. It could be a result of many air leaks in the walls, roof, and garage door that allow heat to escape. Another reason why your garage does not stay warm may also be because the HVAC system is not working properly or is not connected to your garage.

You can hire a home inspector to come in and check your garage for any of these issues before installing the insulation. Even with high-quality insulation installed, if these problems persist, the garage would still have problems staying warm. So, if you want your garage wall insulation to successfully retain warmth throughout the room, check for any of these issues before installing it. 

What Insulation Type to Use

Which Insulation Type Is Right for You

Which Insulation Type Is Right for You

There are many types of insulation to choose from, each one with a different installation method and with various degrees of heat retention, which is measured with the R-value. The higher the R-value, the more heat retentive the material is, thus it is better at keeping the internal temperature stable, be this in the winters or the summers. This is another reason to speak with a home inspector or insulation specialist as they can calculate the recommended R-value for the garage walls and give you tips on which type would suit your needs.

Fiberglass 

The Benefits of Using Fiberglass Insulation

The Benefits of Using Fiberglass Insulation

One of the most common types of insulation used for the garage is fiberglass. As its name implies, fiberglass involves spinning glass fibers into a soft and cushiony material that can be installed onto walls and act as an insulator. The complicated network of glass fibers allows for heat retention of around 3 to 4 R-value.

These come in rolls or bags that make it super easy to install the insulation and fasten it to the studs, which are the vertical framing beams of your walls. Depending on when the garage was built, it will either have 2x4 stud beams or 2x6 ones, with the latter being more common in newer structures. The advantage of having 2x6 stud beams is that you have the option of installing thicker insulation that has a higher R-value. So check to see the stud beams in your garage and purchase the kind of insulation that will fit snugly between them and won’t overlap.

Spray Insulation

Why Leaving Spray Insulation to the Pros Is a Good Idea

Why Leaving Spray Insulation to the Pros Is a Good Idea

Spray insulation is installed using specialized equipment which you can purchase at your local Kohls or Menards. However, spray insulation is a little more tricky to install as you really need to know how to operate the equipment and know-how much insulation to install in specific areas. Not to mention how you would need to take apart the walls yourself before you can apply the spray insulation.

This is why it’s a better idea to call for insulation services if you are looking to have your garage spray insulated. They know how to operate all the equipment, as well as know all the ins and outs of how to install spray foam effectively. There is no reason why you should purchase spray insulation equipment just to use it once. Getting hold of spray foam insulation contractors is a much more cost-effective and easier alternative. 

Polystyrene Insulation

Why You Should Try Polystyrene Insulation

Why You Should Try Polystyrene Insulation

Polystyrene is another great option for garage insulation. Installed on the outside of exterior walls, polystyrene is known for its amazing noise insulation as well as heat retention. Thanks to the tiny air bubbles formed on the inside of the material, it can drown out a lot of outside noise, which is incredibly important if you’re looking to turn your garage into a liveable space. Unlike your home, which has plenty of interior walls as well as outside ones, your garage is one open space. So, any outside noise is going to echo through the whole garage, which makes polystyrene an even more preferable option.

The downside of polystyrene is that it can get quite expensive, especially when you have to apply a fire-resistant coating to it since the material is quite flammable. Additionally, pests can burrow through the material and make their way in as the material is not potent at keeping them out. And since polystyrene sheets are very rigid, they do not bend and mold around piping and other utility features. This means you’ll have to cut through them yourself if you want them to fit between the stud beams. 

How to Install Insulation In Walls of Garage

The Steps to Installing Fiberglass Garage Insulation

The Steps to Installing Fiberglass Garage Insulation

Insulating your garage walls is actually easier than most people think. If you are looking to install fiberglass insulation, you most likely have all the tools and equipment you’ll need for the project. The cost to insulate and drywall the garage will range from $3,500 to $8,500, with most of the budget going towards the drywall. The insulation costs are actually going to be quite low, with high-quality insulation costing less than $1,000 for an average 20x20 garage.

Materials

  • Fiberglass insulation batts
  • Filling foam
  • Drywall panels

Tools

  • Utility knife
  • Staple gun
  • Ruler or sturdy piece of wood

Step 1. Clear the Workspace

Before you can insulate and drywall the garage, you first need to prepare the workspace. The workspace in this case is your walls and more specifically the area between the stud beams. You should clear this area of any decor, hangers, nails, or other items in the area to open up room for the insulation to be installed. Protruding nails are not going to be much of a problem and may even act as extra support for the insulation rolls. However, it’s still a good idea to get rid of them so that the insulation is as flush with the walls as possible.

Step 2. Cutting Insulation Batts

While fiberglass insulation batts are soft and can be folded and squeezed into tighter spaces, they work best when they are flush against the wall and tightly set between the two stud beams. Since the batts of fiberglass you buy will most likely not be cut into the exact dimensions that you’re looking for, you may need to cut them yourself. Measure the space between the stud beams first. Leave a little extra room on the fiberglass butts since you’ll need them to fit snugly inside, as opposed to the exact inch. Use a sharp utility knife to cut as you hold the batts down with a solid ruler or a piece of wood. 

Step 3. Filling In Gaps With Foam

Before installing the fiberglass batts, find any gaps in the stud beams and fill them up with spreading foam. This will keep the insulation in place and will also act as additional insulation itself. Leave the foam to dry completely before installing the fiberglass so that the foam does not get smeared by the batts.

Step 4. Installing the Fiberglass Batts

Insert the batts between the stud beams and make sure the fiberglass fits firmly between them. The fiberglass batts will have a paper cover around them which you can staple to the beams to keep them in place. Make sure that the staples go into the sides of the stud beams. You will need to have the outward sides of the stud beams open to install the drywall — they must remain visible between the insulation.

Step 5. Fitting the Drywall

Install the drywall as per the manufacturer’s instructions. You will need to screw and glue them into place, using the exposed side of the stud beams to fasten the drywall flush against the insulation. Ensure that no bits of insulation are visible between the seams of the drywall panels as this could be a potential fire hazard.

AM

Written by
Alex Mikayelyan

Written by Alex Mikayelyan

None

comments