A Basic Guide on How to Replace Shower Doors

A Basic Guide on How to Replace Shower Doors

Bathroom Remodeling
DIY
How To
By Alex Mikayelyan March 10, 2022

Materials

Tools

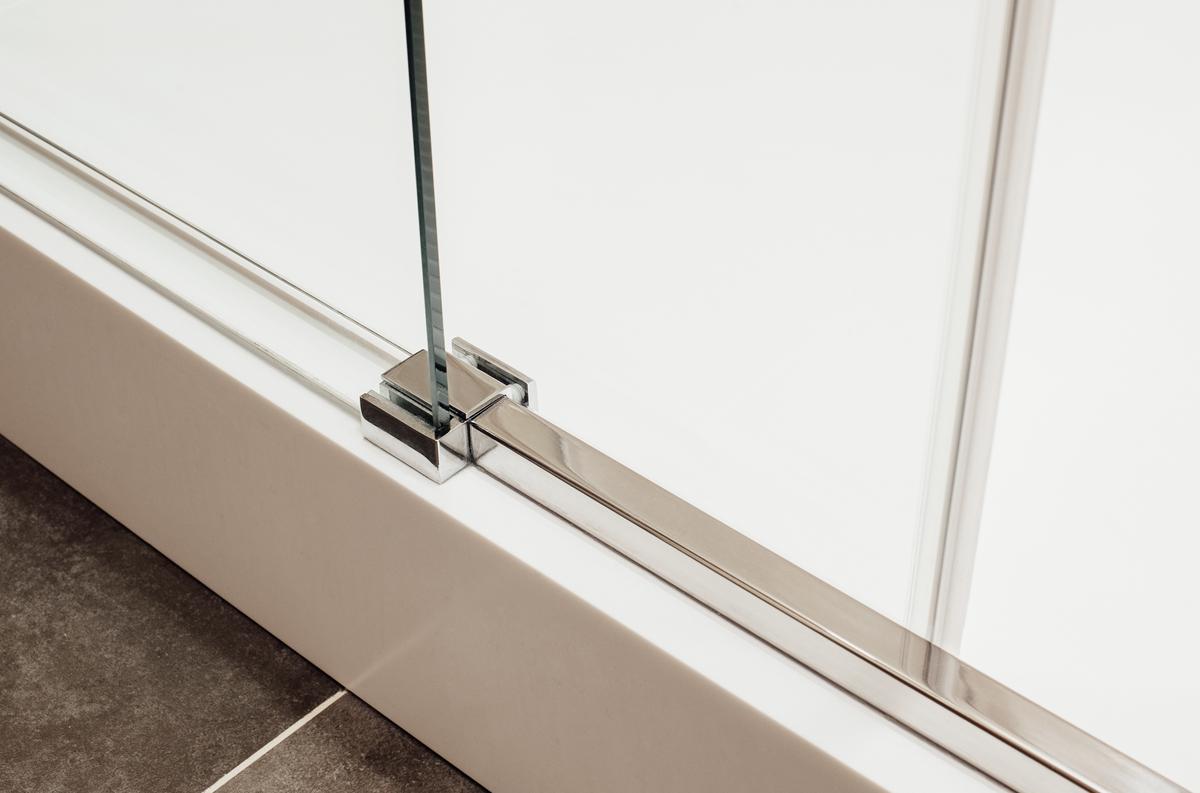
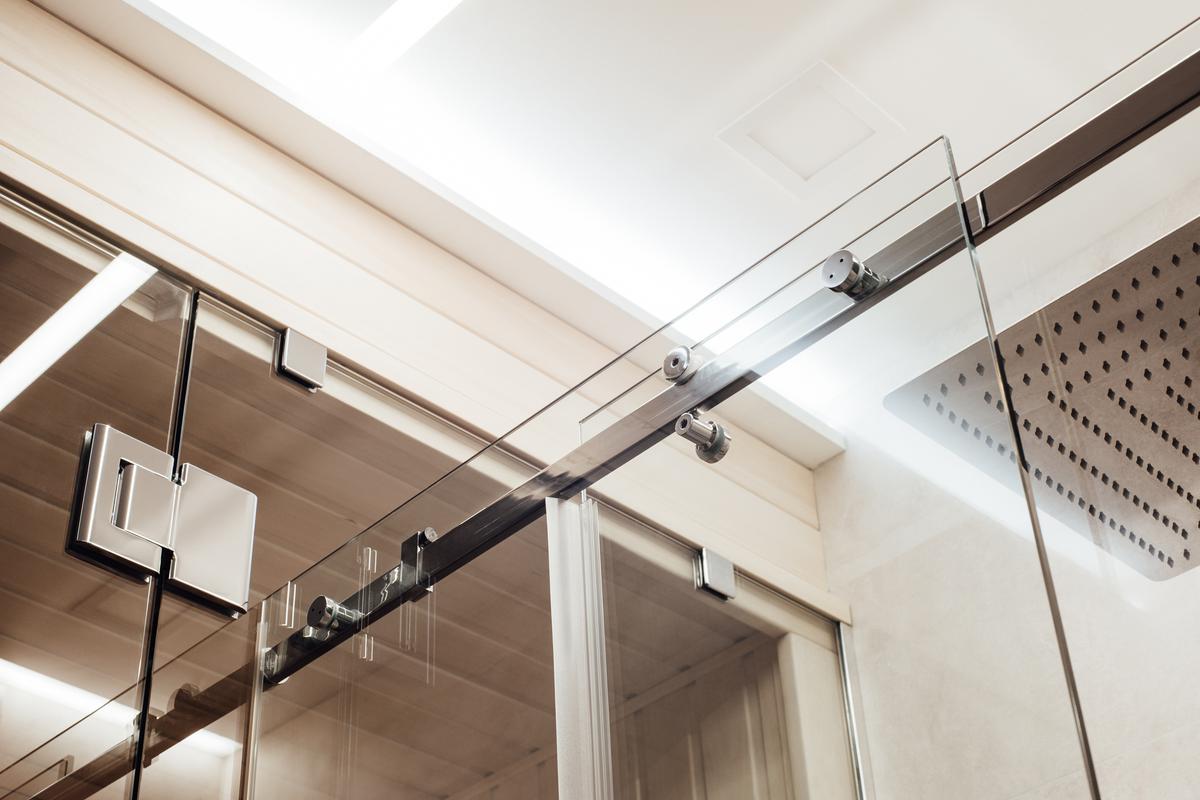
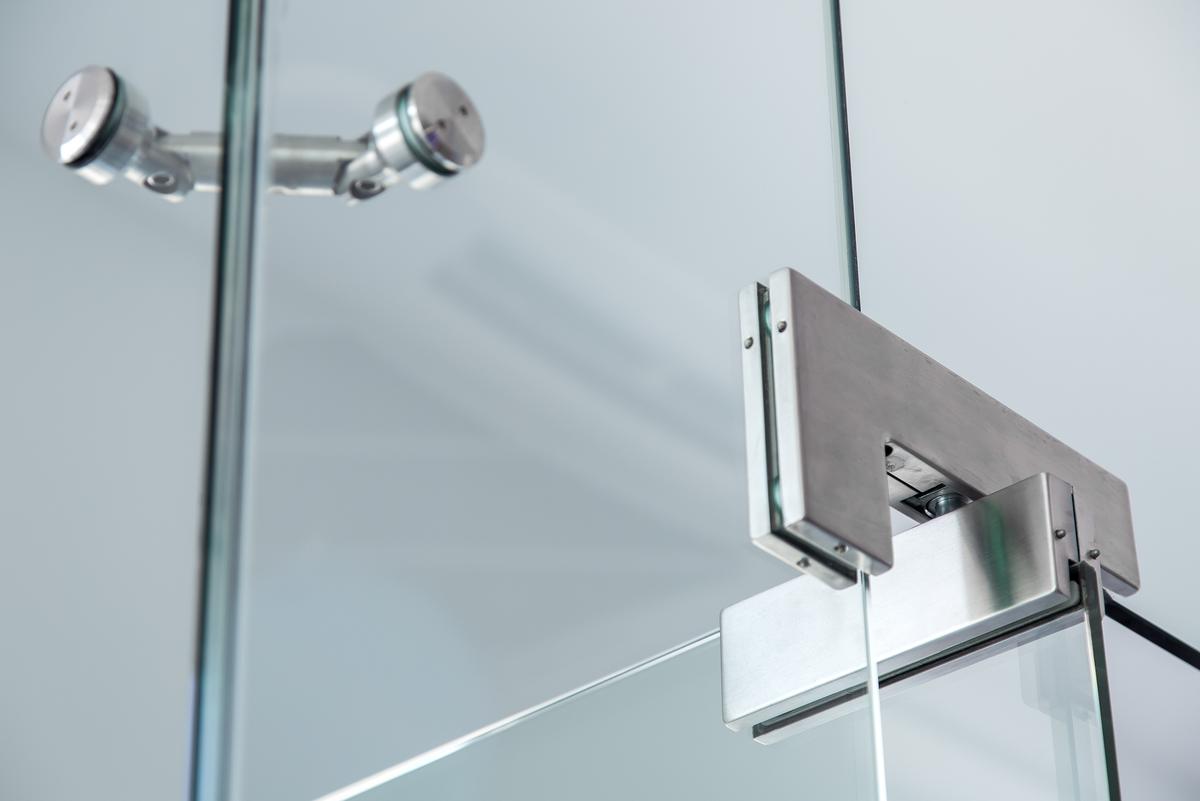
Shower door components

Screws

Silicone sealant 

Hammer

Level ruler

Screwdriver

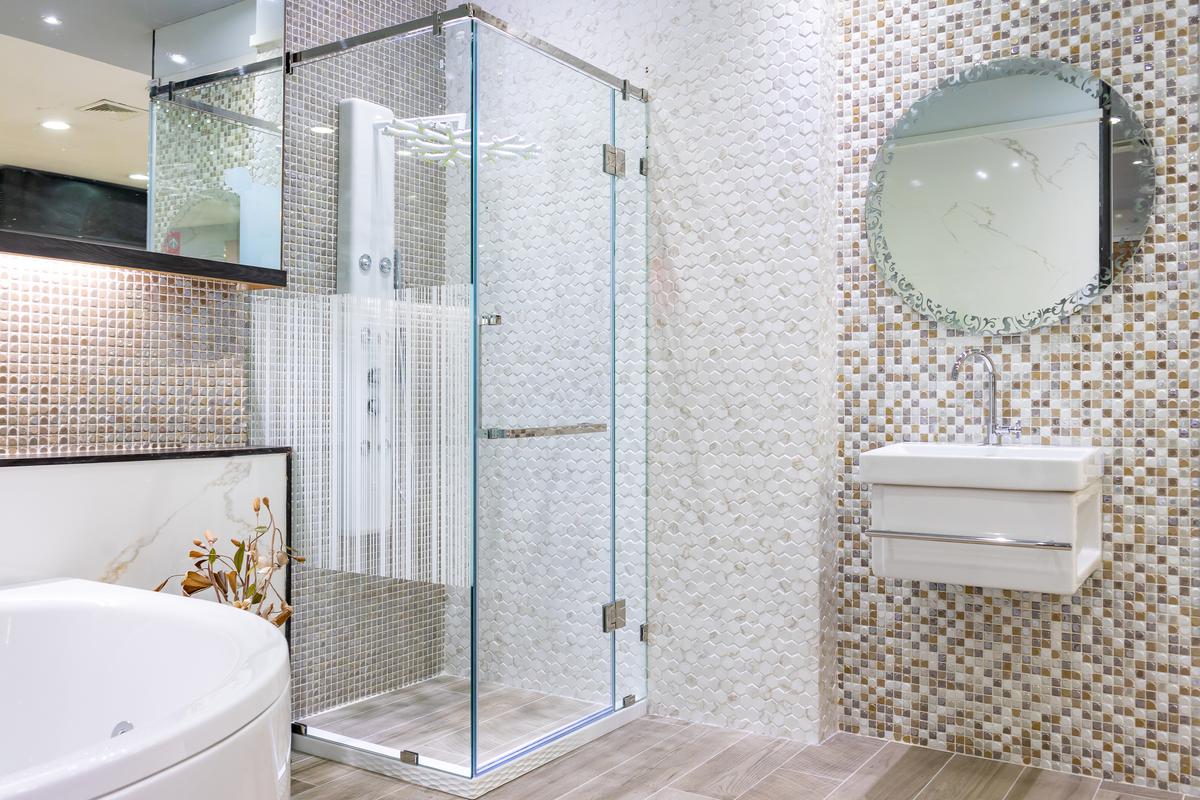
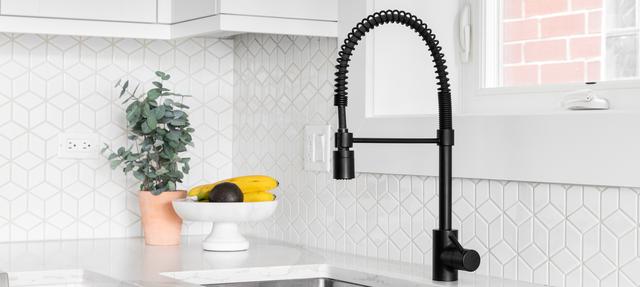
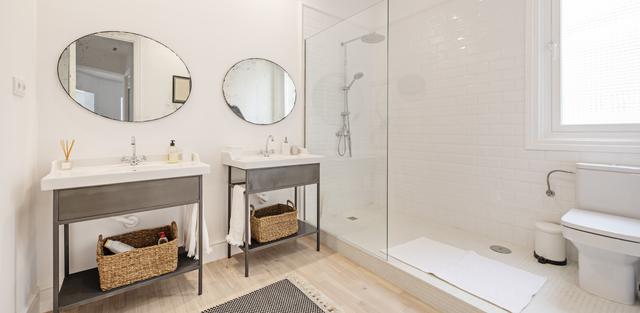
A bathroom remodel goes beyond changing up the walls, floor, and vanity. After many years of moisture and steam exposure, your shower door will have been through a lot and, needless to say, replacing it may be vital when it comes to giving your bathroom a new look. Shower doors play quite a large role in not only how bathrooms look but also how they function. While the mechanism that makes the door function is quite simple, it will get worn out over time and will need replacing.

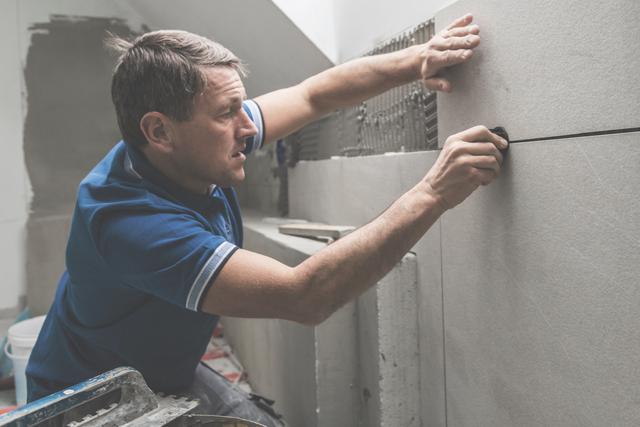
Whether you’re replacing the shower door to give it a fresh new appearance or because your old one is not functioning as smoothly as it used to, DIY shower door replacement is actually not very difficult. Sure, you could find a contractor who can easily answer the question of “how to install a shower door?” by simply installing it themselves, but why not take this opportunity to hone in on a new skill for your next bathroom remodel?

Step 1 - Shower Door Anchors

Why It’s Important to Check the Shower Door Anchors

Why It’s Important to Check the Shower Door Anchors

Anchors are the little plastic covers that are inserted into the drilled holes in the walls. When you drill a hole, you can’t just put a screw inside and call it a day. Something has to hold it in place and that’s what the anchors are for. If the anchors of your shower door are intact you should not have any trouble simply removing the screws and driving them back in when installing the new door.

If upon removal of the screws the anchors also come out, or the screw is wobbly inside, this means that the anchor is no longer functioning as it’s supposed to and won’t keep the door in place. The best course of action is to install new anchors with a fresh adhesive during the bathroom remodel. However, if all the anchors are firmly in their place and none of the screws wobble, then you are free to proceed with the installation. 

Step 2 - Rail Adhesive

How to Attach the Door Rails to Your Shower Unit

How to Attach the Door Rails to Your Shower Unit

Next on our journey into understanding how to install a glass shower door comes the question of rails. Assuming that the screw wall anchors are all in place and you already have the new shower door picked out, your first step should be to attach the shower door rails. These are the notches or tracks that the shower door glides across, as well as tightens into when closed. Think of it as your shower door frame that is attached to the walls.

The terminology here is very important, as you do not want to confuse rails with railings. Railings are those handles that many shower units and shower doors have that allow you to grab them if you wish to safely leave the shower without slipping. Railings are not always present on shower units, but in the case of rails, pretty much all shower doors utilize them.

Start by applying silicone sealant to the rail. You will also be screwing in the rail, but the sealant gives it better adherence to the wall and can also help seal the shower unit, keeping moisture from escaping. Trace a small line of silicone across the length of the rail. It’s hard to know the exact amount of silicone that is needed so as a general rule of thumb, it’s better to go with less than more. Too much silicone could spill out and stain the surrounding walls and flooring, making cleaning up even more difficult. In the case of less silicone, you can always add more using the silicone gun in the exact spots where there’s not enough of it. 

Step 3 - Screwing In the Rails

How to Attach the Rails of Your Shower Door

How to Attach the Rails of Your Shower Door

Once the adhesive silicone is applied to the rails, stick the side rails against the wall with the holes on the rails parallel to the anchors in the walls. Be sure to do this immediately after the silicone has been spread across the rails so as to not have it dry up. Once the rails are stuck to the walls, waste no time and immediately use a screwdriver to tighten the screws into the anchors.

A good rule for screwing in rails (and pretty much just about anything else) is to insert them across from one another. For example, screw in the topmost one, then the bottommost afterward. This way, not only will the rail more or less be in place once you start inserting the other screws, but it also won’t squeeze out the silicon at the bottom — unlike if you were to screw going straight downwards. So, good order is screwing in the topmost one, then the bottommost, and then the one directly in the middle. After that, it’s a pattern of second to the top, then second to the bottom, until you’ve reached the middle screw.

Remember not to tighten the screws all the way in until all of them are in place. Keep them lightly tightened so the rail does not move around. Once all the screws are in, proceed to tighten them one by one until the rail is completely stationary. With all the screws tightened, check the rail to see if it’s moving around. If it’s not, you’re good to go.

This is also the perfect time to clean up any excess silicone that may have leaked out from underneath the rails. Since the silicone has not solidified yet, it will be very easy to clean up. Leaving it for later will make it much harder to scrape off once the silicone solidifies. Do this for the side rail as well as the bottom rail.

Step 4 - Installing the Top Rail

How Are Shower Door Top Rails Installed?

How Are Shower Door Top Rails Installed?

Once both side rails have firmly adhered to the wall, it is now time to add the final piece to your shower door frame. The top rail is by far the easiest piece to fix into place. All you need to do is simply press it down onto the two side rails and it will pop into place.

Certain top rails come with a few screws that go into the side rails, though this largely depends on the type of shower door unit you buy. Many don’t require any screws for the top rail, as the rail itself is there mostly to act as a threshold and doesn’t do much in terms of keeping the door in place.

If you have a sliding glass shower door, however, the top rail is generally much sturdier as the door will glide along the two horizontal rails. But if yours is a swing shower door, then it’s rather common for the top rail to be less sturdy as it will not be holding up as much weight as the side rail that the door is attached to.

Step 5 - Attaching the Door

Installing the Shower Door

Installing the Shower Door

When you remove the old shower door, the matter of how to put shower doors back on track now takes center stage. Naturally, anything you’re unfamiliar with sounds harder than it actually is; but you should rest easy knowing that attaching a new shower door into place is not all that difficult. Depending on the shower door model you have, the installation is going to be different. In most cases, however, the shower door will attach via the bottom rail. You will see exactly where the hinge should go and how it should be attached.

Certain shower doors come with screws that hold the door in place. But there are also many out there that have a specialized mechanism that doesn’t even require you to screw in anything. All you have to do is pop it into place, hear that satisfying snap when the hinge attaches to the side rail, and you’re all set.

Give the door a few gentle swings to ensure that the mechanisms function as they should. Once you have no problem opening and closing the shower door with ease and it is sturdy on its hinges, then you have yourself a perfectly functioning shower door that you installed yourself. Keep in mind that many modern shower doors have an intuitive design, so they’re very hard to get wrong.

AM

Written by
Alex Mikayelyan

Written by Alex Mikayelyan

None

comments