7 Most Common Water Leaks in Your House and How to Take Care of Them

7 Most Common Water Leaks in Your House and How to Take Care of Them

Appraisal and Home Inspection
By Dikran Seferian November 02, 2021

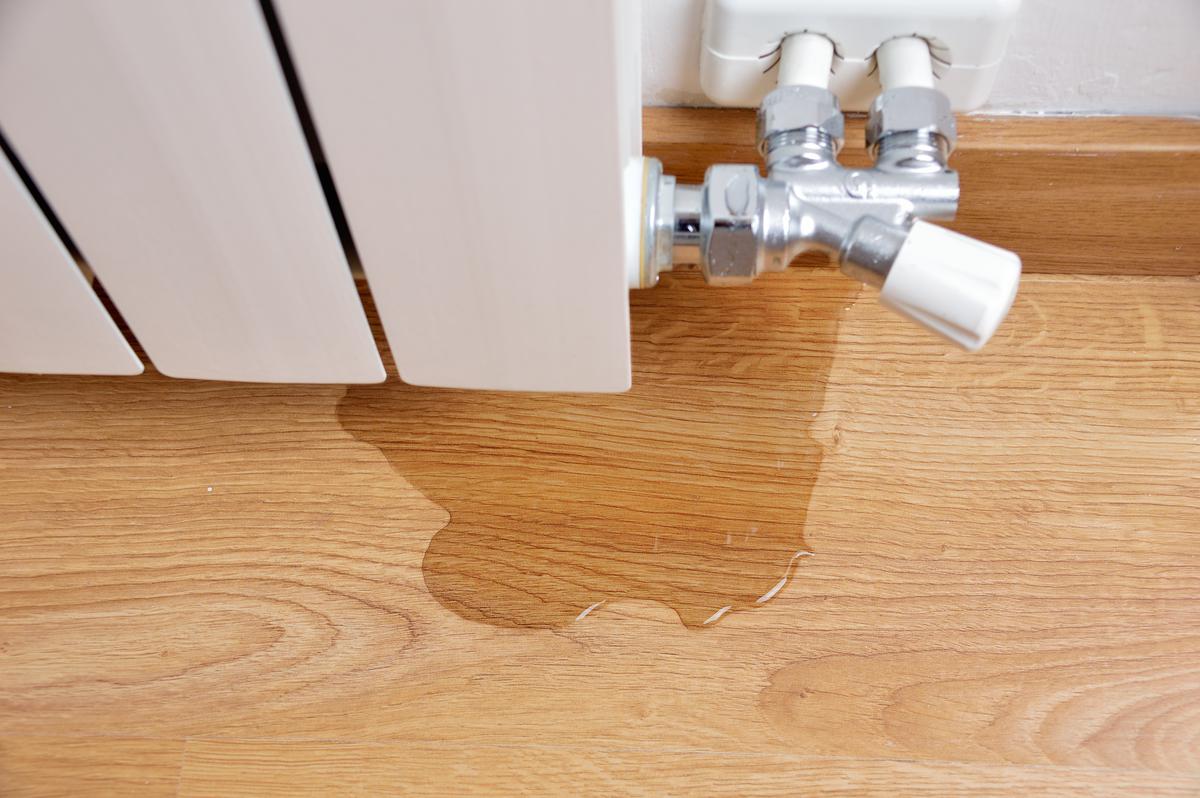
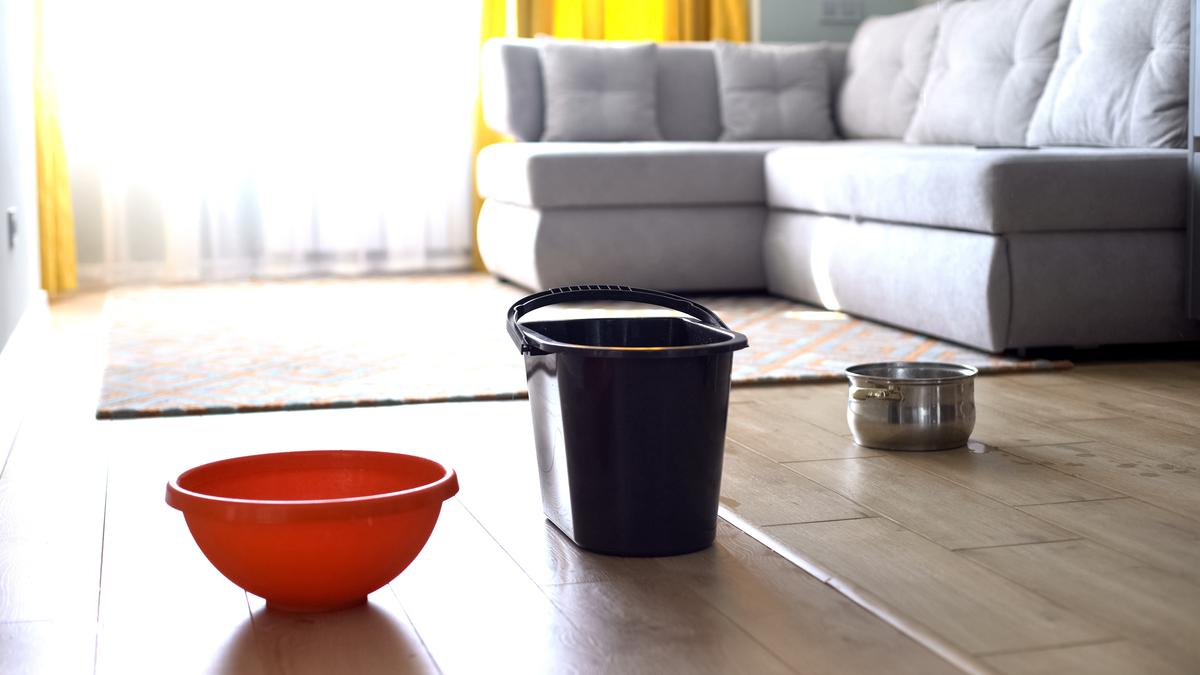
The average household can lose up to 20,000 gallons of water each year from leaks. This considerable waste of water and money reduces a home’s efficiency. While many leaks are noticeable and common, such as those in kitchens and bathrooms, others can go undetected for long periods of time. Keeping a lookout for leaking units is crucial in avoiding costly damages — water can wreak havoc to a home’s structure. With a few basic tools in hand, most leaks can be rather straightforward to fix. 

1. Water Heater Leak

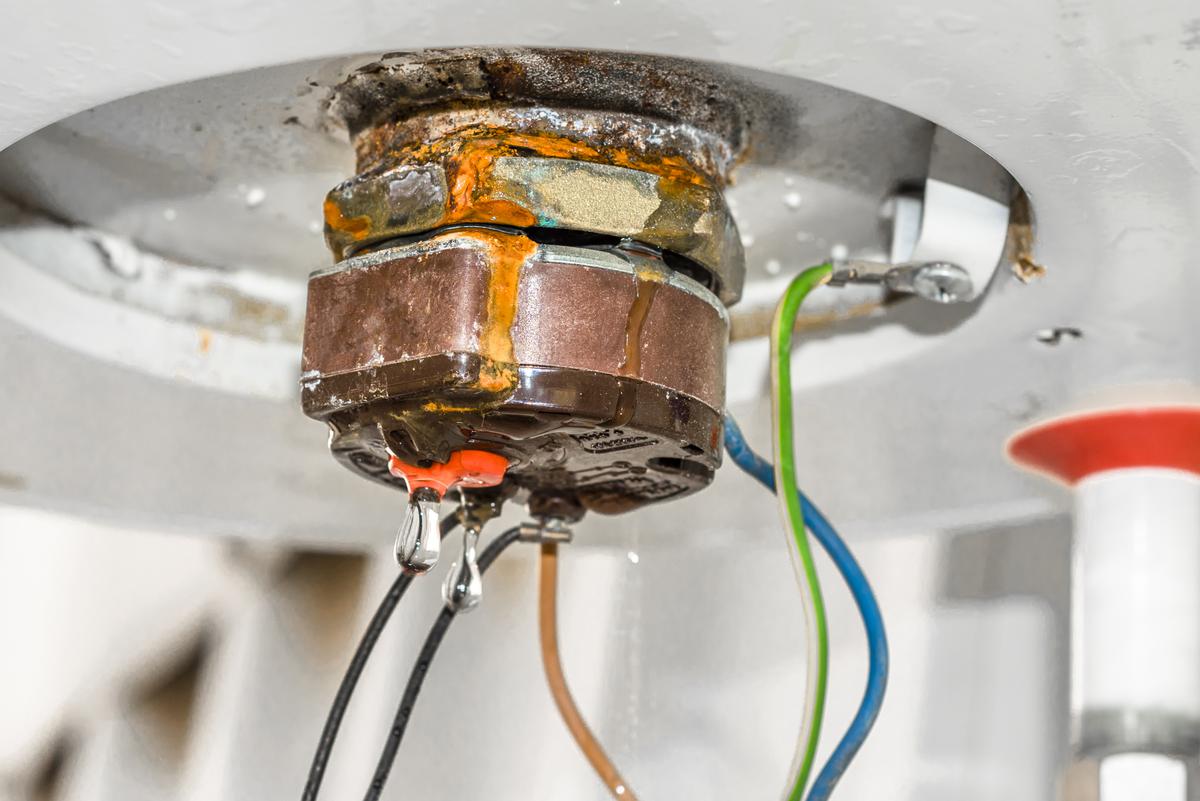
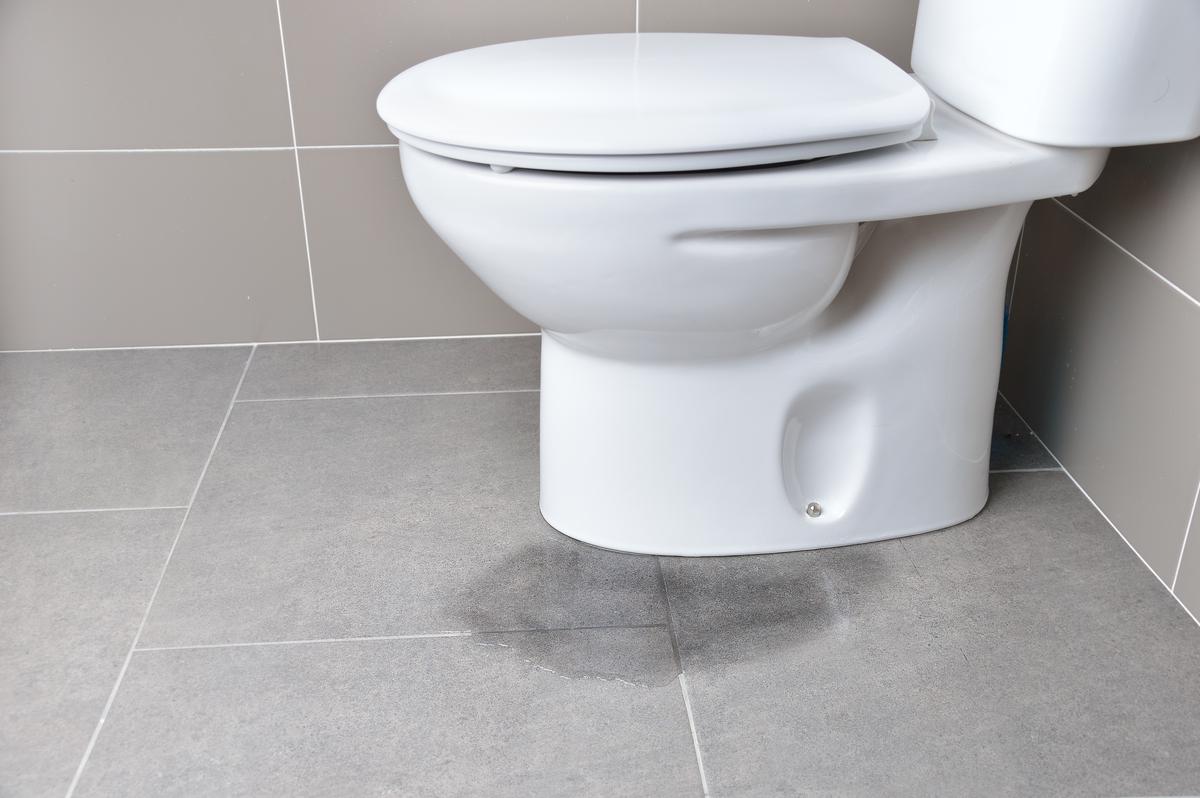
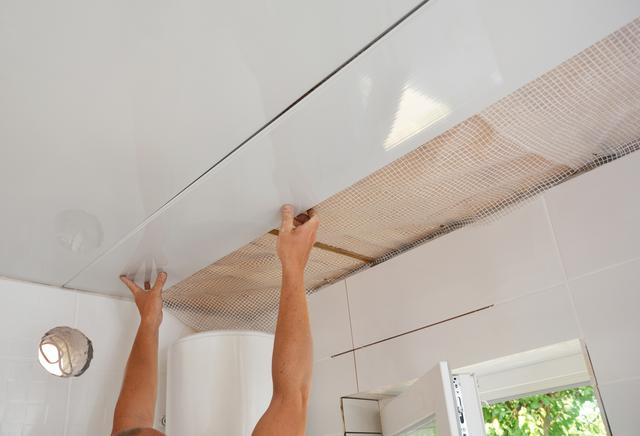
Water heaters are known to be powerhouses in durability. Even the best ones, however, aren’t immune to leaking. While a leak doesn’t warrant replacing the entire unit, you may need to address the situation immediately to avoid the issue from escalating. Try identifying the source of the leak; there’s a chance it may not be coming from the water heater at all. If none of the water heater’s components are wet, check nearby sources of water. Should the water heater be the source, finding out the cause of the problem will allow you to take the appropriate course of action. 

How to Fix It

Shut off the water as well as the power supply before doing anything else. For the water supply, it’s the shutoff valve on the inlet pipe. As for the power, it depends on whether your unit is electric or gas. In the case of electric water heaters, simply switch the breaker off. If you have a gas unit, turn off the valve on the gas pipe that goes to the tank.

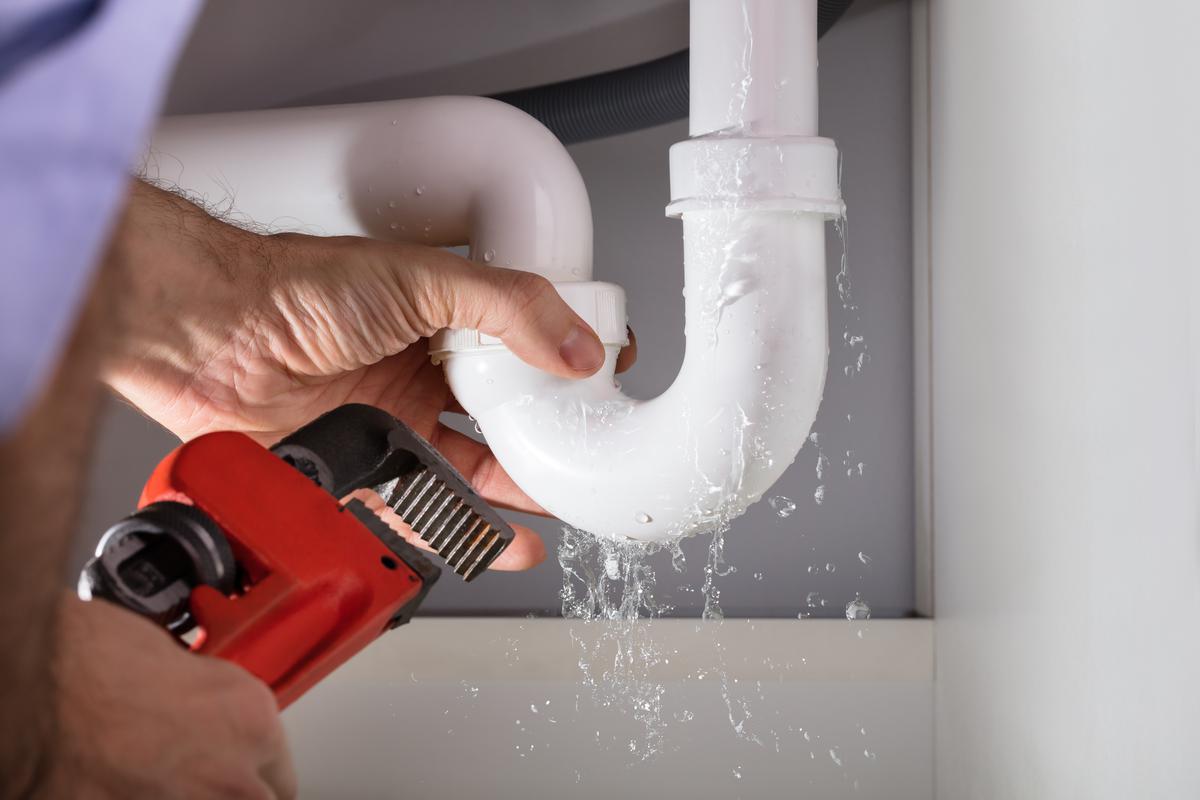
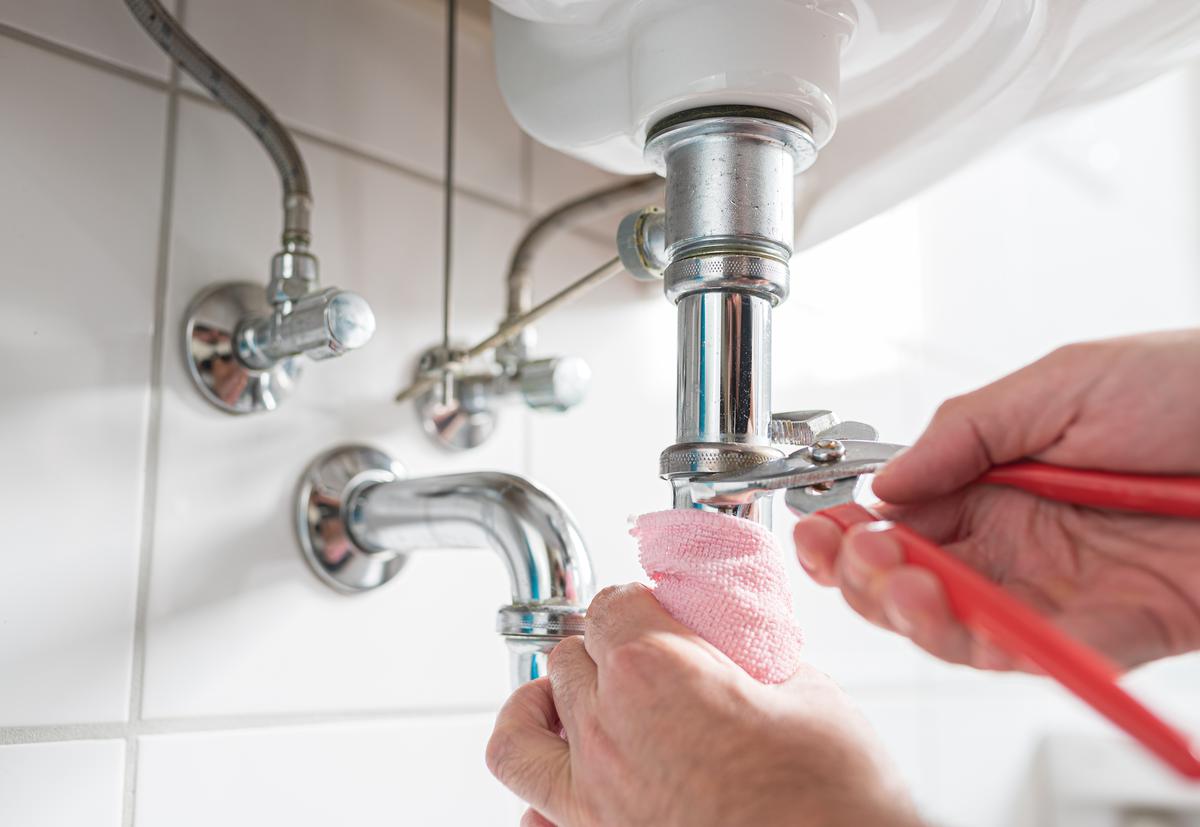
Next, you’ll need to determine the root of the issue. Examine the input and output pipes, valves, pressure, and the bottom of the tank. The culprit is most likely a loose-fitting such as a pipe or a valve, in which case simply tighten it with a wrench. Another component to check is the pressure release valve; if the water pressure or temperature is too high, the valve will leak. In the latter case, consider turning down the temperature to 120 degrees Fahrenheit (or from high to medium in certain units) — water heaters are usually preset to 140 degrees Fahrenheit by the manufacturer.

If the temperature is not the issue, it could be excessive pressure from the supply pipe. In this case, contact the municipality to have the pressure reduced. Another source of leakage might be the drain valve, in which case replacing it immediately is crucial. Although this is typically a plumber’s job, handy homeowners can tackle it as well and up to $100 in the process. To replace the valve, you will need to drain the tank first. Connect a garden hose to the drain valve and run the other end to a shower or floor drain. Open the valve with a flathead screwdriver to drain the water through the hose. Once the tank is empty, disconnect the drain valve with an adjustable wrench. Consider taking the component with you to your local hardware shop to find an identical one. Connect the replacement to the drain valve hole, rotating it clockwise until it is tight.

If the bottom of the tank is leaking, you might have to replace the tank. This can be prevented by draining your unit once a year. But in this case, it might be too late as the sediments have already rusted their way through the bottom. At this point, it would be best to call a plumber to have your water heater replaced. You can expect to pay over $1,500 on average for a replacement.

When to Replace Your Water Heater

When to Replace Your Water Heater

2. Radiator Leak

Nothing can be more frustrating than a leaking radiator. The sooner you detect the issue and fix it, however, the less damage your flooring will take. Moreover, let’s not forget the possibility of the problem taking a turn for the worse. Your first course of action will be to protect your floor and nearby electronics by placing a bucket under the leak. Next, you’ll need to identify where the leak is coming from. To do this, dry your radiator completely and wrap toilet paper around each of the fixtures; whichever soaks the paper is the culprit.

If the source of the leak is the body itself, it might be due to internal corrosion. In this case, you will have to replace your radiator. Replacing a radiator can generally cost anywhere between $250 to $500. As for labor, you can expect to pay up to $800. While you can tackle minor fixes yourself, total replacement warrants a professional.

How to Fix it

If you’re lucky enough, the leak can be coming from the radiator valve. This can be an easy fix if you know your way around tools, otherwise, you can hire a technician for an hourly rate of $80 on average. First, you’ll need to drain the valve under the leak and shut off the supply as well as the lockshield valve. Make sure to catch the escaping water in a bucket. Unscrew the union nut and release the water by opening the bleed valve. Use PTFE tape to wrap the tip of the valve. Re-screw the union nut and turn on the bleed valve and the lockshield valve, allowing your unit to fill up again. Make sure the leaking has stopped and shut off the bleed valve. Should you have to replace the valve, make sure to buy an identical one ($20 on average) and install the component as per the instructions that come with it.

Other causes that aren’t problematic include the radiator spindle, gland, and pipe joint. You can fix the latter’s leaking by simply tightening the joint with a wrench. To fix a leaking spindle, simply use the pipe wrench to tighten the gland nut. If the leaking doesn’t stop, loosen the gland nut, wrap PTFE tape down the spindle and retighten it. As for fixing a leaking radiator gland, all you need is a flat head screwdriver, a pipe wrench, and your trusty PTFE tape. Open the valve and check for any leaks under the plastic cap. Should there be any leakage, shut off the lockshield valve. With the plastic cap off, undo the gland nut and wrap the valve spindle with the tape. With your screwdriver, drive the tape into the valve body. Redo the gland nut, replace the cap and turn the valve on again.

Troubleshooting Your Home Radiator

Troubleshooting Your Home Radiator

3. Leaking Shower Base

Another common household leak can be found at the base of a shower cabinet. You may want to avoid postponing this matter as it can cause significant damage to your flooring and possibly beyond. While a leaking shower base is an urgent matter, fixing it is rather straightforward. A common cause of shower leaks is worn tile grout and sealant. While you don’t have to replace the entire tiling to seal the leak, you will need to get rid of the old grout. 

How to Fix It

A grout saw ($5 to $10) is your go-to tool for this job. With the saw, remove the compromised grout and allow the area to dry completely before you apply the new grout. Consider going for flexible grout (starting at $10) to reduce the chance of cracking. After regrouting your tiles, wait for the product to dry and apply the sealant ($6 to $8) to your shower unit. If you don’t feel comfortable taking on this project, you could hire the services of a professional.

How to Get Rid of Common Bathroom Leaks

How to Get Rid of Common Bathroom Leaks

4. Water Leak in Ceiling

One inconvenient issue you don’t want to come across is a leak in the ceiling. While consulting an expert is the recommended course of action, you could try handling the situation yourself if you don’t mind the scope of work.

First and foremost, you need to control the situation by moving furniture out of the way and placing buckets underneath the leaks. Your ceiling is most likely made of drywall which absorbs the water, spreading it across the surface. In this case, it is a good idea to control the leak by cutting a hole in the center of the leaking area using a screwdriver or an awl. This will allow the water to pass directly through the hole and into the bucket.

Next, you’ll be tracking down the root of the issue. The possibilities include a leaking drain, faulty caulking, and a loose supply pipe. You’ll need to cut a bigger hole in the ceiling to identify the source of the leak. A smart trick involves laying toilet paper along the pipes and joists. The toilet paper will absorb the moisture where the leakage is, thereby narrowing down your search. Whether it's re-caulking or tightening fixtures, allow for the affected areas to completely dry before repairing the source of the leak. Depending on the scope of the leakage, you may have to open up the affected portion of the ceiling. Consider calling in a contractor to rebuild the ceiling.

What to Do in the Case of a Ceiling Leak

What to Do in the Case of a Ceiling Leak

5. Leaking Sink Drain Trap

Should you ever come across a leak in the drain trap (also known as the P-trap) of your sink, it can be due to one of three reasons. The most common of which is loose fittings — specifically the nuts that connect the pipes together. You can easily fix this by tightening them with slip-joint pliers. The second reason can be worn-out rubber washers — the part that provides water-tight sealing. To replace the washer, place a bucket underneath the fixture and, with the pliers, unscrew the nuts that connect the trap to the tailpiece and the drain pipe. After detaching the drain trap, clean it out and replace the rubber washer with a new one. To reassemble the parts, tighten the nuts by hand at first and follow it up with the slip-joint pliers. If the drain trap is corroded, however, you will need to replace it. You can find an inexpensive (about $10) and durable option in PVC traps. 

Common Leaks That You Can Fix

Common Leaks That You Can Fix

6. Toilet is Leaking

Fixing a leak in the base of a toilet is typically a plumber’s business. However, if you don't mind getting your hands dirty — so to speak — you could take on the job yourself. One quick fix that may solve the issue involves tightening the floor bolts which hold the toilet in place. Once you do so, test the toilet by flushing a couple of times. If the leaking doesn't subside, the cause of the leak is most likely an expired wax ring. The first thing you'll need to do is to shut off the water supply to the toilet. Next, empty the toilet and disconnect the fill valve. Once the toilet is fully empty, unscrew the floor bolts and gently remove the toilet. With a putty knife, clean the floor and toilet drains. Replace the bolts and install a new wax ring ($4 to $5 on average). Finally, reattach the toilet and turn the fill valve back on. 

Fixing Leaks Before It’s Too Late

Fixing Leaks Before It’s Too Late

7. Garbage Disposal Leaking

Usually, it's not easy to notice a garbage disposal leak until you encounter a smelly puddle, a soaked cabinet, or a loud dripping. With basic plumbing skills, you can troubleshoot the problem and fix it in no time.

Before getting started, unplug your unit and cut off the power at the breaker box. Pour a few cups of dyed water into the sink stopper to help you find the leak. With a flashlight, search the disposal for the discolored water. If the top of your unit is leaking, reseal the sink flange and tighten it. If the leak is coming from the side of the garbage disposal, tighten the drain line fixtures and replace deteriorated gaskets. However, if the leak is at the bottom of the unit, it might be best to install a new one. Since replacing garbage disposal involves electrical work in a wet setting, a professional might be better equipped to get the job done.

How to Deal With a Leaking Garbage Disposal

How to Deal With a Leaking Garbage Disposal

DS

Written by
Dikran Seferian

Written by Dikran Seferian

comments